
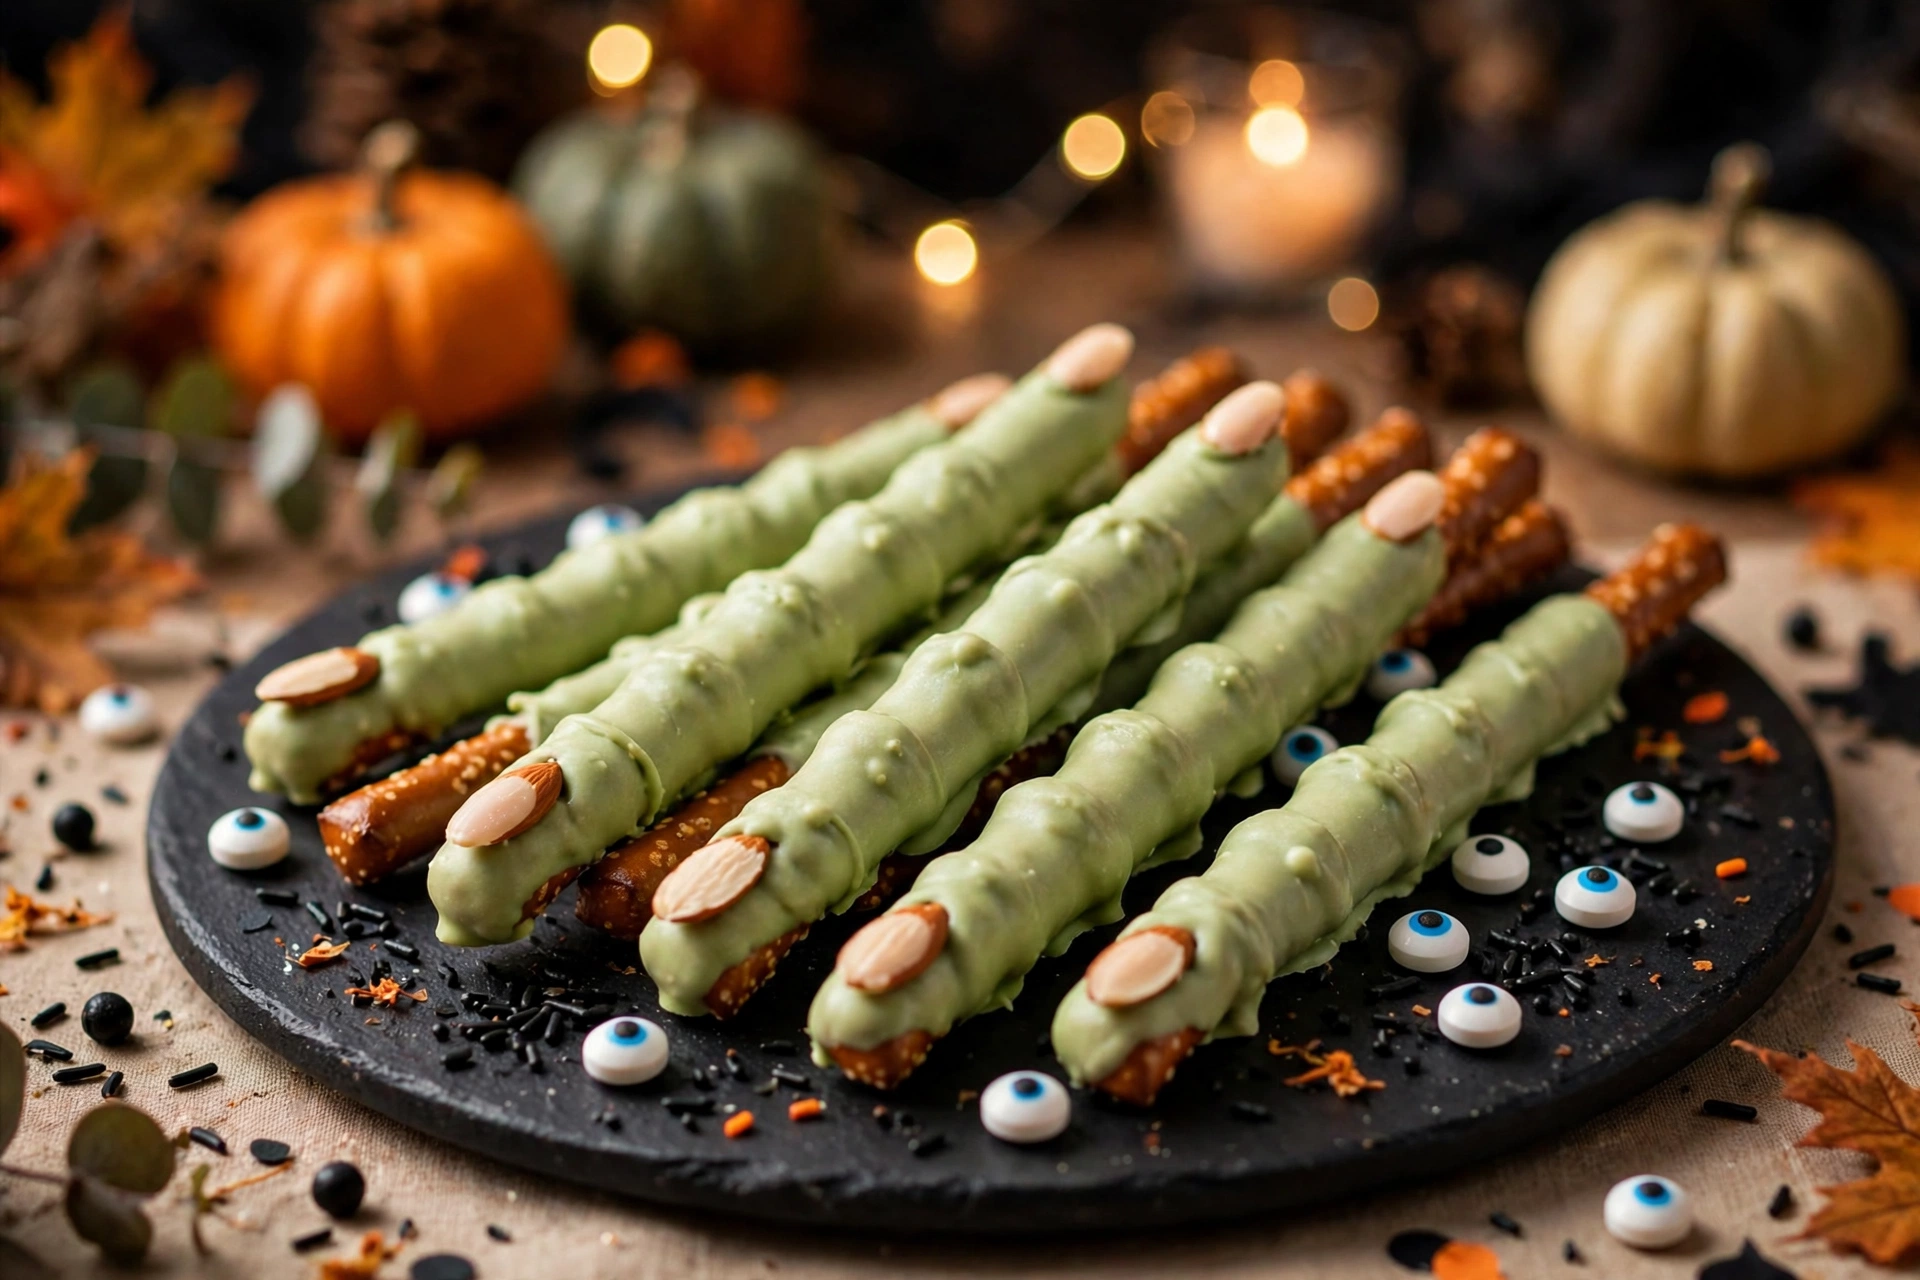
Some Halloween snacks are cute. These are not cute. They are gloriously creepy, gnarled, knuckle-bumpy witch fingers with glossy almond fingernails, and your guests will grab them off the tray before they even ask what they are. The best part? There is no baking, no candy thermometer, and no fuss. Just pretzel rods dipped in green-tinted white chocolate, twenty minutes of your life, and one very satisfied cackle when the kids shriek “EW!” and then immediately eat three more.
Each rod gets that wrinkly witch-knuckle texture from a simple drizzle-and-drag trick, and the salty crunch of the pretzel under sweet creamy chocolate is the kind of sweet-salty combo that disappears fast at any Halloween party. They look like a spooky craft project and taste like a proper dessert. That is the whole magic trick.

Recipe at a Glance
- Prep time: 15 minutes
- Setting time: 5 minutes
- Total time: 20 minutes
- Yield: about 24 rods (8 servings, 3 rods each)
- Method: No-bake
- Difficulty: Easy — kid-friendly with adult supervision for the hot chocolate
Ingredients
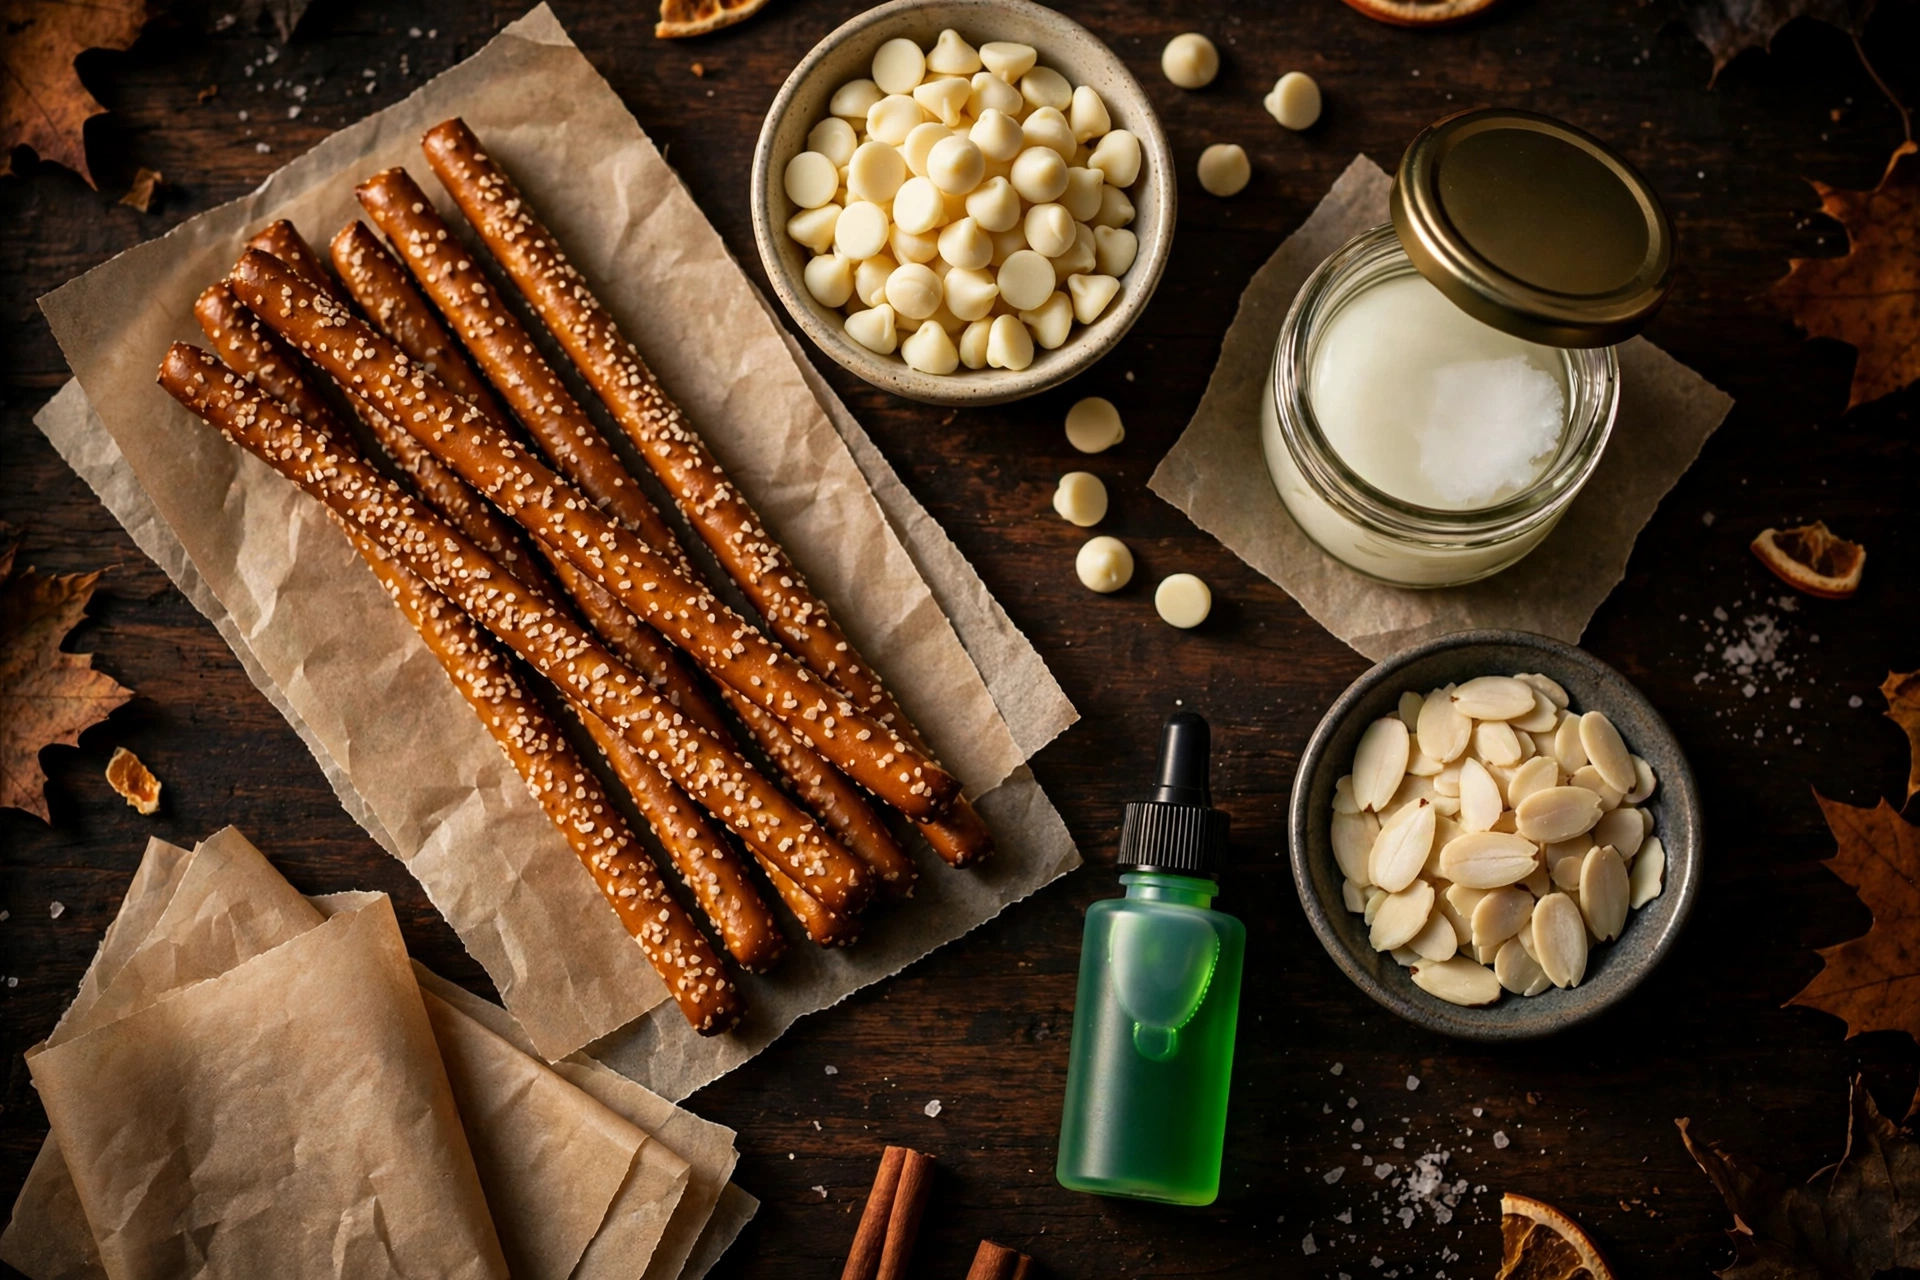
- 24 pretzel rods (about one 12-oz bag of long dipping-style pretzel rods)
- 12 oz (340 g) white chocolate chips or chopped white chocolate
- 1 to 2 teaspoons coconut oil (refined, for thinning)
- Green gel food coloring (a few drops — start small)
- 24 whole blanched almonds (for the fingernails)
- Optional for the platter: candy eyeballs, black sprinkles, crushed pretzel crumbs
Directions
- Set up your station. Line a large baking sheet with parchment paper — not wax paper (see the technique notes below). Lay out the almonds pointy-side up so you can grab them fast while the chocolate is wet.
- Melt the chocolate gently. Combine the white chocolate chips and 1 teaspoon of coconut oil in a microwave-safe bowl. Microwave in 20-second bursts, stirring well between each burst, until just melted and silky. The last few chips will melt as you stir — stop before it gets hot. The coating should look glossy and flow slowly off the spoon.
- Tint it witch-green. Stir in 2 to 3 drops of green gel food coloring until you get a pale, ghoulish green. Add one drop at a time; you can always go greener, but you cannot go back.
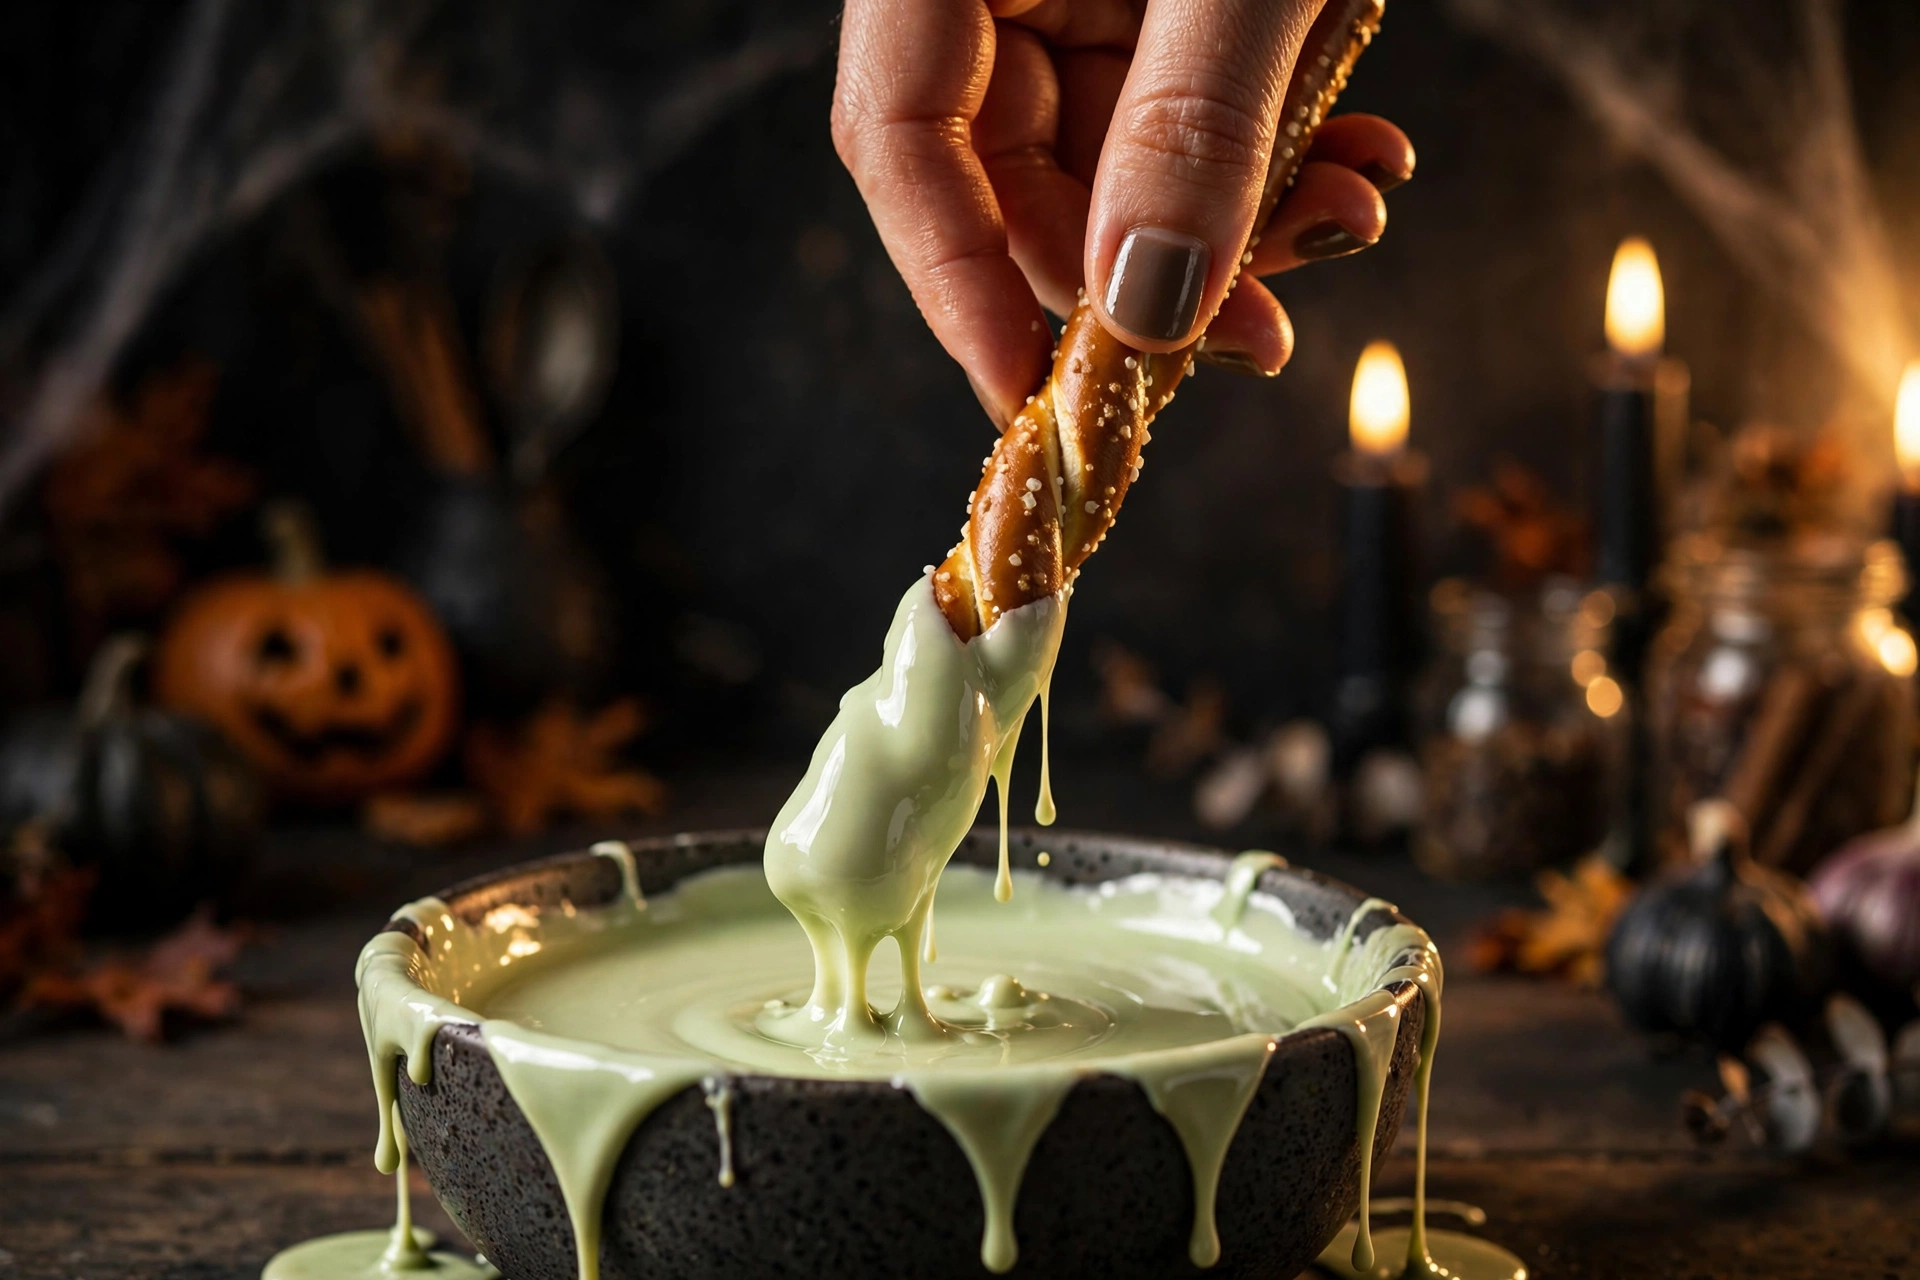
- Dip each rod. Hold a pretzel rod by the dry end and dip the other two-thirds into the green chocolate. Let the excess drip back into the bowl for a few seconds, then give the rod a gentle twirl so the coating is even but not dripping.
- Build the knuckles. Before the coating sets, drizzle a little extra chocolate in a zigzag around the top third of the rod, then lightly drag the tines of a fork through it lengthwise. Those drags are what make the gnarled, wrinkly witch-knuckle texture — do not skip this, it is the whole illusion.
- Press on the fingernail. While the coating is still wet, press one almond (pointed tip facing outward) firmly onto the very top of the rod so it sticks out like a long witchy nail. Give it a firm press — a wobbly nail is a lost nail.
- Set and serve. Lay the finished fingers on the parchment-lined sheet without touching each other. Let them sit at cool room temperature for 5 minutes until the chocolate is firm to the touch. Arrange on a dark platter with candy eyeballs scattered around and serve.
Why This Method Works
Coconut oil is the thinning hero. White chocolate straight from the bag is thick and can drag or clump on a long rod. A teaspoon of coconut oil lowers the viscosity, so the coating flows into a thin, even shell that sets with a satisfying snap instead of a waxy blob.
Gel color beats liquid color every time. Liquid food coloring is mostly water, and even a drop of water can make melted chocolate seize into a grainy, unworkable paste. Gel coloring is concentrated and water-light, so you get that perfect ghoulish green without risking the bowl. This is the same principle Serious Eats cites for chocolate work: keep water out of melted chocolate at all costs.
Room-temperature almonds bond better. A cold almond against warm chocolate causes the chocolate right under it to set instantly, which sounds fine but actually creates a weak, brittle joint — the nail pops off at the first bite. Room-temperature almonds let the chocolate flow around them and grip properly.
Parchment, not wax paper. Wax paper has a wax coating that softens against warm chocolate and can stick or leave residue on your finished fingers. Parchment’s silicone coating releases cleanly every time, so the rods lift off with zero tearing.
Pro Tips
- Warm the rods, not the chocolate. If your kitchen is cold, pop the pretzel rods in a low oven (200°F) for 3 minutes before dipping. A warm rod keeps the coating fluid a few seconds longer, which means smoother dips and better knuckle texture.
- Two thin dips beat one thick dip. If your coating looks too heavy, dip once, let it set for a minute, and dip again. Thin layers set crisper and hold the knuckle detail better.
- Color in the bowl, not the bag. Melt and tint the full batch at once for consistent color across all 24 rods — tinting in small batches is how you end up with five different shades of green.
- Save the drips. Keep the bowl under each rod while the excess drips off; that chocolate is still perfectly usable for the next rods.
Common Mistakes (and How to Fix Them)
- Chocolate seized into a grainy paste. This happens when water gets in (liquid coloring, a wet spoon) or the chocolate overheated. Prevention is the cure: use gel coloring, keep every tool dry, and stop microwaving while a few chips are still visible — stir them out. If it has already seized, stirring in a teaspoon of warm coconut oil at a time can sometimes loosen it enough to use, but it will never be perfectly silky again.
- Almond nails keep falling off. You pressed them on after the coating started setting, or the almonds were cold. Work in small batches — dip and nail 4 rods, then dip 4 more. And press the almond in firmly while the chocolate is still wet, giving it a tiny twist to seat it.
- Knuckles look smooth instead of gnarled. The drizzle-and-drag needs to happen while the base coat is still fluid. If you drizzle onto already-set chocolate, the drag lines will not merge. Also, fork tines leave better grooves than a knife — use the fork.
- Chocolate is streaky or dull after setting. That is usually from overheating in the microwave. White chocolate is delicate; 20-second bursts with stirring is the rule. Dull chocolate still tastes fine, so serve it proudly.
Substitutions
- Nut-free: swap the almond fingernails for halved yogurt raisins, sunflower seeds, or pointed candy “nails” from the cake-decorating aisle. Whole almonds give the most realistic fingernail look, but the seed options still read clearly as nails.
- No coconut oil? Use 1 teaspoon of neutral vegetable shortening instead. Skip butter — its water content risks seizing the chocolate.
- Different chocolate: candy melts tinted green work too and set faster, but real white chocolate tastes noticeably better. Milk chocolate fingers with almond nails also look great if you skip the green entirely.
- Flavor twist: stir a quarter teaspoon of peppermint extract (oil-based, never water-based) into the melted chocolate for a minty version.
Storage & Make-Ahead
These are a dream make-ahead party snack. Once set, store the rods in an airtight container at cool room temperature for up to 5 days, with parchment between layers so the knuckles do not get dented. Do not refrigerate — the cold draws condensation when they come back out, and damp pretzels go soft and sad. Make them up to 3 days before the party and they will taste as crisp as the day you dipped them.
Frequently Asked Questions
Can I make witch finger pretzel rods ahead of time?
Yes. Make them up to 3 days before your party and store in an airtight container at cool room temperature with parchment between layers. They taste just as crisp as the day you dipped them, so this is a genuinely make-ahead-friendly Halloween snack.
What can I use instead of almonds if someone has a nut allergy?
Use halved yogurt raisins, large sunflower seeds, or pointed candy nails from the cake-decorating aisle. Whole almonds give the most realistic fingernail look, but the nut-free swaps still read clearly as nails and keep the recipe safe for school and nut-free parties.
Why did my white chocolate seize, and can I save it?
Chocolate seizes when water touches it or it overheats — even liquid food coloring can do it. Prevention is the real fix: use green gel coloring, keep tools dry, and microwave in 20-second bursts. If it has already seized, stirring in warm coconut oil a teaspoon at a time can sometimes loosen it, but it will not return to perfectly silky.
How long do witch finger pretzel rods stay fresh?
Up to 5 days in an airtight container at cool room temperature. Do not refrigerate them — condensation makes the pretzel rods go soft. Between layers, add parchment so the knuckle texture does not get dented.
If your party table needs more spooky crunch, our spooky Halloween chex mix is the perfect bowl to set next to these fingers. For the cookie crowd, spooky monster cookies bring the same green-and-googly energy in cookie form, and candy corn fruit cups add a lighter sweet option that kids love.
The pretzel rod itself — long, salty, and built for dipping — comes from a long baking tradition; you can read about the history of pretzels to see how this twisted snack became a party staple. And the fingernails here are no accident: almonds have been cultivated for thousands of years and their pointed oval shape is exactly why they make the most convincing witch nails in the pantry.
Rate this recipe
Be the first to rate it!
3 thoughts on “Easy Witch Finger Pretzel Rods (No-Bake 20-Minute Halloween Snack)”