
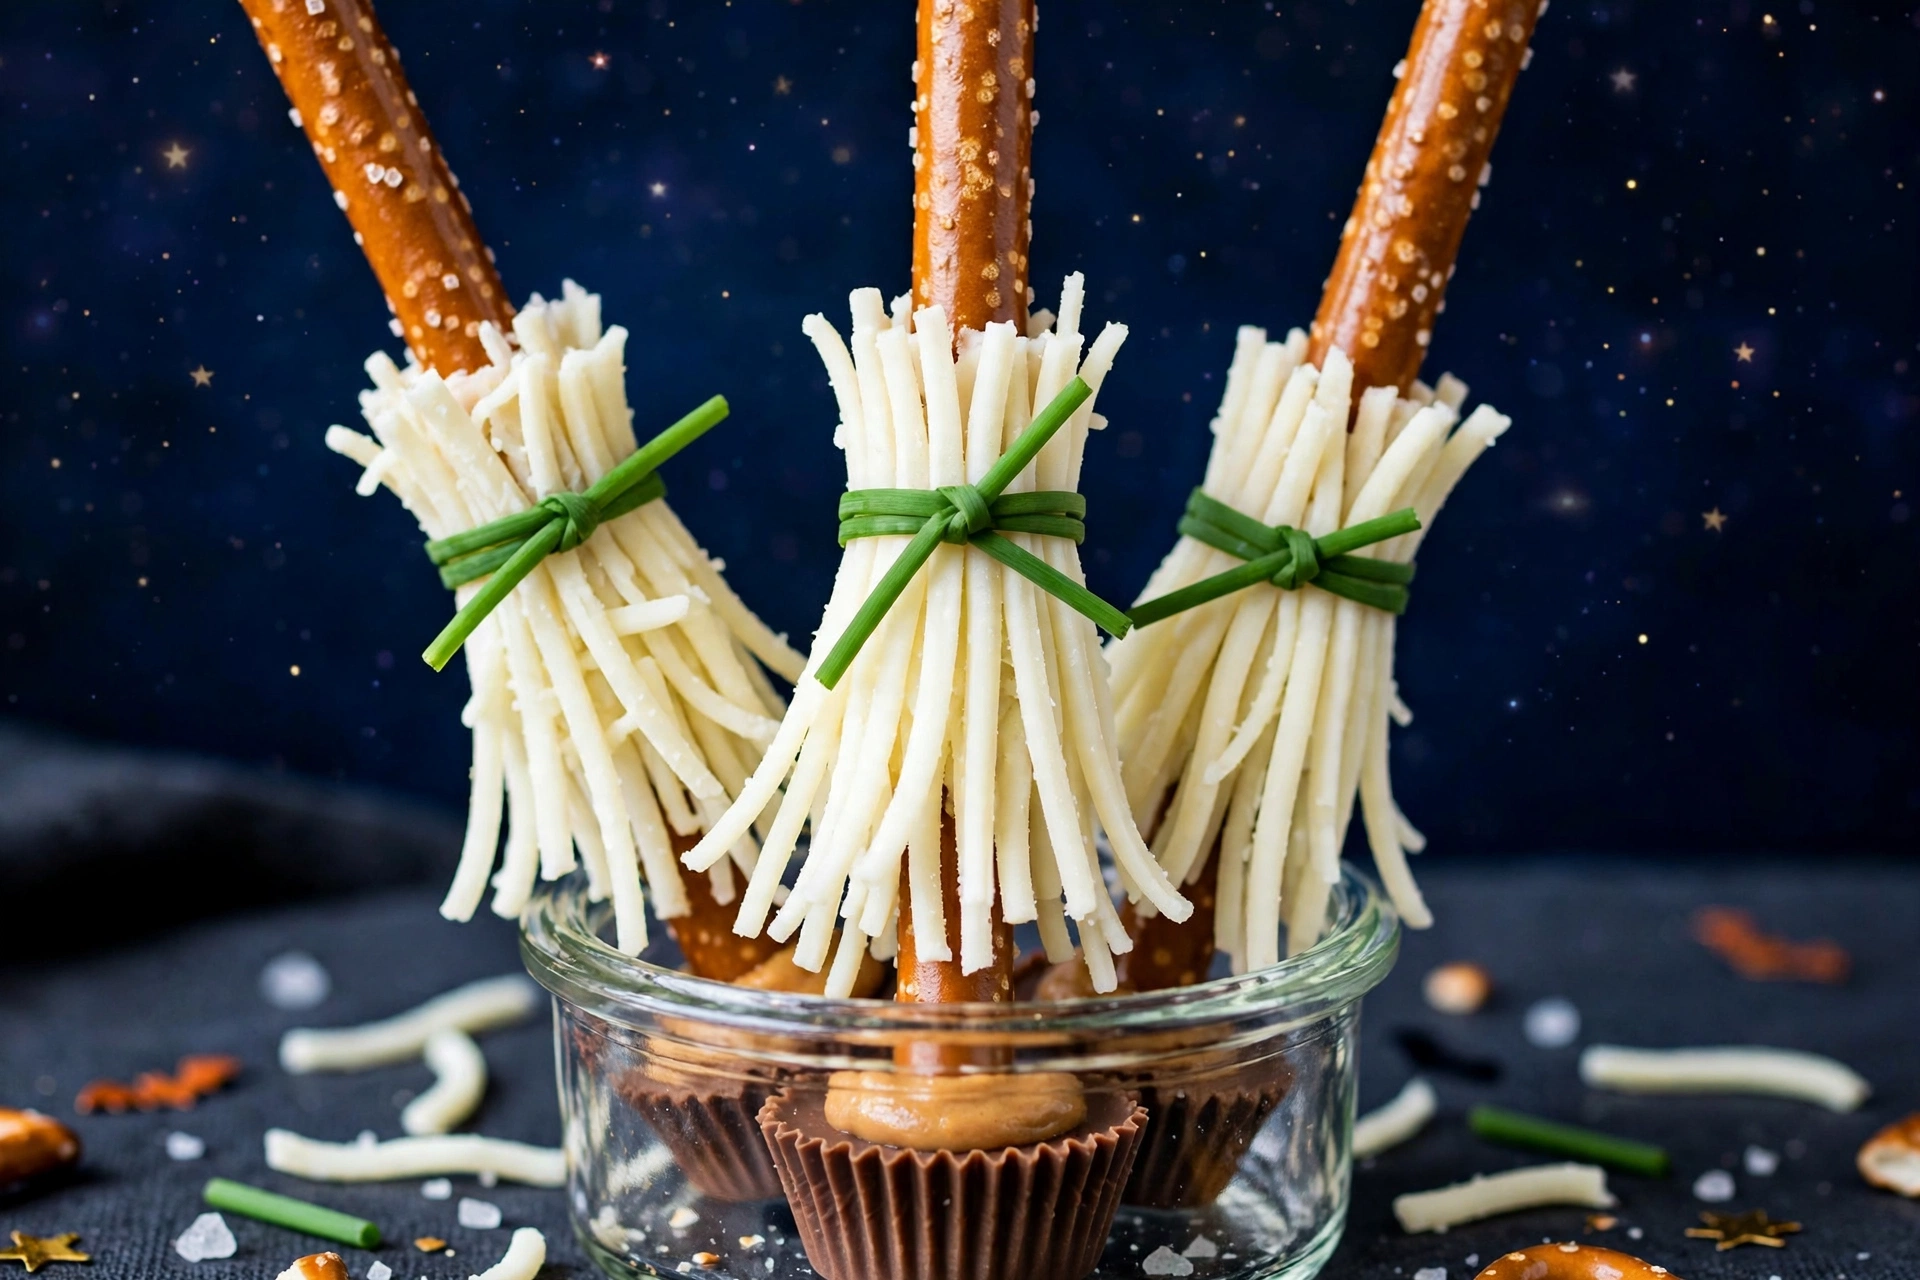
There is a special kind of kitchen magic that happens when salty, crunchy, sweet and just a little bit chewy all land on one stick. These Witch’s Broomstick Pretzel Sticks are that magic, and they are ready in 15 minutes flat with zero baking. If you loved our Witch Finger Pretzel Rods, think of these as their mischievous little cousins — same spooky energy, totally different build. Salty pretzel rods stand tall in mini peanut butter cups, topped with feathery shredded string-cheese bristles tied with a fresh chive bow, and the whole thing looks exactly like the broom a very stylish witch would fly to a Halloween party. Kids go wild assembling them, grown-ups sneak them off the platter, and you get all the glory of a show-stopping spooky treat without touching the oven.
Recipe at a Glance
Prep time: 15 minutes
Cook time: 0 minutes (no baking at all)
Total time: 15 minutes
Yield: 12 broomsticks
Serves: 6 to 12 (plan 1 to 2 per guest)
Ingredients
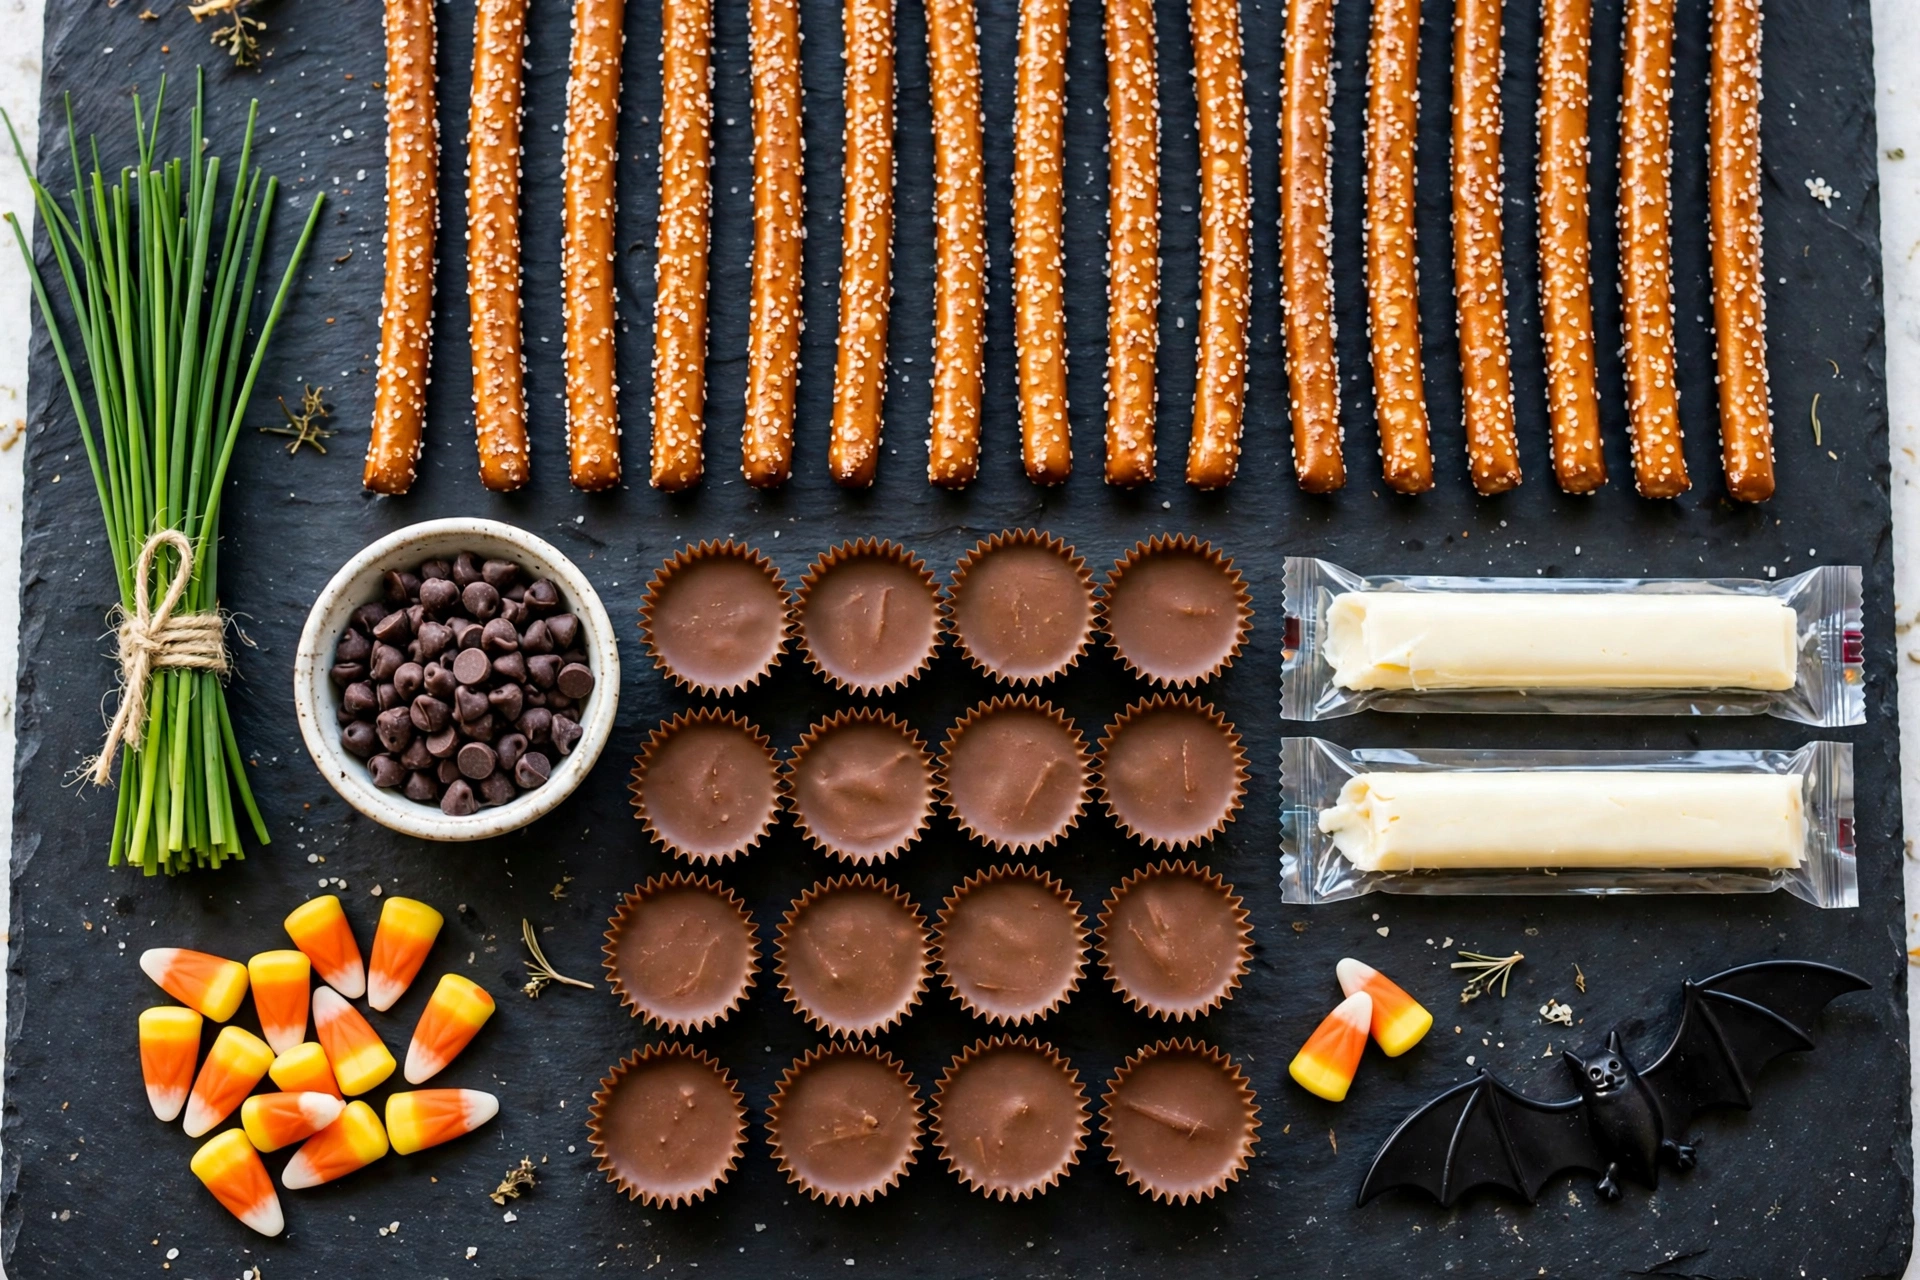
- 12 long salted pretzel rods — the classic twisted, salted snack gives each broomstick handle its satisfying crunch
- 12 mini peanut butter cups, unwrapped (those chocolate and peanut butter candy cups make the perfect sturdy, no-glue anchor)
- 2 mozzarella string cheese sticks, cold from the fridge
- 12 fresh chives (about 6 inches long each)
- 2 tablespoons mini chocolate chips, melted (optional, for edible glue)
Directions
- Unwrap the mini peanut butter cups and line them up on a tray or plate, flat side down.
- Prep the chives: rinse them, pat completely dry, and snip 12 chives to roughly 6-inch lengths. Dry chives knot tighter and grip better.
- Cut the bristles: unwrap each cold string cheese stick and lay it flat. Starting about half an inch from one end, use a small sharp knife to make thin lengthwise cuts down the length of the cheese, stopping before you reach the other end so the top half-inch stays intact as a solid collar. The finer your cuts, the broomier the bristles.
- Attach the bristles: hold a pretzel rod with the top end up. Wrap the cheese collar snugly around the rod about 2 inches below the top tip, with the shredded bristles fanning upward like a real broom. Tie a chive tightly around the collar with a double knot and trim the ends. If a collar slips, dab one melted mini chocolate chip underneath it as edible glue and hold for 10 seconds.
- Stand each broomstick: press the bottom end of the pretzel rod firmly and straight down into the top of a mini peanut butter cup until it stands on its own. The dense peanut butter center grips the rod in a tight friction fit that needs no glue at all.
- Fluff the bristles gently with your fingertips to fan them out like a proper witch’s broom.
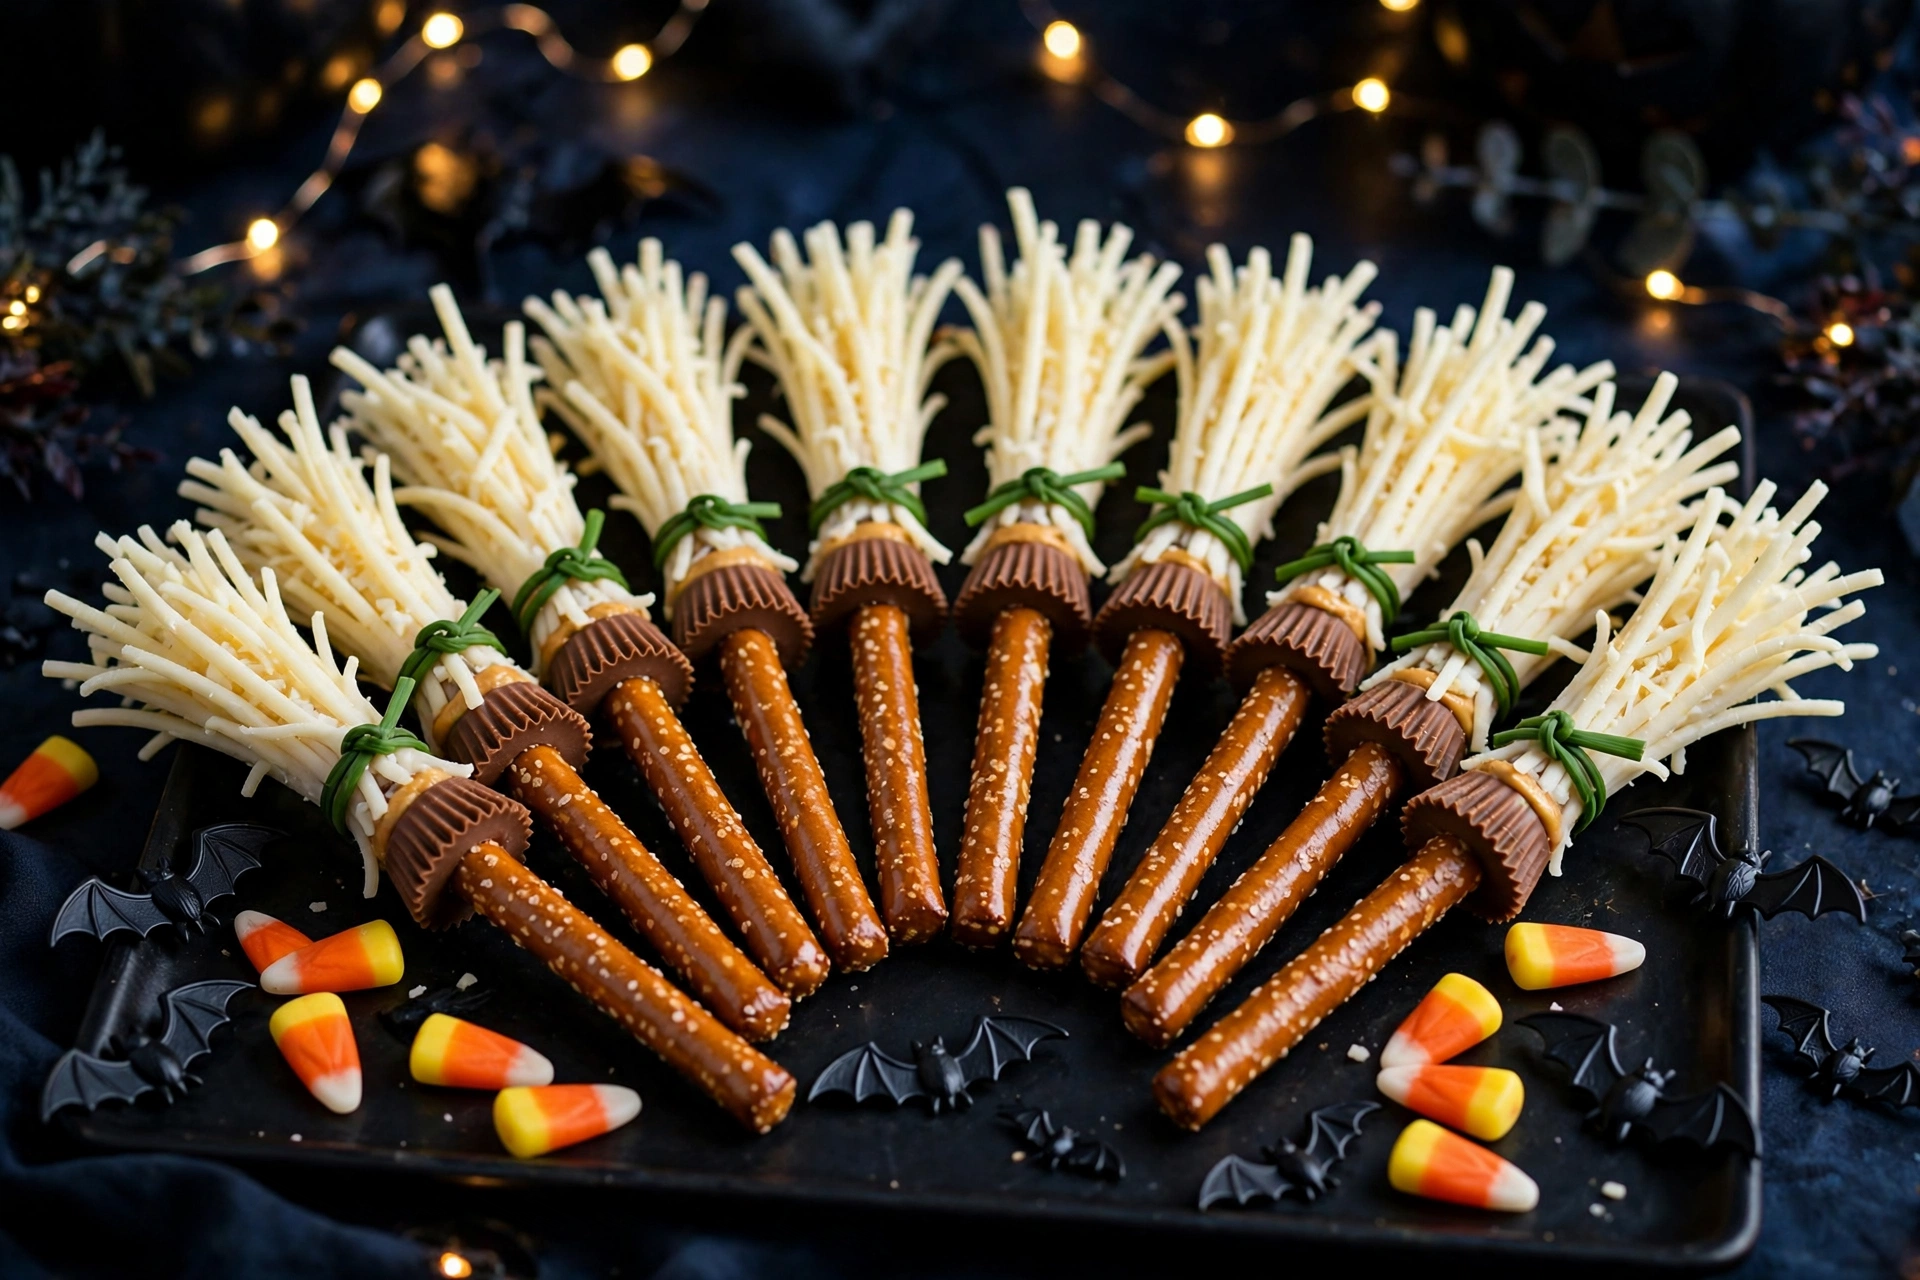
- Arrange the finished broomsticks upright in a jar or fanned out on a platter, and serve right away.

Why This Method Works
The whole trick is the friction fit: a mini peanut butter cup has a dense, fudgy peanut butter center that grips the end of a pretzel rod and holds it upright with no adhesive, no frosting and no waiting around for anything to set. The bristles work because of the partial-cut technique — by slicing the string cheese almost all the way down but leaving the top half-inch intact, you get a feathery fringe with a built-in collar that has real structural strength. Cut all the way through and you get a pile of loose shreds; leave the collar and you get a broom. The fresh chive tie is doing quiet double duty too: it is a naturally green, edible bow, and the slight moisture on a fresh chive helps the knot cinch down and stay put. One more quiet hero: cold cheese. String cheese straight from the fridge slices into clean, distinct bristles, while room-temperature cheese tears and drags on the knife.
Pro Tips
- Keep the string cheese in the fridge until the moment you cut it. Cold cheese slices into feathery, distinct bristles; warm cheese turns gummy and tears.
- Cut the bristles fine. Thin, close cuts fan out dramatically and look far more broom-like than a few thick strips.
- Pat the chives bone dry before tying. A damp chive slips; a dry one cinches into a knot that actually holds.
- Press the pretzel straight down into the cup, not at an angle. A straight plunge gives the friction fit maximum grip and a broomstick that stands tall instead of leaning like it flew into a tree.
- Assemble no more than 24 hours before serving. The pretzel rods stay crisp and the cheese stays perky for about a day, and the texture is best the same day.
- Serving a crowd? These sit happily on a snack table next to Spooky Halloween Popcorn and Frankenstein Rice Krispie Treats for a full monster-movie spread.
Common Mistakes
- Cutting the cheese bristles all the way through: without the intact collar at the top, the fringe has nothing to hold it together and the broom falls apart. Stop your knife half an inch from the end.
- Pushing the pretzel in at an angle: a crooked rod rocks in the cup and eventually topples. Press straight down with firm, even pressure until the rod feels solidly gripped.
- Using warm string cheese: it shreds raggedly, sticks to the knife and looks sad. Chill it until the last minute.
- Tying with wet chives: freshly rinsed chives need a good pat dry, or the knot slides loose within minutes.
Substitutions
- Peanut allergy: swap the peanut butter cups for mini sunflower-seed butter cups or mini fudge cups so the whole tray stays nut-free.
- Dairy allergy: use dairy-free string-style cheese sticks for the bristles. They shred the same way; just keep them extra cold since they soften faster.
- No chives: thin strips of green scallion tops tie up the same way and give the same fresh green bow.
- No mini chocolate chips: a dab of peanut butter, softened cream cheese or even honey works as edible glue under a slipping collar.
- Different cheese: Colby Jack or cheddar cheese sticks shred into bristles too, and the golden color makes a lovely autumn-toned broom.
Storage & Make-Ahead
Assemble the broomsticks up to 24 hours ahead for best texture: stand them in a single layer in an airtight container and refrigerate. They keep well for up to 3 days refrigerated, though the pretzel rods start to soften after day 2, so day one is the sweet spot. Because these contain cheese, follow the 2-hour rule: do not leave the finished broomsticks at room temperature for more than 2 hours at a party — set out a fresh batch rather than letting one tray sit all evening. Freezing is not recommended; thawed string cheese turns rubbery and the pretzel goes limp. Set refrigerated broomsticks out 15 to 20 minutes before serving so the cheese bristles taste creamy instead of cold and firm.
Frequently Asked Questions
Can I make witch broomstick pretzel sticks ahead of time?
Yes. Assemble them up to 24 hours ahead, stand them in a single layer in an airtight container, and refrigerate. They keep for up to 3 days refrigerated, but the pretzel rods are crispiest on day one. Set them out 15 to 20 minutes before serving.
How do I keep the cheese bristles from falling off?
The secret is the partial cut: slice the string cheese lengthwise but leave the top half-inch intact as a collar, then wrap that collar around the pretzel and tie it with a chive. If a collar still slips, dab one melted mini chocolate chip underneath it as edible glue and hold for 10 seconds.
Are witch broomstick pretzel sticks kid-friendly to make?
Absolutely, and kids love the assembly line: wrapping bristles, tying chive bows and pressing pretzels into peanut butter cups are all easy, no-heat jobs. Keep the knife work for an adult, since cutting the bristles needs a sharp knife and a steady hand.
What can I use instead of peanut butter cups?
Mini fudge cups, mini chocolate sandwich cookies, or any small, dense chocolate candy with a flat base works as the anchor. For a peanut-free version, use mini sunflower-seed butter cups. Just pick something the pretzel rod can press into snugly so the broomstick stands upright.
Rate this recipe
Be the first to rate it!