
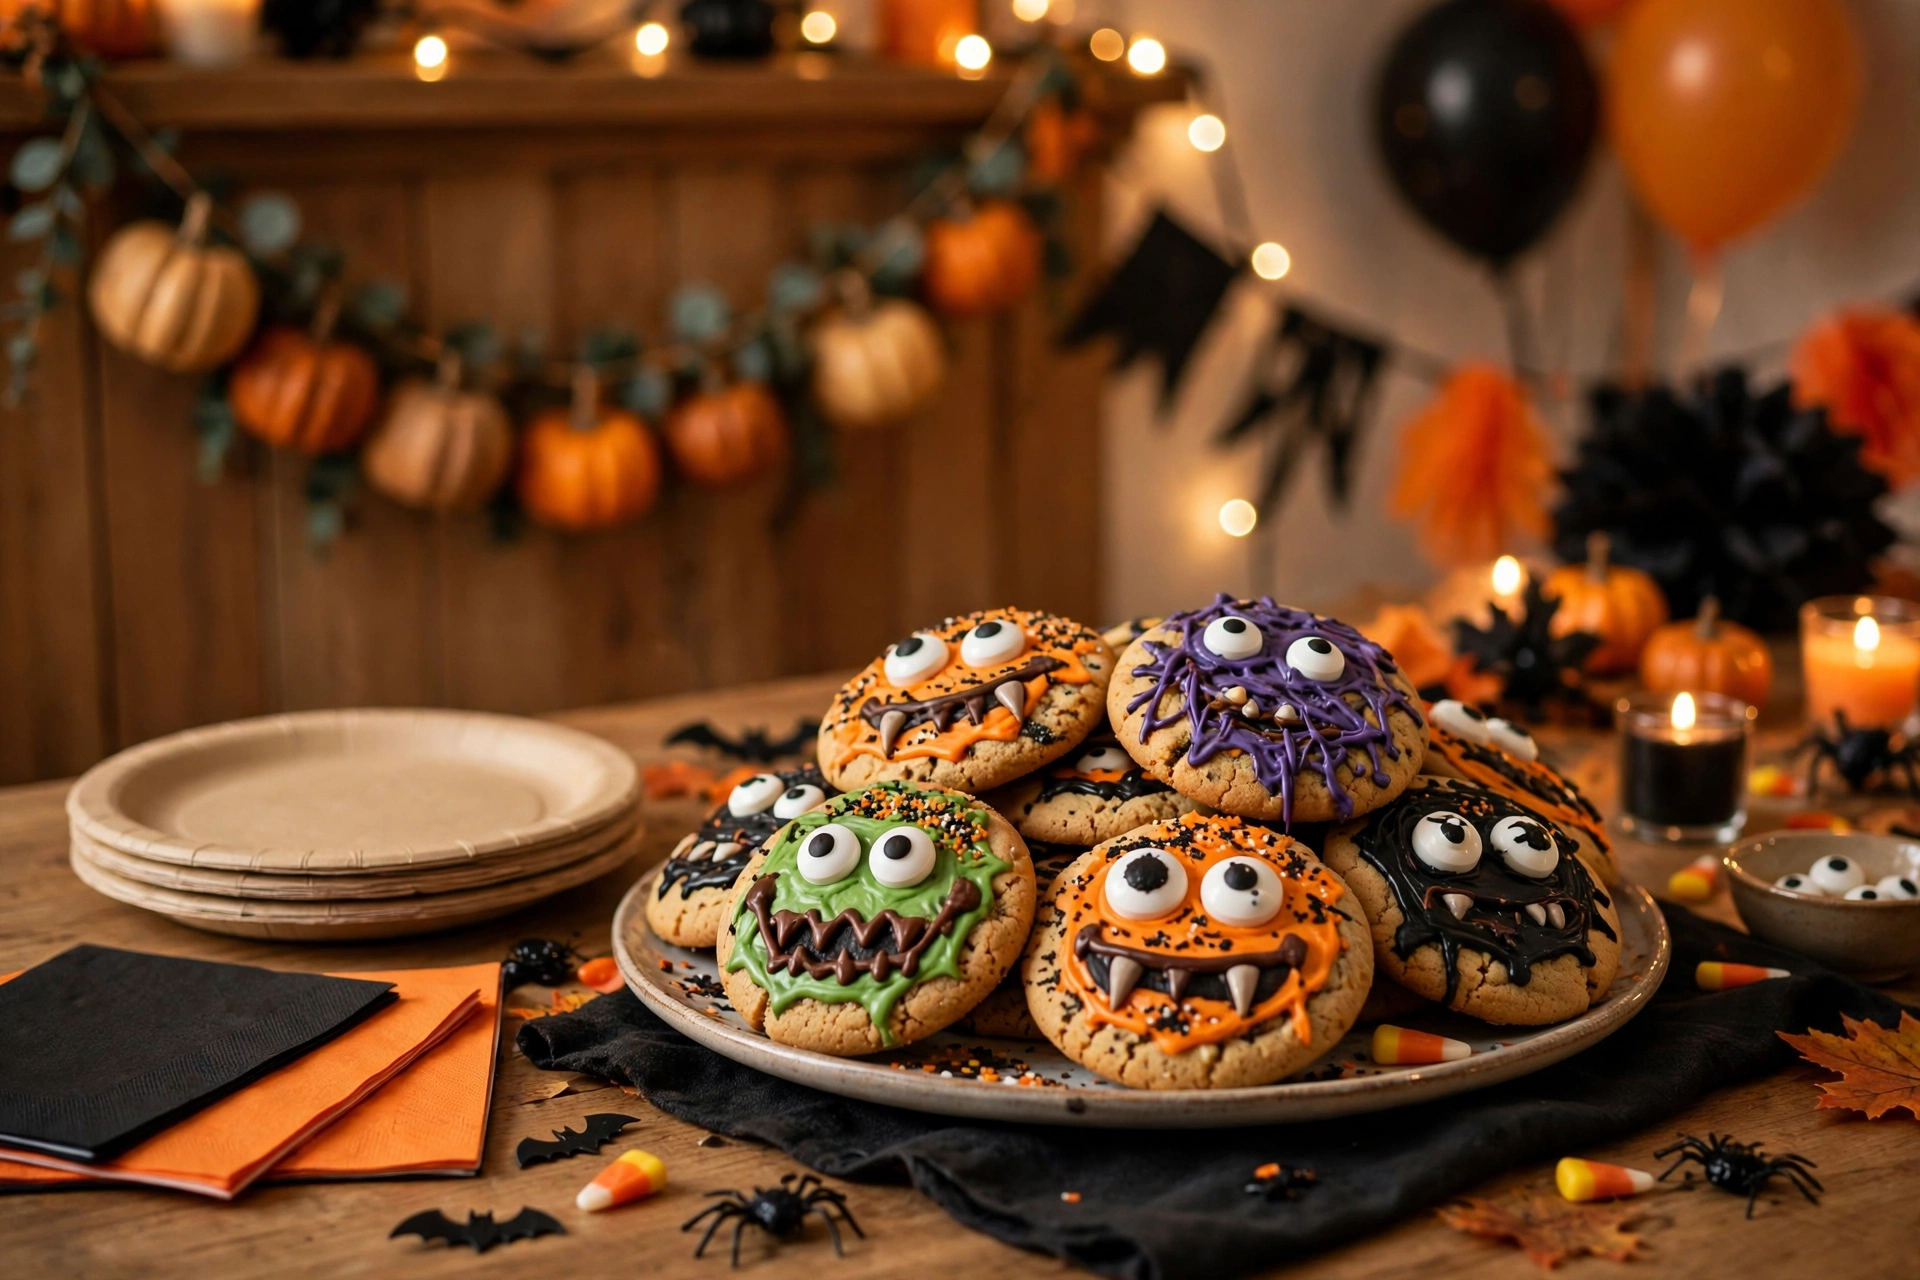
Picture this: the house smells like warm peanut butter and brown sugar, a tray of golden oatmeal cookies is cooling on the counter, and every single cookie is staring back at you with googly candy eyes. These spooky monster cookies are pure edible mischief — thick, chewy peanut butter oatmeal cookies dressed up with candy eyeballs, chocolate drizzle mouths, and a shower of Halloween sprinkles. They go from mixing bowl to monster-faced and party-ready in thirty minutes flat, and kids absolutely lose their minds decorating them.
This is one of those recipes that looks like you tried way harder than you did. The cookie base is a classic chewy peanut butter oatmeal cookie — crisp golden edges, soft centers, and that salty-sweet thing peanut butter does so well — and then the decorating takes about six minutes with zero artistic skill required. Press on the eyes, drizzle the mouths, scatter the sprinkles, and you have a platter of little monsters that tastes even better than it looks. If you are building a whole spooky spread, our spooky witch finger breadsticks make the perfect savory sidekick on the same table.
Ingredients
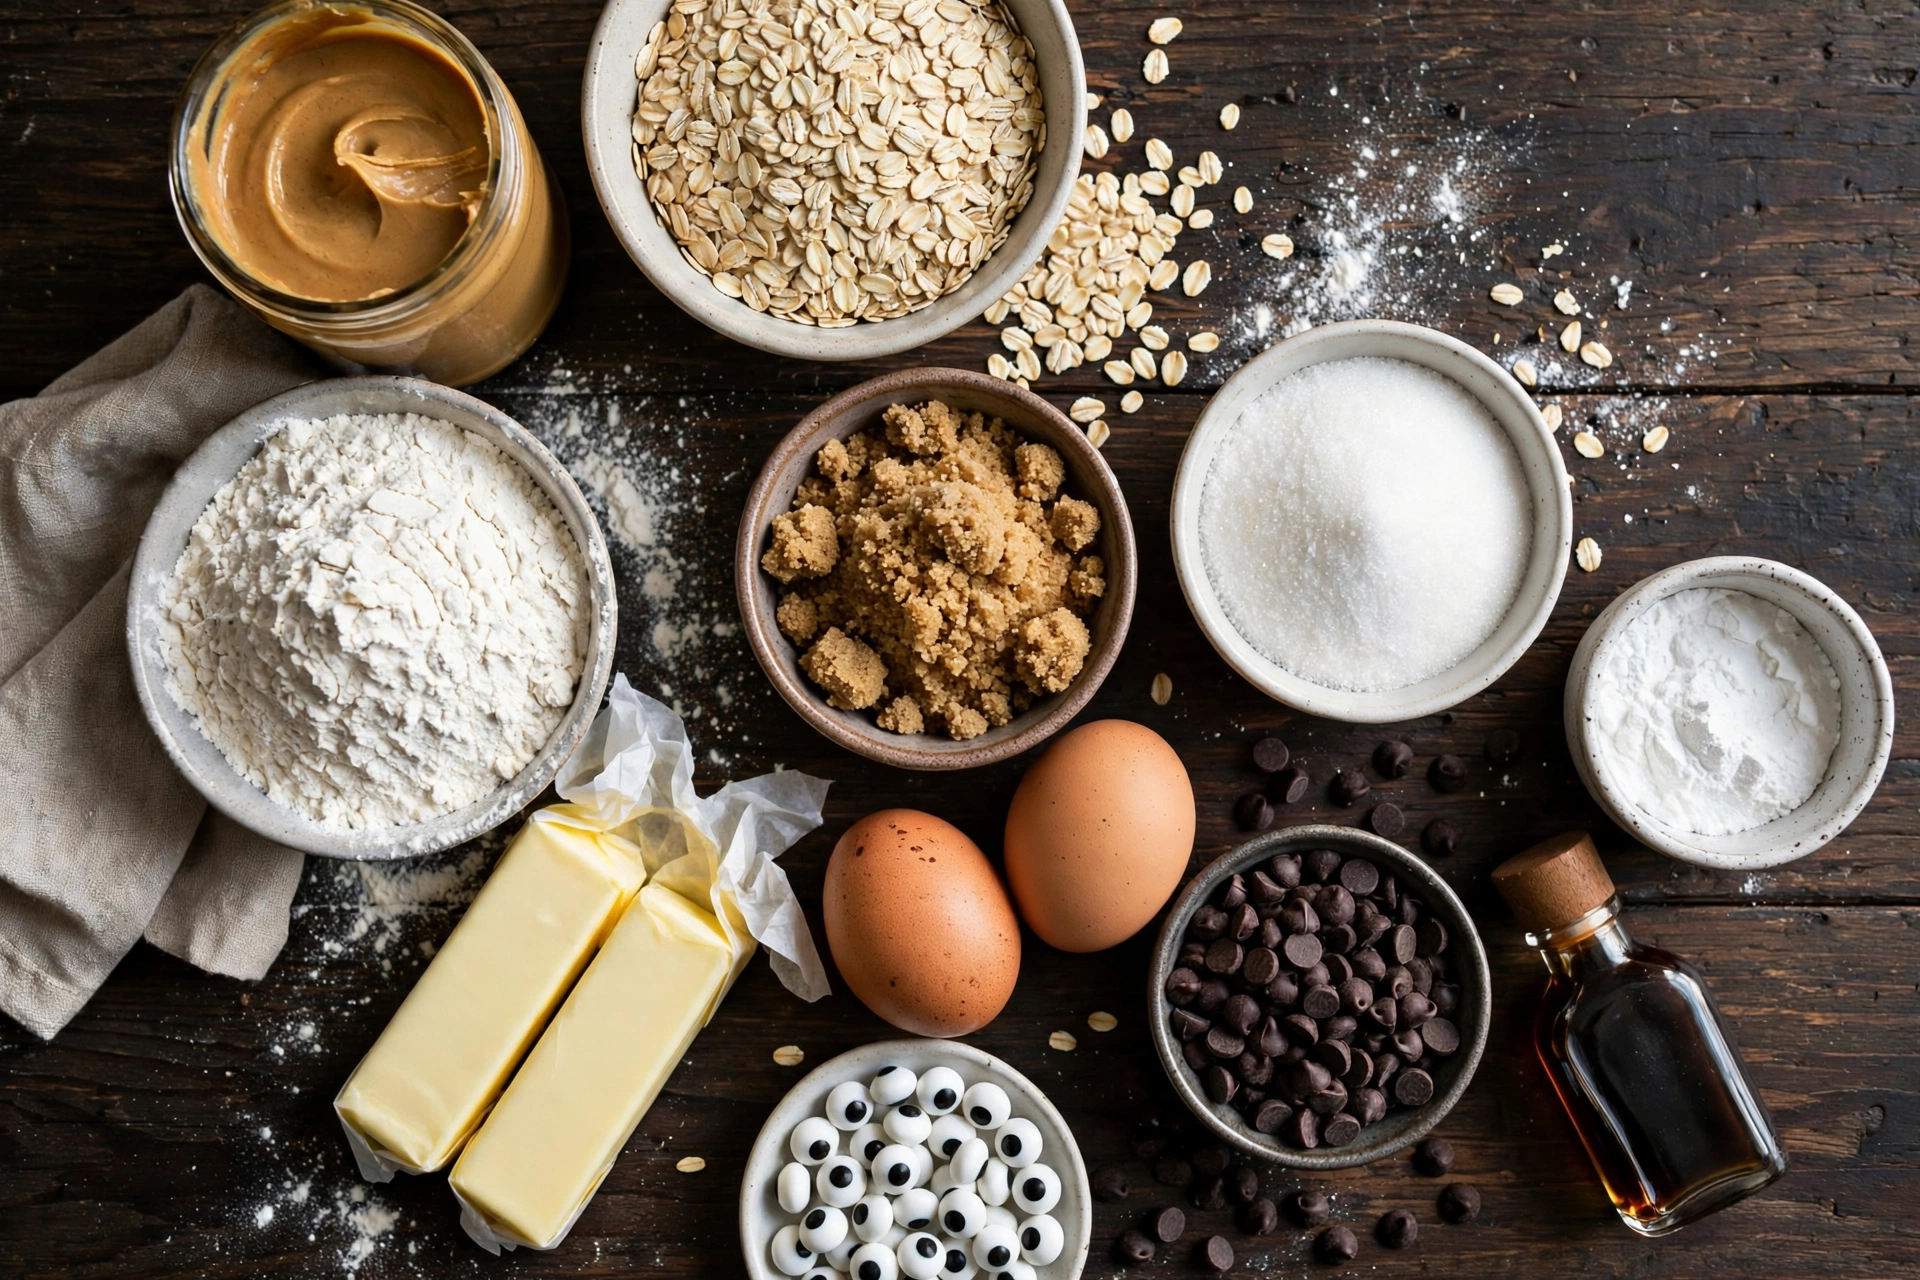
- 1/2 cup (1 stick) unsalted butter, softened to room temperature
- 1/2 cup creamy peanut butter (not natural-style)
- 3/4 cup packed brown sugar
- 1/4 cup granulated sugar
- 1 large egg, at room temperature
- 2 teaspoons vanilla extract
- 1 1/4 cups all-purpose flour
- 1 cup old-fashioned rolled oats
- 1/2 teaspoon baking soda
- 1/2 teaspoon fine salt
- 1/4 cup mini chocolate chips, for monster hair and teeth (optional)
- 48 candy eyeballs (about 2 per cookie)
- 1/4 cup melted semi-sweet chocolate or white chocolate, for drizzle mouths (optional)
Directions
- Heat the oven to 350°F. Line two baking sheets with parchment paper.
- In a large bowl, beat the softened butter, peanut butter, brown sugar, and granulated sugar with a hand mixer (or a sturdy spoon) for about 2 minutes, until light and fluffy.
- Beat in the egg and vanilla until smooth and glossy, scraping down the sides of the bowl once.
- In a separate bowl, whisk together the flour, oats, baking soda, and salt. Add the dry mixture to the wet mixture and stir just until no dry streaks remain. Fold in the mini chocolate chips if using them.
- Scoop 1 1/2-tablespoon balls of dough (a medium cookie scoop is perfect) and place them 2 inches apart on the prepared baking sheets. You should get about 24 cookies.
- Bake for 10 to 12 minutes, until the edges are set and lightly golden but the centers still look slightly soft. They will firm up as they cool.
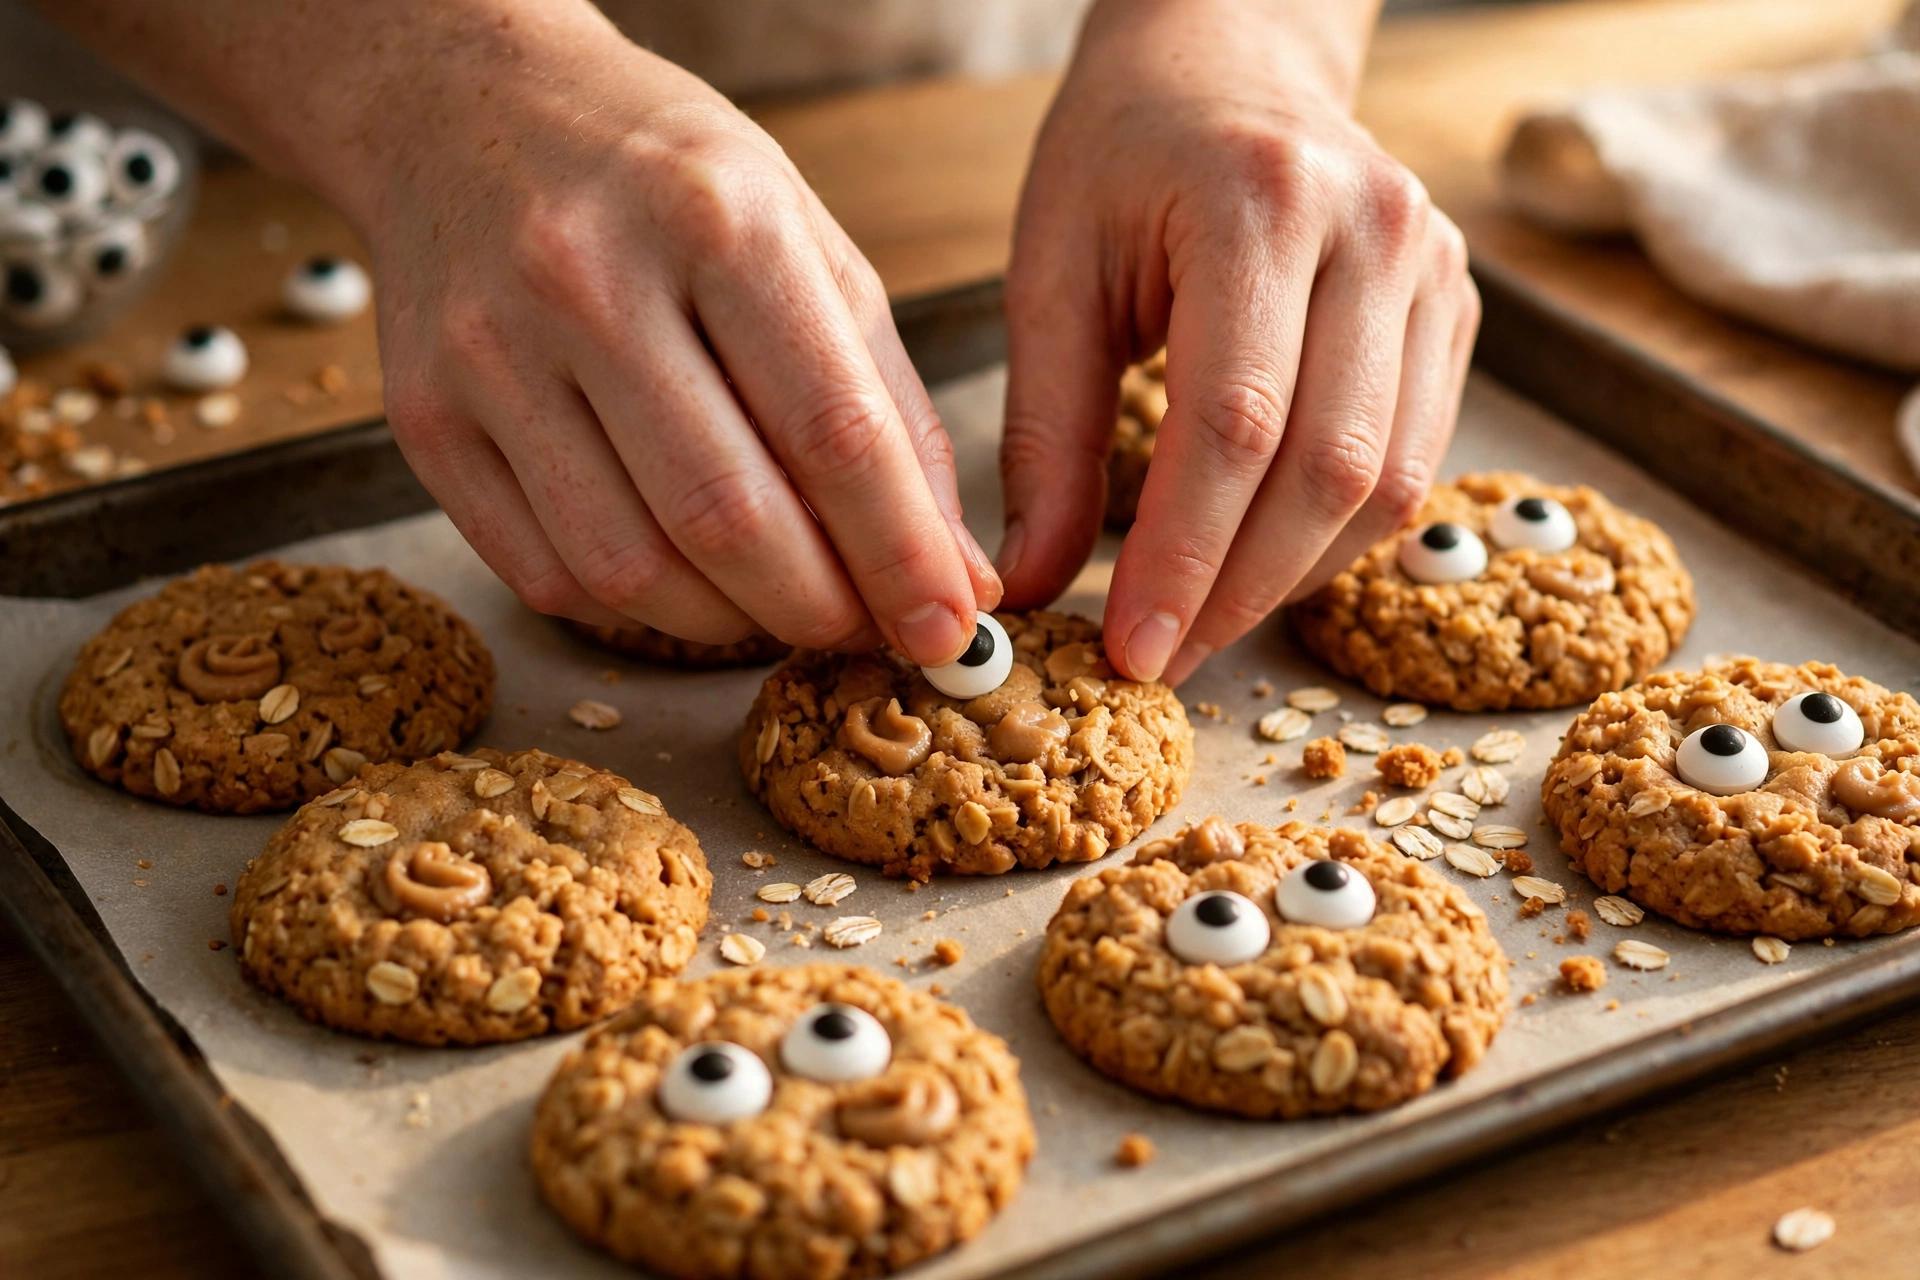
- Working quickly while the cookies are still warm, press 2 candy eyeballs into the top of each cookie. Drizzle melted chocolate across the lower half for a monster mouth, scatter Halloween sprinkles over the top, and press a few extra chocolate chips on as hair or teeth if you like.
- Let the cookies cool on the baking sheet for 5 minutes so the eyeballs set in place, then move to a wire rack to cool completely.
Recipe at a Glance
Prep time: 12 minutes | Cook time: 12 minutes | Decorating: 6 minutes | Total time: 30 minutes
Yield: about 24 cookies | Servings: 12 (2 cookies each) | Oven: 350°F

Why This Method Works
There is real kitchen science hiding inside this silly cookie, and it is the reason the texture lands perfectly chewy every time. First, creaming room-temperature butter with both sugars for a full two minutes whips tiny air pockets into the fat, which gives the cookies lift and tenderness — and the brown sugar brings molasses, which is hygroscopic, meaning it grabs onto water and holds it. That is the secret behind a chewy (not cakey) crumb that stays soft for days.
Second, peanut butter is doing double duty. Its fat coats the flour proteins before they can link up into gluten, so the cookie stays tender instead of tough, and its roasted, savory depth balances the sweetness. Peanut butter cookies have been an American favorite for generations precisely because of that salty-sweet balance, and as a bonus, peanut butter is a good source of plant-based protein and healthy fats, so these feel a little more substantial than a plain sugar cookie.
Third, the oats. Rolled oats absorb moisture slowly as the dough bakes, which keeps the centers soft and gives the cookie its hearty chew. And the decorating trick — pressing the candy eyeballs into warm cookies within two minutes of baking — uses residual heat to slightly soften the candy backing so it bonds to the cookie as it cools. No frosting glue needed, and the eyes never slide off.
Finally, pulling the cookies when the centers still look slightly underdone is deliberate. Carryover heat finishes the baking on the tray, so the middles set into that perfect soft-chewy zone instead of drying out into hockey pucks.
Pro Tips
- Use regular creamy peanut butter (like the classic jarred kind), not natural-style. Natural peanut butter separates and makes the dough greasy, which leads to flat, oily cookies.
- If your kitchen is warm and the dough feels soft or sticky, chill it for 10 minutes before scooping. Cold dough spreads less and bakes up thicker.
- Set a timer and decorate fast — the eyeballs stick best when pressed into cookies within 2 minutes of leaving the oven.
- Rotate the baking sheets halfway through for even browning, especially if your oven has hot spots.
- For extra-googly monsters, use two different sizes of candy eyeballs on each cookie. The mismatched look is somehow even cuter.
- Let kids do the decorating but handle the hot tray yourself — give each child 3 or 4 cooled-for-2-minutes cookies and a little bowl of eyes and sprinkles.
Common Mistakes (and How to Fix Them)
Flat, greasy cookies. This usually means the butter was melted instead of softened, or the flour was under-measured. Fix: use butter that holds a fingerprint when pressed, and spoon flour into the measuring cup and level it off rather than scooping from the bag. If the dough looks shiny and loose, chill it 15 minutes before baking.
Candy eyeballs sliding off. The cookies cooled too much before decorating. Fix: press eyes in while the cookies are still warm from the oven. If you missed the window, dab a tiny dot of melted chocolate on the back of each eyeball as edible glue.
Dry, crumbly cookies. They were overbaked. Fix: pull the tray when the edges are set but the centers still look soft and slightly glossy — they finish on the hot pan. Set a timer for 10 minutes and check early.
Cookies all different sizes. Uneven scoops bake unevenly. Fix: use a 1 1/2-tablespoon cookie scoop so every monster bakes in the same time.
Substitutions
- Nut-free: swap the peanut butter for sunflower seed butter in equal amounts — the flavor is milder but the texture works the same, which makes these safe for school parties.
- Almond butter: works 1:1, but it is slightly drier, so add 1 extra tablespoon of milk to the dough.
- Butter: melted and cooled coconut oil swaps 1:1, though the cookies bake up a touch crisper.
- Oats: old-fashioned rolled oats give the best chew. Quick oats work in a pinch but make a denser cookie. Do not use steel-cut oats — they stay hard and raw-tasting.
- Egg-free: one flax egg (1 tablespoon ground flaxseed mixed with 3 tablespoons water, rested 5 minutes) replaces the egg neatly.
- No candy eyeballs? Use a white chocolate chip as the eye white with a mini chocolate chip pressed on top for the pupil.
Storage and Make-Ahead
Store the finished monster cookies in an airtight container at room temperature for 4 to 5 days — the brown sugar keeps them chewy the whole time. Do not leave the cookie dough (it contains raw egg) sitting out for more than 2 hours; refrigerate it promptly if you are not baking right away. For make-ahead, scoop the dough into balls and freeze them on a tray, then bag them for up to 3 months — bake straight from frozen at 350°F, adding 2 extra minutes. Baked cookies also freeze well for up to 3 months, but freeze them plain and add the eyeballs after thawing, since candy eyes can sweat and smudge in the freezer. Set the finished platter out next to graveyard dirt cups and poison toffee apples and your Halloween dessert table is done.
Frequently Asked Questions
Can I make spooky monster cookies without peanut butter?
Yes. Swap the peanut butter for sunflower seed butter in the same amount for a completely nut-free cookie that is safe for school parties. Almond butter also works 1:1, but add 1 extra tablespoon of milk since it is a little drier than peanut butter.
Why did my candy eyeballs fall off the cookies?
The cookies had cooled too much before decorating. Press the eyeballs into the cookies within 2 minutes of taking the tray out of the oven, while the tops are still warm and soft. If you missed the window, dab a tiny dot of melted chocolate on the back of each eyeball to glue it on.
Can I freeze spooky monster cookie dough?
Yes, this dough freezes beautifully. Scoop it into balls, freeze solid on a tray, then store in a freezer bag for up to 3 months. Bake straight from frozen at 350°F, adding about 2 extra minutes to the bake time, then decorate as usual.
How do I keep my monster cookies soft and chewy?
Do not overbake — pull the tray when the edges are set but the centers still look slightly soft, and let carryover heat finish the job. Then store the cooled cookies in an airtight container at room temperature, where they stay chewy for 4 to 5 days.
Rate this recipe
Be the first to rate it!
8 thoughts on “Spooky Monster Cookies (Easy 30-Minute Halloween Cookies)”