
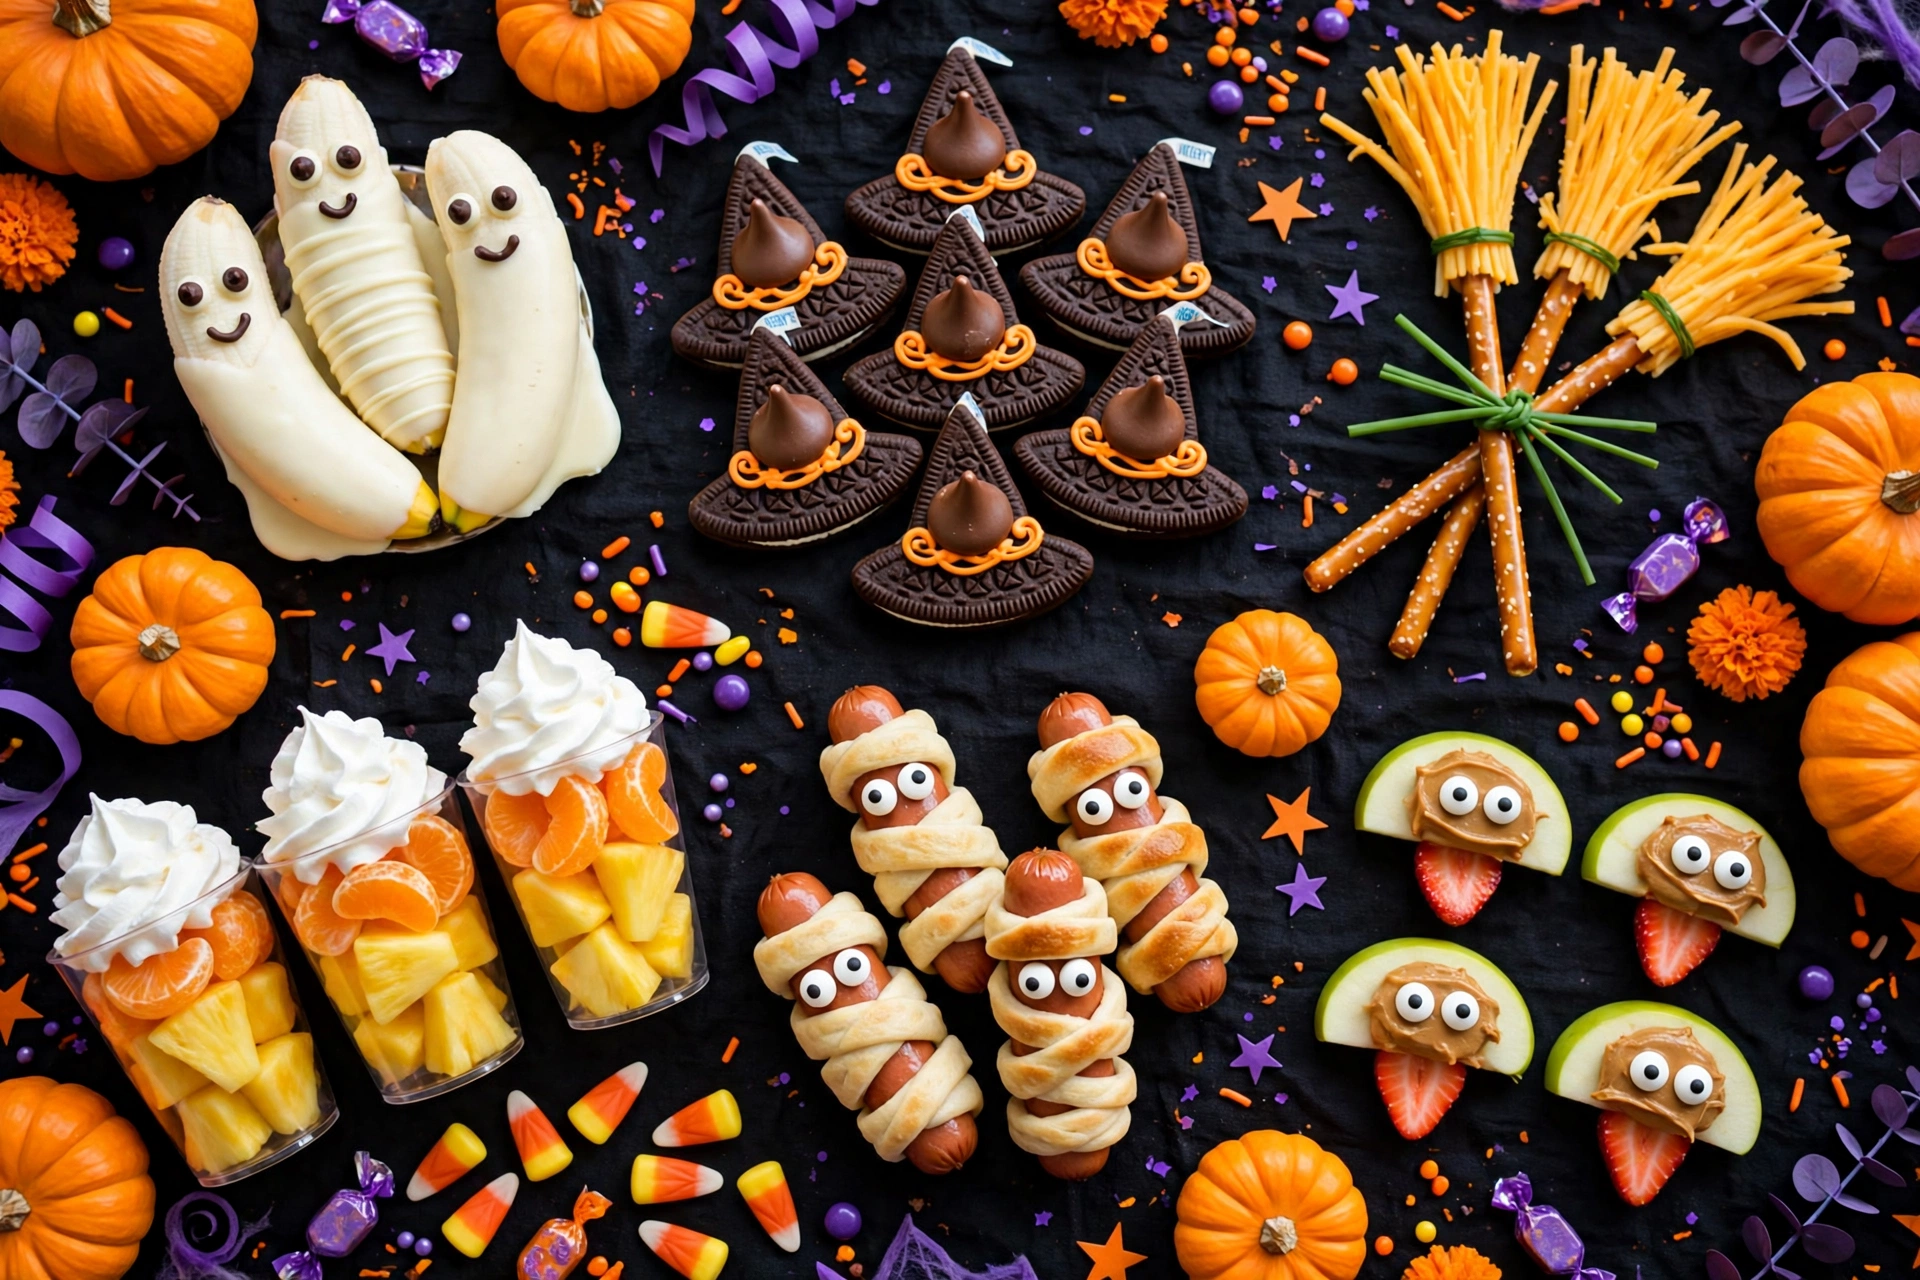
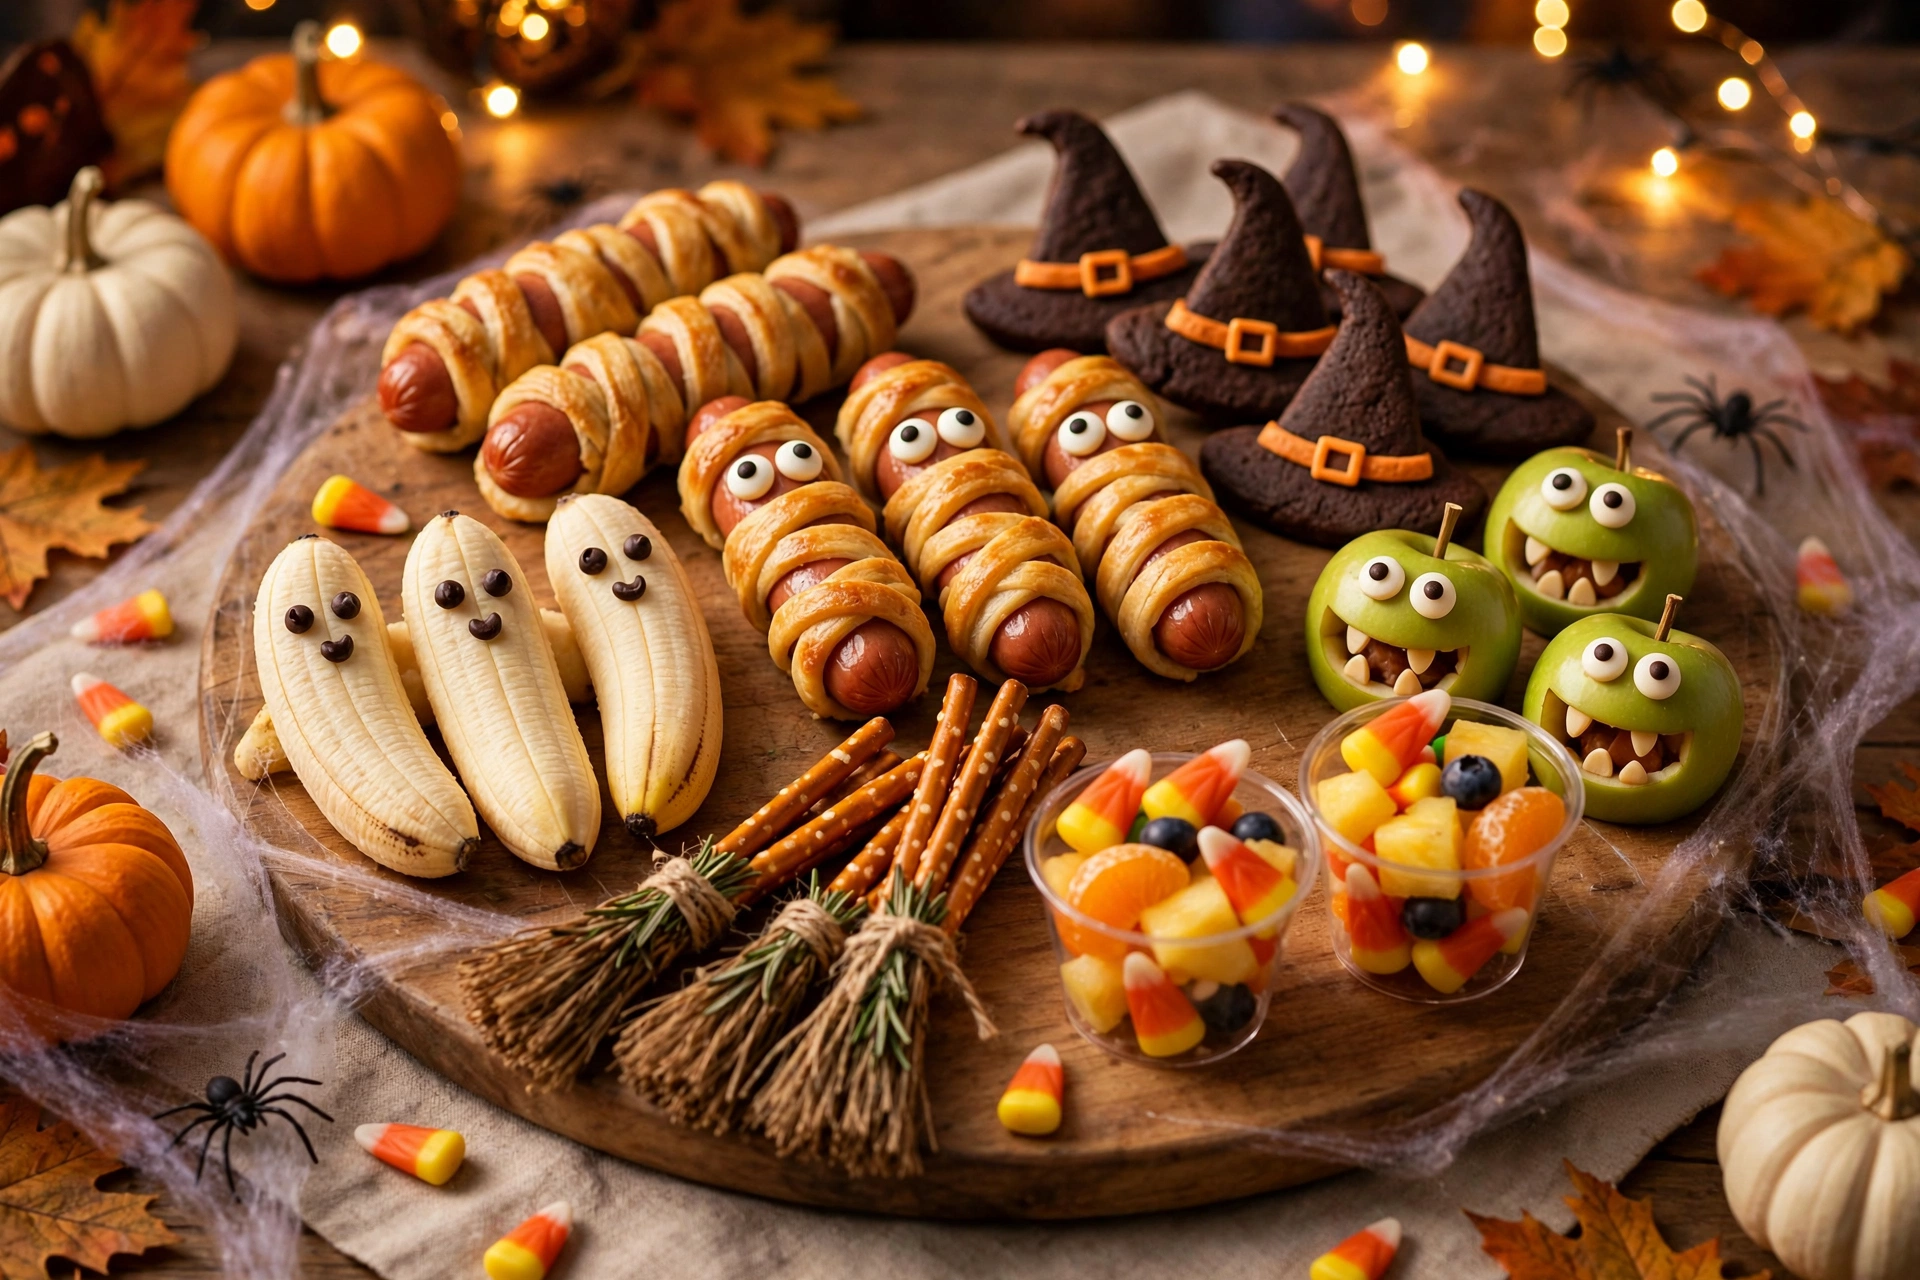
October is the month when the snack table matters more than the candy bowl. Between classroom parties, trick-or-treat pit stops, and spooky movie nights, parents need snacks that are fast, fun, and safe for little hands to grab. That is exactly what this roundup is: six Halloween snacks kids genuinely love to make and eat, all with simple ingredients and no scary cooking techniques.
Halloween has been celebrated on October 31 for centuries, and its modern party traditions — costumes, jack-o’-lanterns, and trick-or-treating — are described in the history and customs of Halloween. These six snacks fit right into that playful spirit: ghosts, witches, brooms, mummies, and monsters, all edible and all ready in under 30 minutes of hands-on time.
Recipe at a Glance
Total Hands-On Time: 10 to 25 minutes per snack | Baking: only the mummy hot dogs (12 minutes at 375°F) | Yield: 8 to 24 pieces per snack | Course: Snacks | Skill Level: Easy enough for kids to help
1. Banana Ghosts
The sweetest little spooks on the table. Ripe bananas get a creamy white chocolate coat, then two mini chocolate chips and a piped smile turn each one into a friendly ghost. Kids love peeling the bananas and pressing in the faces.
Time: Prep 15 minutes | Setting 10 minutes | Total 25 minutes | Yield: 8 ghosts
Ingredients:
- 4 ripe bananas, peeled and halved crosswise
- 8 oz white chocolate chips or white candy melts
- 1 teaspoon coconut oil (helps the coating set smoothly)
- 16 mini chocolate chips, for the eyes
- 8 craft sticks or popsicle sticks (optional, for little hands)
Method:
- Line a baking sheet with parchment paper. Insert a craft stick into the cut end of each banana half, if using.
- Melt the white chocolate with the coconut oil in a microwave-safe bowl in 30-second bursts, stirring between each, until smooth.
- Dip each banana half in the melted white chocolate, turning to coat completely. Let the excess drip off and set on the parchment.
- While the coating is still wet, press two mini chocolate chips in for eyes. Let set for 10 minutes at room temperature or 5 minutes in the fridge.
- Use the tip of a toothpick dipped in melted chocolate to draw a tiny smile on each ghost.
2. Witch Hat Cookies
Three ingredients, zero baking, and a finished cookie that looks like it flew straight off a witch’s head. A chocolate sandwich cookie becomes the brim, a chocolate kiss becomes the pointy crown, and orange icing holds the whole spell together.
Time: Prep 15 minutes | Setting 10 minutes | Total 25 minutes | Yield: 24 cookies
Ingredients:
- 24 chocolate sandwich cookies
- 24 milk chocolate kiss candies, foil removed
- 1/2 cup orange icing, store-bought or homemade
Method:
- Line a baking sheet with parchment paper. Chill the unwrapped kisses in the fridge for 15 minutes so they hold their shape while you work.
- Spoon a dime-sized dollop of orange icing into the center of each sandwich cookie.
- Press one chocolate kiss firmly into the icing so it stands tall like a witch’s hat crown. The icing should squish slightly around the base — that is the glue.
- Pipe a thin ring of icing around the base of each kiss for extra hold. Let set for 10 minutes at room temperature.
For the full step-by-step with chilling tricks and decorating ideas, see our Easy Halloween Witch Hat Cookies recipe.

3. Pretzel Broomsticks
The savory one of the bunch. A salty pretzel stick becomes the broom handle, a piece of string cheese gets fringed into a broom head, and a chive ties it all together. They look like tiny witch brooms and disappear by the handful.
Time: Prep 20 minutes | Total 20 minutes | Yield: 12 broomsticks
Ingredients:
- 12 pretzel sticks
- 6 string cheese sticks, cut in half crosswise
- 12 fresh chives (or thin strips of green onion)
Method:
- Take each half of string cheese and cut lengthwise fringes into the bottom two-thirds, leaving the top third intact as the broom head anchor.
- Gently fan the fringes apart with your fingers so they flare like broom straw.
- Push a pretzel stick up into the uncut top of each cheese piece, about 1 inch deep.
- Tie a chive around the joint between the cheese and the pretzel to hold the broom head on the handle. Snip the ends of the chive.
4. Candy Corn Fruit Cups
The only fruit on the table wearing a costume. Pineapple chunks and mandarin orange segments are layered in clear cups to mimic candy corn’s yellow-orange-white stripes, then crowned with a cloud of whipped cream. Bright, juicy, and refreshingly light next to all the chocolate.
Time: Prep 15 minutes | Total 15 minutes | Yield: 8 cups
Ingredients:
- 2 cups pineapple chunks, drained if canned
- 2 cups mandarin orange segments, drained if canned
- 2 cups whipped cream or whipped topping
- 8 clear plastic cups
Method:
- Spoon a layer of pineapple chunks into the bottom third of each cup.
- Add a middle layer of mandarin orange segments, pressing gently so the stripes stay crisp.
- Pipe or dollop whipped cream on top as the white stripe of the candy corn.
- Chill until serving. Assemble no more than 2 hours ahead so the fruit stays fresh and the layers stay sharp.
5. Mummy Hot Dogs
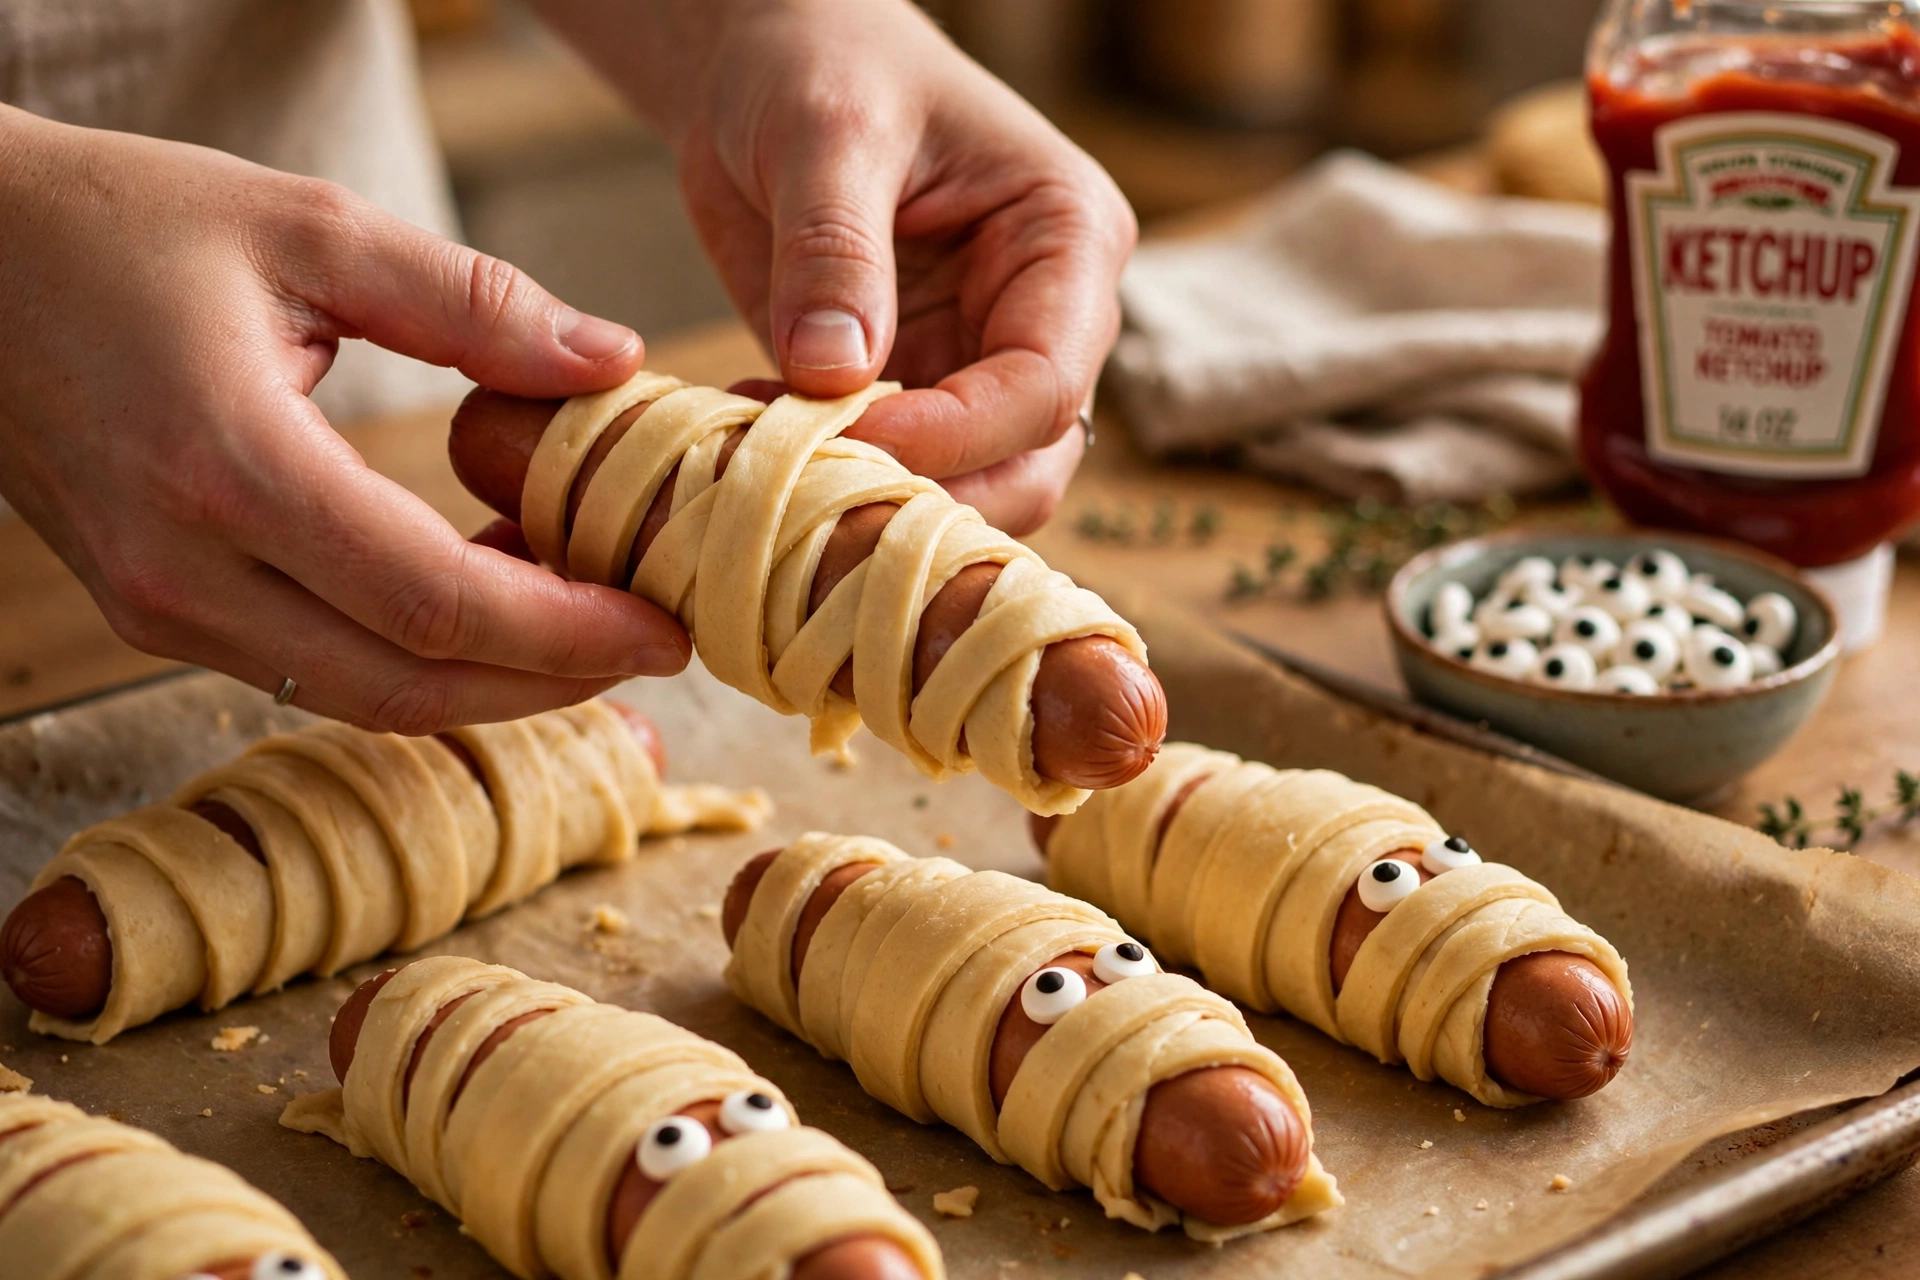
The only snack here that visits the oven, and it is worth it. Hot dogs get wrapped in golden crescent dough bandages and baked until puffy, with googly candy eyes peeking out. Savory, warm, and the first thing gone at every party.
Time: Prep 10 minutes | Cook 12 minutes | Total 22 minutes | Yield: 8 mummies
Ingredients:
- 8 hot dogs
- 1 can (8 oz) refrigerated crescent roll dough
- 16 candy eyes (or small dots of mustard for the eyes)
- Ketchup and mustard, for serving
Method:
- Preheat the oven to 375°F (190°C). Line a baking sheet with parchment paper.
- Unroll the crescent dough and pinch the perforated seams together. Cut into long, thin strips about 1/4 inch wide.
- Wrap each hot dog by spiraling a dough strip around it, leaving a small gap near the top for the face.
- Place seam-side down on the baking sheet, about 2 inches apart. Bake for 10 to 12 minutes, until the dough is puffed and deep golden.
- Heat through — the USDA guidance on hot dogs recommends heating packaged hot dogs to an internal temperature of 165°F, which the baking step easily accomplishes.
- While the mummies are still slightly warm, press two candy eyes into the open face gap. Serve warm with ketchup and mustard for dipping.
Want more mummy madness? Our full Spooky Mummy Hot Dogs recipe has extra tips for the cutest bandages.
6. Monster Apple Bites
The snack that makes kids howl with laughter. Crisp apple slices are glued together with peanut butter (or sunflower butter for nut-free classrooms), a strawberry slice becomes a wiggling tongue, and candy eyes finish the monster face.
Time: Prep 15 minutes | Total 15 minutes | Yield: 12 monsters
Ingredients:
- 3 apples, cored and cut into thin wedges
- 1/2 cup creamy peanut butter or sunflower seed butter
- 6 strawberries, hulled and sliced lengthwise
- 24 candy eyes
Method:
- Spread peanut butter or sunflower butter generously on one flat side of each apple wedge.
- Press a strawberry slice onto the peanut butter near one end so it sticks out like a tongue.
- Top with a second apple wedge, peanut-butter side down, to make a little mouth.
- Dot peanut butter on the top wedge and press two candy eyes on so the monster can see.
- Serve right away so the apples do not brown. A squeeze of lemon juice on the wedges buys you an extra hour if you must prep ahead.
Why These Snacks Work for Kids
Three things make a Halloween snack a kid hit. First, zero knife skills required for most of them — assembling is the whole job, which means even a five-year-old can build banana ghosts or stack fruit cups. Second, every snack is recognizable food in a costume: a banana, an apple, a hot dog. Nothing mysterious to refuse. Third, the flavors are familiar. White chocolate, peanut butter, pretzels, and fruit are already kid favorites, so the Halloween dressing is pure decoration, not a gamble.
Pro Tips for a Spooky Snack Table
- Run an assembly line. Lay out all six stations and let kids pick their project. Finished snacks go straight onto the serving platter.
- Chill what melts. White chocolate ghosts and witch hat kisses stay sharpest when the chocolate is cold going in. Chill kisses for 15 minutes before building hats.
- Work in a cool kitchen. Warm kitchens soften candy melts and white chocolate. If it is warm, build in batches and refrigerate finished trays.
- Make the hot dogs last. They are best warm from the oven, so bake the mummies 20 minutes before guests arrive and assemble the no-bake snacks earlier.
- Label the nut ones. Monster apple bites with peanut butter should be marked or made with sunflower butter if any guests have nut allergies.
Common Mistakes (and How to Fix Them)
- White chocolate seizing: even a drop of water turns melted white chocolate grainy. Dry the banana halves with a paper towel before dipping, and melt in short bursts.
- Leaning witch hats: the kiss was pressed into too little icing. Use a dime-sized dollop and add the ring around the base as a brace.
- Broomsticks falling apart: the chive tie was too loose, or the cheese was too cold to grip the pretzel. Let string cheese sit at room temperature for 10 minutes, then tie snugly.
- Fruit cups weeping: canned fruit must be drained well. Excess syrup bleeds through the stripes and clouds the layers.
- Apples browning: monster bites go brown in about an hour. A squeeze of lemon juice on the wedges slows it down, but assemble close to serving time.
Substitutions
- Nut-free: swap peanut butter for sunflower seed butter in the monster apple bites, and check candy eye labels for facility warnings.
- Dairy-free ghosts: use dairy-free white chocolate chips and coconut oil for the banana coating.
- Witch hat brims: any flat round cookie works — vanilla wafers, shortbread rounds, or fudge stripe cookies.
- Mummy wraps: pizza dough strips work in place of crescent dough; bake at the same temperature for 12 to 14 minutes.
- Fruit cup fruit: swap pineapple for mango chunks and mandarins for clementine segments — the color stripes stay the same.
Storage and Make-Ahead
Witch hat cookies keep in a single layer in an airtight container at room temperature for up to 5 days. Banana ghosts and pretzel broomsticks are best the day they are made, but can be refrigerated in an airtight container for up to 2 days. Fruit cups hold in the fridge for up to 1 day — assemble the morning of the party. Mummy hot dogs are best fresh from the oven; leftovers refrigerate for up to 3 days and reheat at 350°F for 8 to 10 minutes until heated through. Monster apple bites do not store well — make them the day of the party. Perishable snacks should not sit at room temperature for more than 2 hours.
If this spread disappears fast, you have more Halloween firepower waiting: our Monster Mash Brownies are fudgy chocolate monsters kids love decorating, and the full witch hat cookie recipe and mummy hot dog recipe go deeper on two of these six classics.
Frequently Asked Questions
Which of these Halloween snacks can kids make themselves?
Banana ghosts, witch hat cookies, pretzel broomsticks, candy corn fruit cups, and monster apple bites are all no-bake and safe for kids to assemble with supervision. The mummy hot dogs are the only oven job, so an adult handles the wrapping into the oven and the baking while kids press in the candy eyes.
Can I make these Halloween snacks ahead of time?
Witch hat cookies are the best make-ahead, keeping up to 5 days at room temperature. Banana ghosts, broomsticks, and fruit cups can be made the day of the party. Monster apple bites should be assembled within an hour of serving so the apples stay bright.
Are these snacks nut-free for classroom parties?
Everything except the monster apple bites is nut-free as written, though you should always check candy labels. Use sunflower seed butter instead of peanut butter for the apple bites to make the whole spread nut-free.
How do I keep the banana ghosts from sliding off the sticks?
Use banana halves that are firm and ripe but not overripe, insert the stick at least 1 inch deep before dipping, and let the chocolate coating set fully — 10 minutes at room temperature or 5 minutes in the fridge — before moving them.
Rate this recipe
Be the first to rate it!