
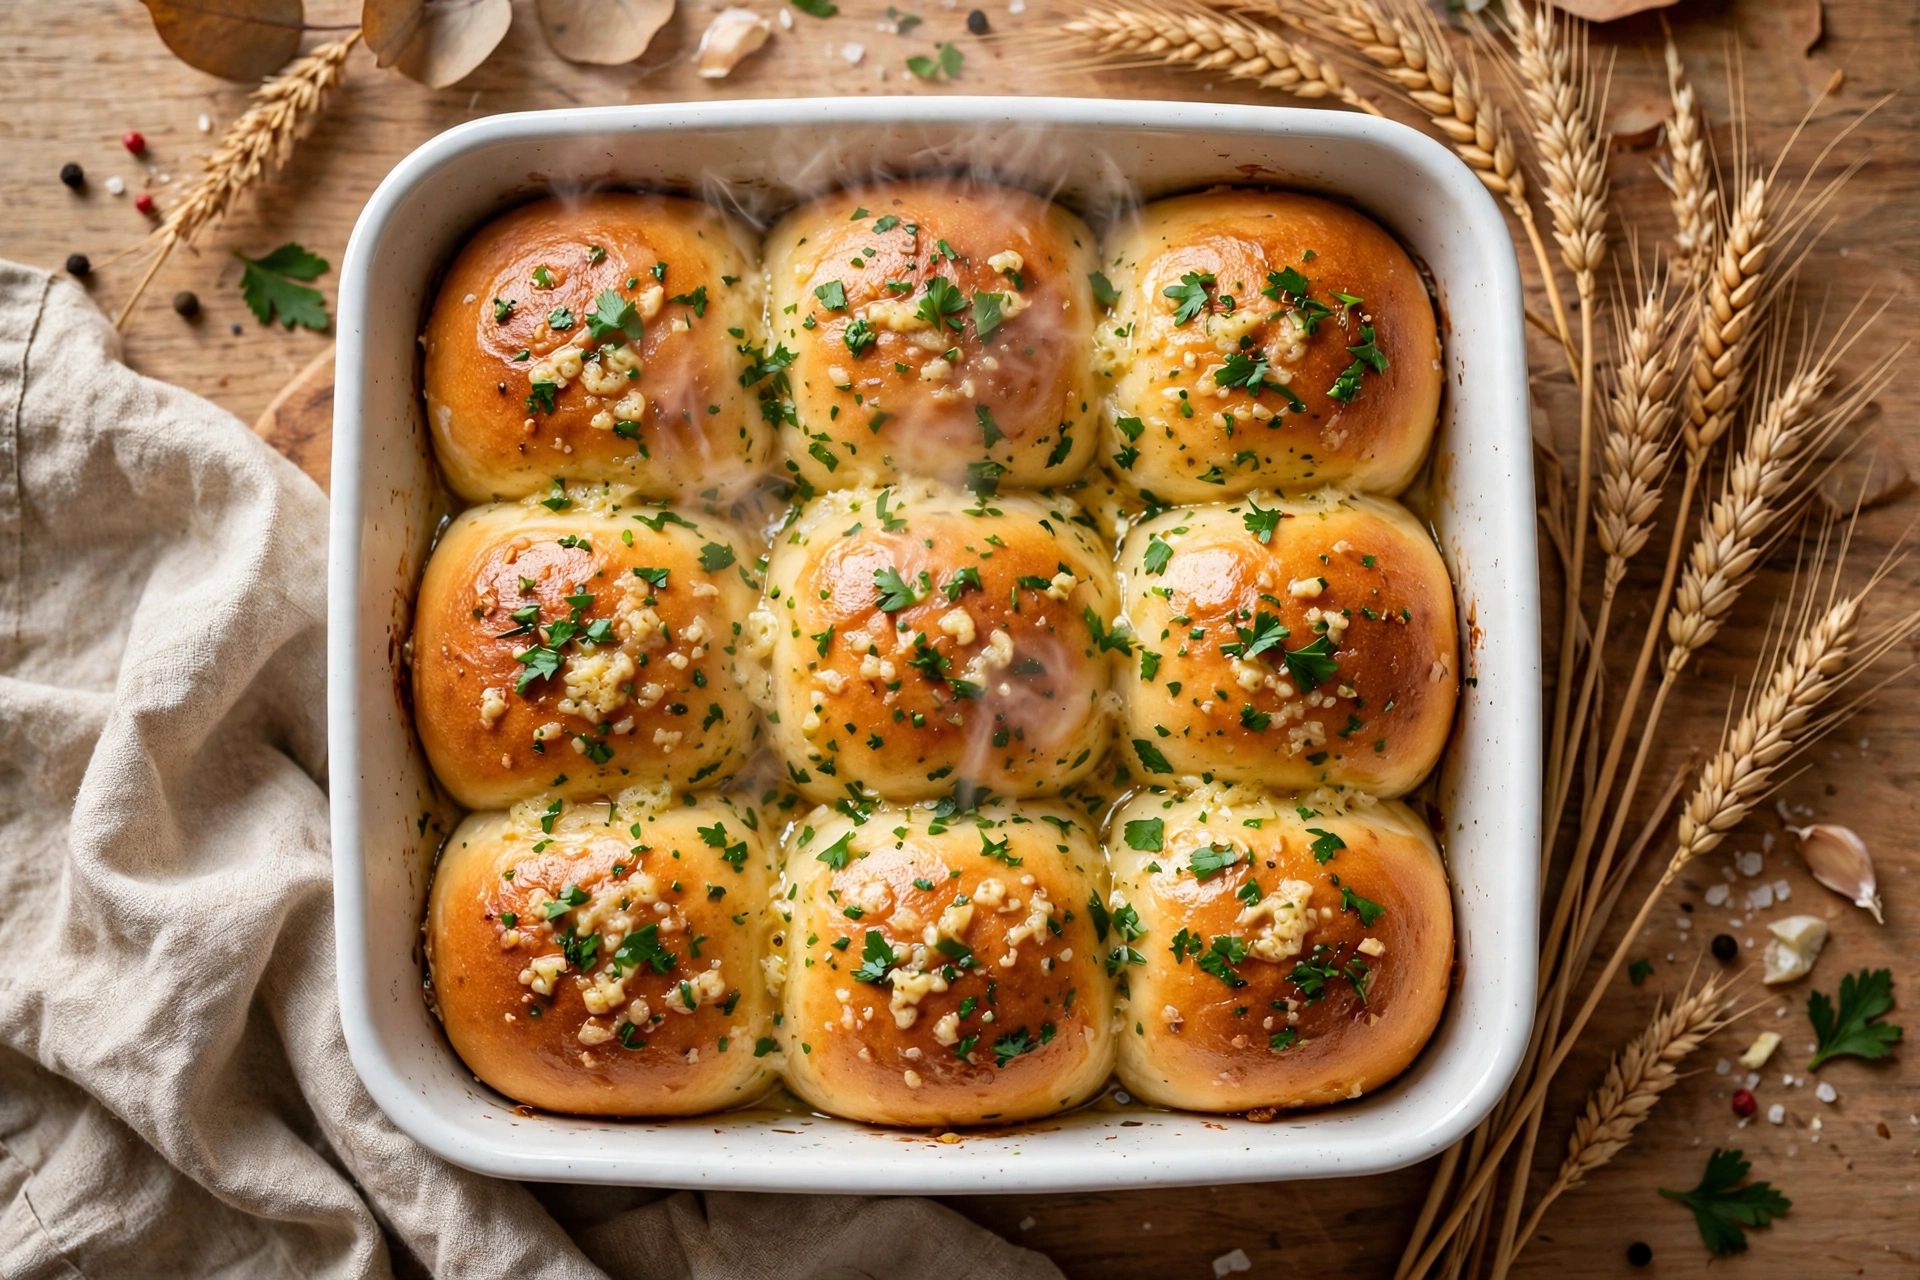
There is nothing quite like the moment a basket of warm garlic butter dinner rolls lands on the Thanksgiving table. Golden tops glistening with melted butter, little flecks of garlic and parsley, and that soft, steamy pull-apart crumb that makes everyone reach for “just one more.” These rolls are everything a classic Thanksgiving breadbasket side should be: pillowy soft, buttery rich, and kissed with real garlic flavor.
And here is the best part: these are true 60-minute dinner rolls. No overnight ferment, no complicated shaping, no bakery degree required. A quick warm-water rise, a fast second rise right in the pan, and fifteen minutes in a hot oven is all that stands between you and a dozen fluffy homemade rolls that will disappear before the turkey is even carved. Let us get baking.
Recipe at a Glance
Prep time: 15 minutes | Rise time: 30 minutes | Bake time: 15 minutes | Total time: 60 minutes | Yield: 12 rolls | Oven: 375°F (190°C)
Ingredients
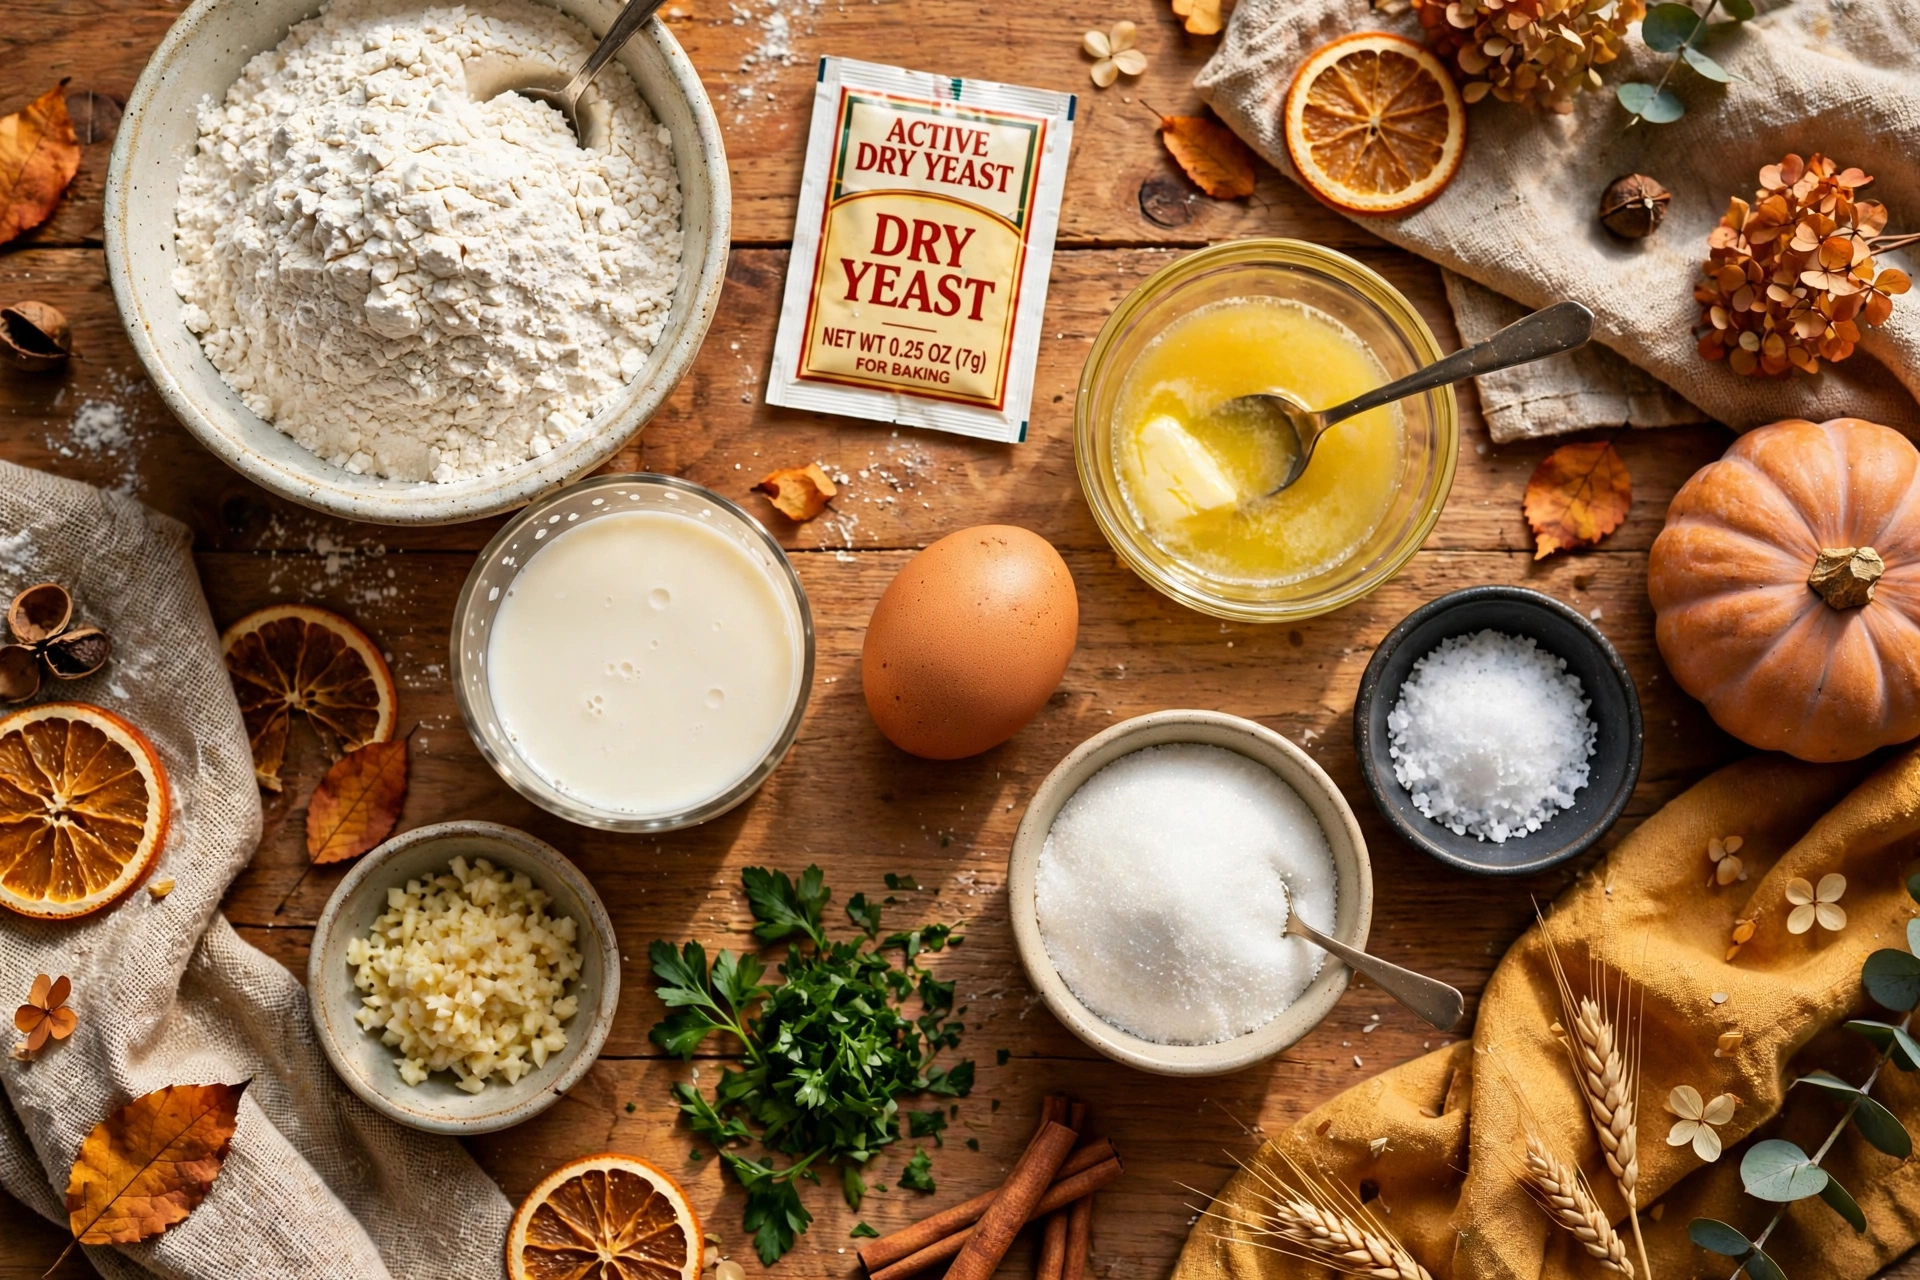
- 1 packet (2 1/4 teaspoons) active dry yeast
- 1 cup warm whole milk (105°F to 110°F)
- 1/4 cup granulated sugar
- 1/3 cup unsalted butter, melted and slightly cooled
- 1 large egg, at room temperature
- 3 1/4 cups all-purpose flour, plus more for dusting
- 1 teaspoon fine sea salt
- For the garlic butter topping: 3 tablespoons unsalted butter, melted; 3 cloves garlic, finely minced; 2 tablespoons fresh parsley, chopped
Directions
- Wake up the yeast. In a large mixing bowl, stir the warm milk (about 110°F, warm to the touch but not hot) with the sugar until dissolved. Sprinkle the yeast over the top and let it stand for 5 to 8 minutes, until it turns foamy and smells bready. If it never foams, your yeast is dead or the milk was too hot — start over with fresh yeast.
- Mix the dough. Whisk the melted butter and the egg into the foamy yeast mixture. Add the flour and salt, then stir with a wooden spoon until a shaggy dough forms.
- Knead until smooth. Turn the dough onto a lightly floured surface and knead for 6 to 8 minutes, until it is smooth, elastic, and springs back slowly when poked. It should feel soft and just barely tacky, not sticky. This kneading builds the gluten network that gives the rolls their chewy, pillowy structure.
- First rise (20 minutes). Place the dough in a lightly oiled bowl, turn it to coat, and cover with a clean kitchen towel. Let it rise in a warm spot for about 20 minutes, or until nearly doubled. A turned-off oven with the light on is perfect.
- Shape the rolls. Punch the dough down gently and divide it into 12 equal pieces. Roll each piece into a smooth ball, tucking the seams underneath so the tops are taut. Arrange the balls snugly in a buttered 9×13-inch baking dish, with the seams facing down.
- Second rise (10 minutes). Cover the dish loosely and let the rolls rise again for about 10 minutes, until they look puffy and are touching each other. Meanwhile, preheat the oven to 375°F (190°C).
- Bake. Bake for 14 to 18 minutes, until the tops are deep golden brown and the rolls sound faintly hollow when tapped. For a rich brioche-like glaze, brush the rolls with a little beaten egg or milk right before they go in.
- Butter them twice for flavor. While the rolls bake, stir the minced garlic and parsley into the 3 tablespoons of melted butter. The moment the rolls come out of the oven, brush them generously with the garlic butter. The heat blooms the garlic instantly. Serve warm.

Why This Method Works
Great dinner rolls are really a lesson in yeast science, and this recipe is built around it. Yeast is happiest between 105°F and 115°F — that is why the milk is specified at about 110°F. Cooler and the yeast wakes up sluggishly; hotter than about 130°F and you start killing it, which is the number one reason homemade rolls fail to rise. The sugar is not just for flavor: it gives the yeast an immediate meal, so the dough gets active fast and you can get away with short rises.
The tenderness comes from the enriched dough technique — that is just baker-speak for dough made with butter, milk, and egg. The fat coats the gluten strands and shortens them, which is exactly why these rolls tear soft instead of chewing like bread. This dough belongs to the same rich family as the French classic brioche, and the principle behind bread rolls rising and baking is the same one bakers have used for centuries. Finally, the double butter trick — butter inside the dough for softness, garlic butter on top while the rolls are still piping hot — means flavor in every single bite, not just on the crust. That last brush is what turns good rolls into the ones people talk about all Thanksgiving dinner.
Pro Tips
- Room-temperature egg and melted-but-not-hot butter keep the dough warm and the yeast happy. Cold ingredients slow the rise noticeably.
- Weigh your flour if you can — 3 1/4 cups is about 400 grams. Scooping packs extra flour into the cup and makes dense rolls.
- Taut ball shaping matters. Rolling each piece so the top is smooth and tight gives you that bakery look and an even, dome-shaped crumb.
- Do not skip the double rise. Even though each rise is short, the first rise builds flavor and structure, and the second gives the rolls their cloud-soft texture.
- Serve within 20 minutes of baking for the full warm, steamy pull-apart moment.
Common Mistakes
- Milk too hot. If the milk steams or feels hot on your wrist, it will kill the yeast. Aim for warm bathwater temperature, around 110°F.
- Adding too much flour. A slightly tacky dough is correct; a stiff, dry dough makes heavy, bready rolls. Resist the urge to keep dusting.
- Under-proofing the second rise. The rolls should look puffy and be touching before they go into the oven. Skipping this gives dense, tight-crumbed rolls.
- Over-baking. Pull the rolls at deep golden brown, not dark brown. Over-baked rolls lose their soft crumb and turn crusty.
Substitutions
- Yeast: Instant yeast works 1:1 — skip the proofing step and mix it straight into the dry ingredients, though still give the dough its two rises.
- Milk: 2% milk or warmed buttermilk works; buttermilk adds a lovely tang. Warm water works in a pinch, with a slightly less tender crumb.
- Garlic: Roasted garlic mashed into the topping butter is sweeter and milder; garlic powder (1/2 teaspoon) works if you are out of fresh.
- Parsley: Swap for chopped fresh chives, thyme, or rosemary for a different herby finish.
- Dairy-free: Use plant-based butter and a neutral plant milk like oat milk for the whole recipe.
Storage & Make-Ahead
Fresh is best: these rolls are at their absolute peak warm from the oven. Leftovers keep well in an airtight container or zip-top bag at room temperature for up to 2 days, or in the refrigerator for up to 4 days. Rewarm in a 300°F oven for 5 to 8 minutes to bring back that fresh-baked softness. Never leave baked rolls at room temperature for more than 2 hours — the USDA 2-hour rule applies to all cooked foods, so set any uneaten rolls out, then store them promptly.
Make-ahead (Thanksgiving lifesaver): after shaping the rolls in the pan (end of step 5), cover tightly with plastic wrap and refrigerate overnight instead of doing the second rise. The next day, let the pan sit at room temperature for 45 to 60 minutes until the rolls look puffy, then bake as directed. You can also freeze fully baked and cooled rolls for up to 3 months in a freezer bag; thaw at room temperature and rewarm in a 300°F oven for 8 to 10 minutes. These rolls are the perfect partner for easy make-ahead mashed potatoes, herb butter roasted turkey breast, and slow cooker turkey breast with gravy on your holiday table.

Frequently Asked Questions
Can I make garlic butter dinner rolls ahead of time?
Yes. Shape the rolls in the buttered pan, cover tightly, and refrigerate overnight. Let them sit at room temperature for 45 to 60 minutes until puffy, then bake as directed. This is the easiest way to have fresh rolls on Thanksgiving without morning stress.
Why didn’t my dinner rolls rise?
The most common cause is dead yeast or milk that was too hot, which kills the yeast. Always proof the yeast in 105°F to 110°F milk until foamy before mixing the dough, and rise the dough in a warm, draft-free spot like a turned-off oven with the light on.
Can I freeze homemade dinner rolls?
Absolutely. Freeze fully baked and cooled rolls in a freezer bag for up to 3 months. Thaw at room temperature, then rewarm in a 300°F oven for 8 to 10 minutes until soft and warm again.
How do I know when the rolls are done baking?
Look for deep golden brown tops, a faint hollow sound when you tap a roll, and a bottom that is lightly browned. Start checking at 14 minutes so they do not over-bake and lose their soft crumb.
Rate this recipe
Be the first to rate it!
1 thought on “Easy Garlic Butter Dinner Rolls (Soft 60-Minute Thanksgiving Side)”