
Some recipes announce themselves before you even take a bite. These sweet potato biscuits do it the second you pull back the oven door — a wave of warm, buttery air with caramel edges, tall golden layers leaning into each other on the baking sheet like they were always meant to be there. Then you split one open, and the steam curls out of a soft orange crumb that practically begs for a brush of honey butter.
This is the biscuit that ends arguments at the holiday table. The one your mother-in-law asks about. The one that makes a slow Thanksgiving morning feel like a celebration before the turkey even goes in. And the best part? From the first scoop of flour to a basket of warm biscuits takes about 30 minutes, one bowl, and absolutely zero fancy equipment. No stand mixer, no laminating gymnastics, no overnight anything. Just cold butter, mashed sweet potato, and a hot oven doing what they do best.
Sweet potato biscuits have deep roots in Southern cooking, where resourceful bakers have folded sweet potatoes into dough for generations to stretch flour and add natural sweetness. Sweet potatoes are one of the oldest cultivated crops in the Americas, and this recipe honors that heritage in the simplest way possible: real ingredients, honest technique, and flavors that taste like fall decided to show off.
Recipe at a Glance
Prep time: 15 minutes
Bake time: 12–15 minutes
Total time: about 30 minutes
Yield: 12 biscuits
Oven temperature: 425°F (220°C)
Category: Breakfast
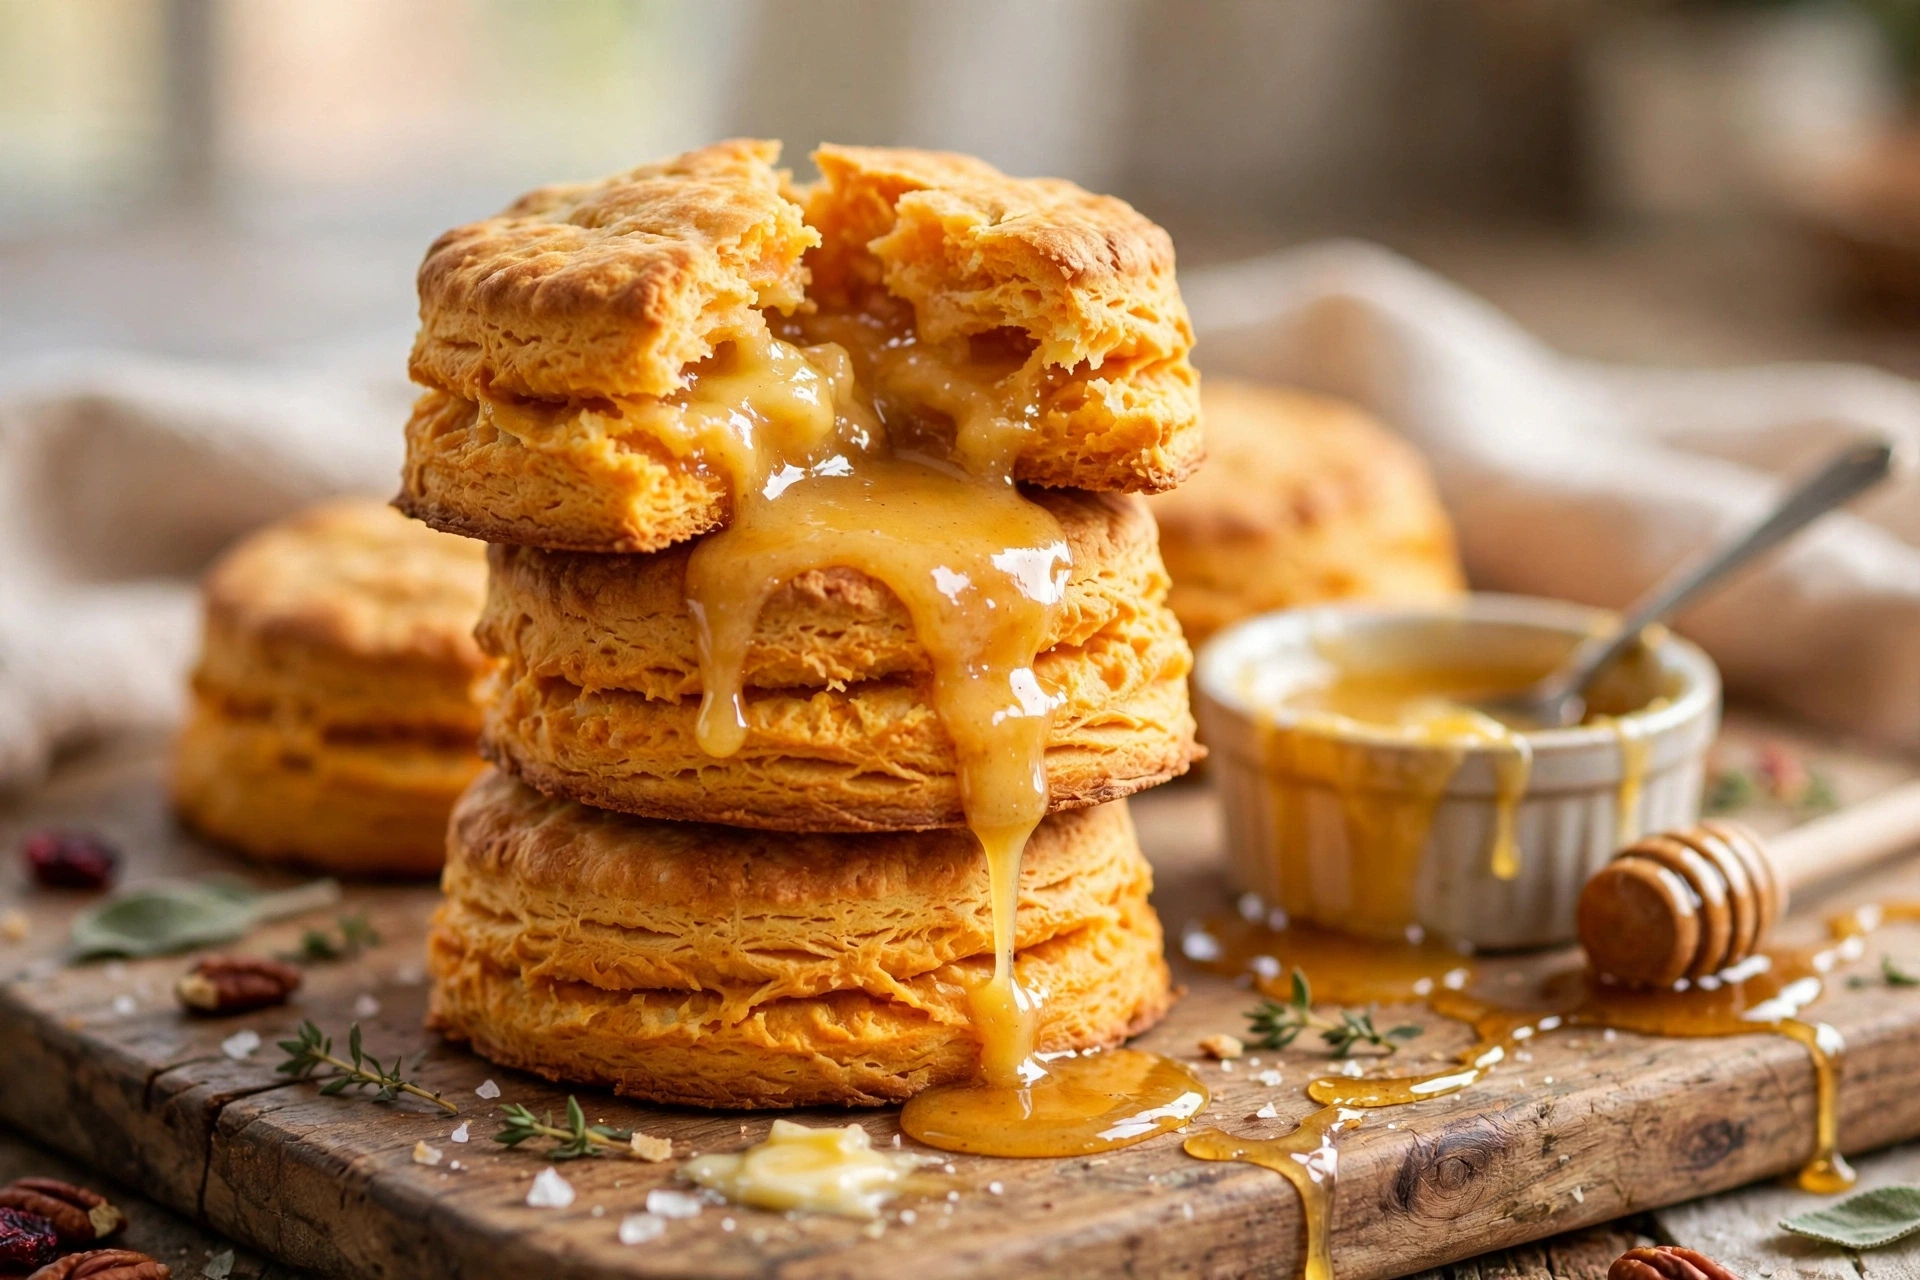
Whether you are building a Thanksgiving breakfast spread, feeding a hungry weekend brunch crowd, or just want something warm and buttery next to your morning coffee, these biscuits deliver. They are tender without being cakey, sweet without being dessert, and flaky enough to make you wonder why you ever bought the tube kind.
Ingredients
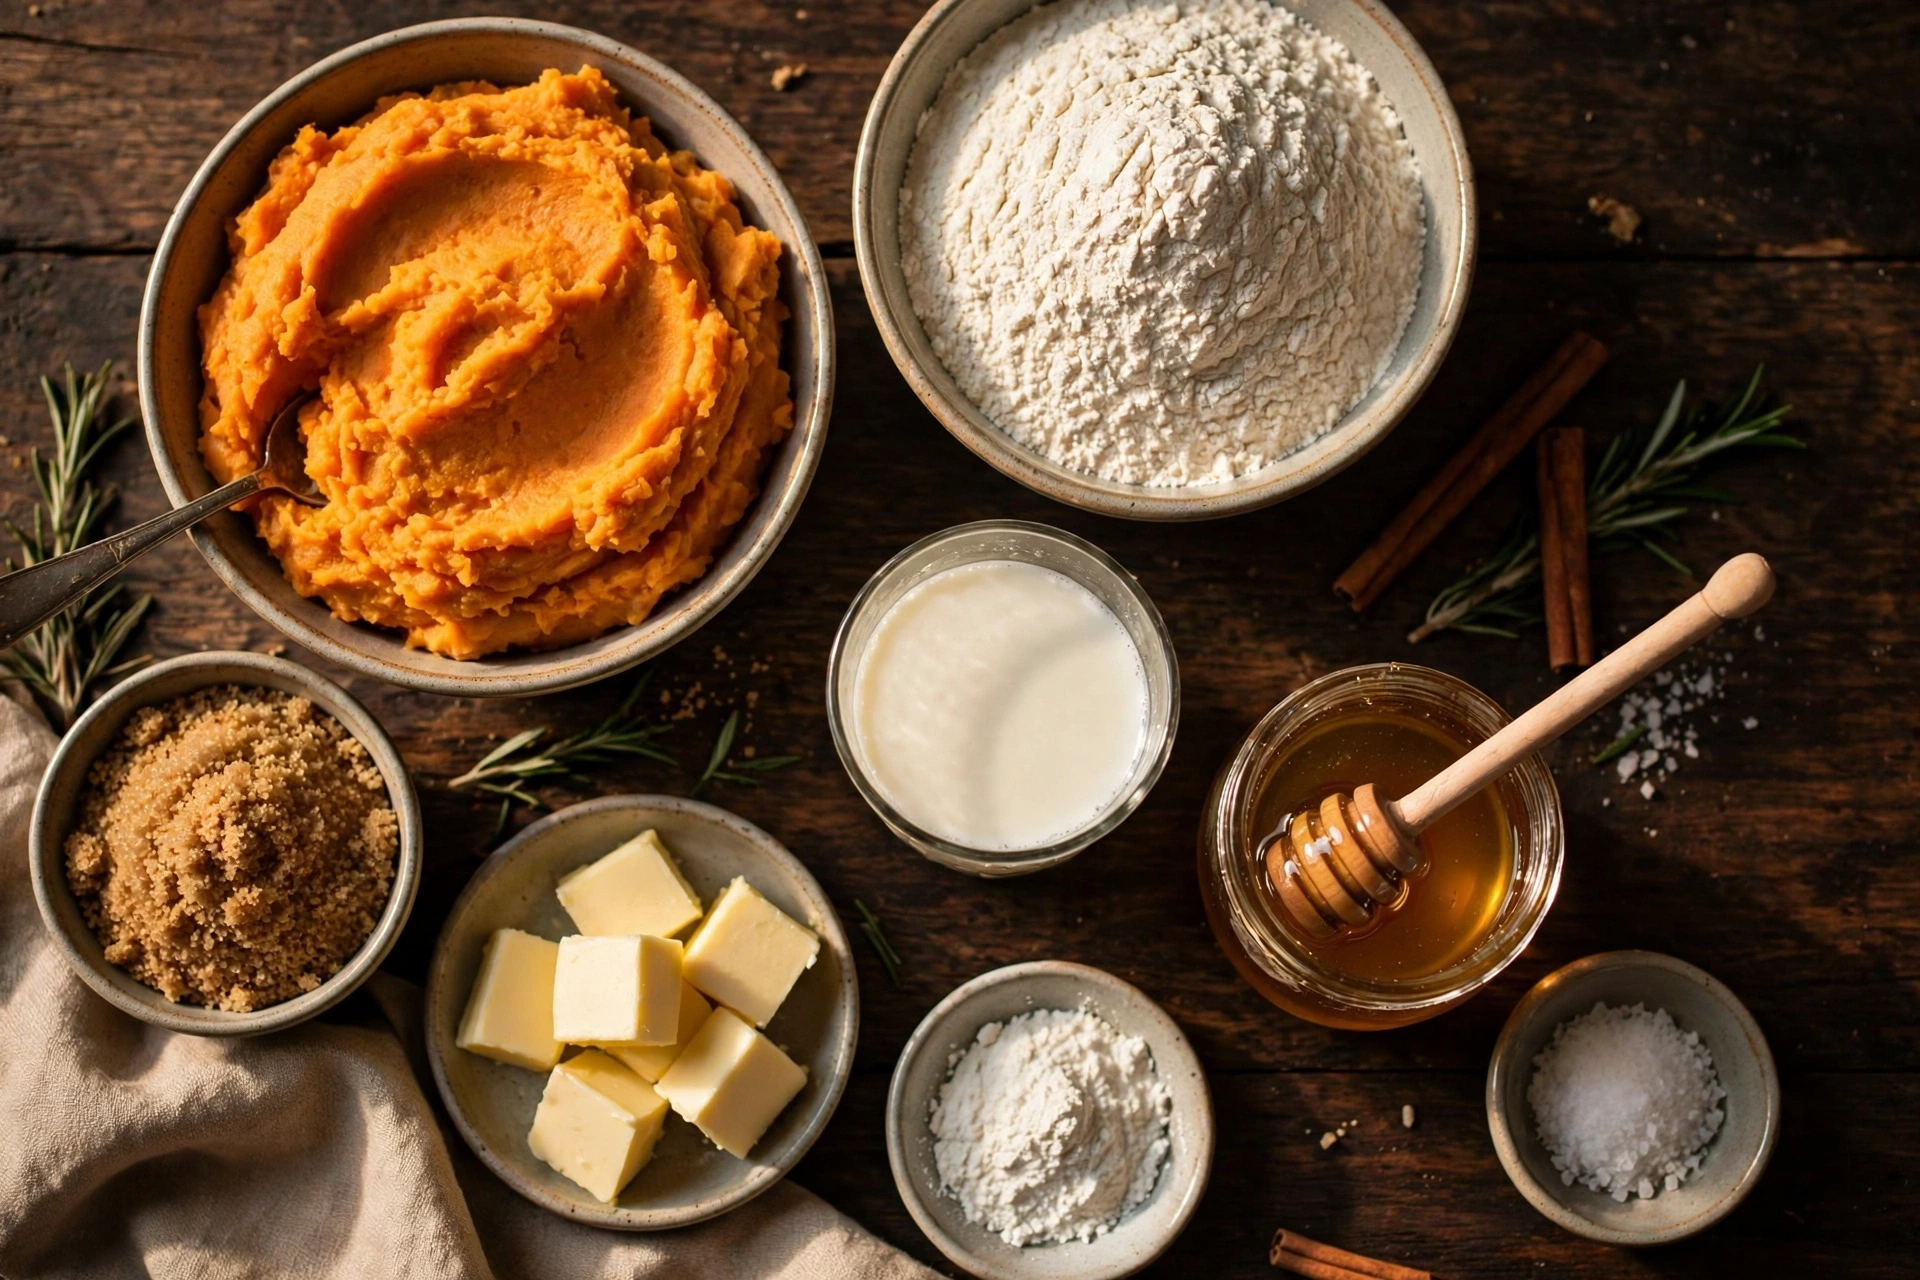
Everything here is pantry-friendly, and the whole list is short. The star is one cup of mashed sweet potato — about one large sweet potato, roasted or baked until completely soft. Cold is the operative word for the butter and buttermilk; warmth is the enemy of flaky layers.
For the biscuits
- 1 cup (240 g) mashed sweet potato, cooked and completely cooled
- 2 cups (250 g) all-purpose flour, plus extra for dusting
- 1 tablespoon baking powder
- 1/2 teaspoon baking soda
- 2 tablespoons packed light brown sugar
- 1 teaspoon fine salt
- 1/2 cup (113 g / 1 stick) cold unsalted butter, cut into small cubes
- 1/3 cup (80 ml) cold buttermilk, plus 1–2 tablespoons more if needed
- A little extra buttermilk or cream, for brushing the tops
For the honey butter
- 4 tablespoons unsalted butter, melted
- 3 tablespoons honey
- 1 pinch flaky sea salt
A quick note on the sweet potato: bake it, do not boil it. Roasting at 400°F until the skin pulls away and the flesh is spoon-soft concentrates the natural sugars and keeps excess water out of your dough. If you only have canned sweet potato puree, it works — pat it very dry with paper towels and measure exactly one cup.
Directions
- Heat the oven. Position a rack in the center of the oven and preheat to 425°F (220°C). Line a rimmed baking sheet with parchment paper. A hot oven is non-negotiable here — those little butter cubes need an immediate blast of heat to release their steam before they melt into the dough.
- Whisk the dry ingredients. In a large mixing bowl, whisk together the flour, baking powder, baking soda, brown sugar, and salt until evenly combined. Whisking distributes the leaveners so every biscuit rises evenly — clumps of baking powder are the secret cause of bitter spots.
- Cut in the cold butter. Scatter the cold butter cubes over the flour mixture. Using a pastry blender, two knives, or your fingertips, cut the butter into the flour until the mixture looks like coarse crumbs with some pea-sized pieces of butter still visible. Those visible pieces are the whole game — they become the flaky layers.
- Add the sweet potato and buttermilk. In a small bowl, whisk the cooled mashed sweet potato with the cold buttermilk until smooth. Pour it into the flour-butter mixture and stir with a wooden spoon or spatula just until a shaggy, slightly sticky dough forms. If dry floury patches remain, add buttermilk one tablespoon at a time. Stop early — a few streaks are fine.
- Fold for layers, then cut. Turn the dough onto a lightly floured surface and gently pat it into a rectangle about 1 inch thick. Fold it like a letter — right third over the center, left third over that — then pat back out to 1 inch thick. Repeat the fold once more. This two-minute folding step is what creates those pull-apart layers. Using a floured 2.5-inch round cutter, press straight down and lift straight up — no twisting. Gather the scraps gently, pat out once, and cut again.
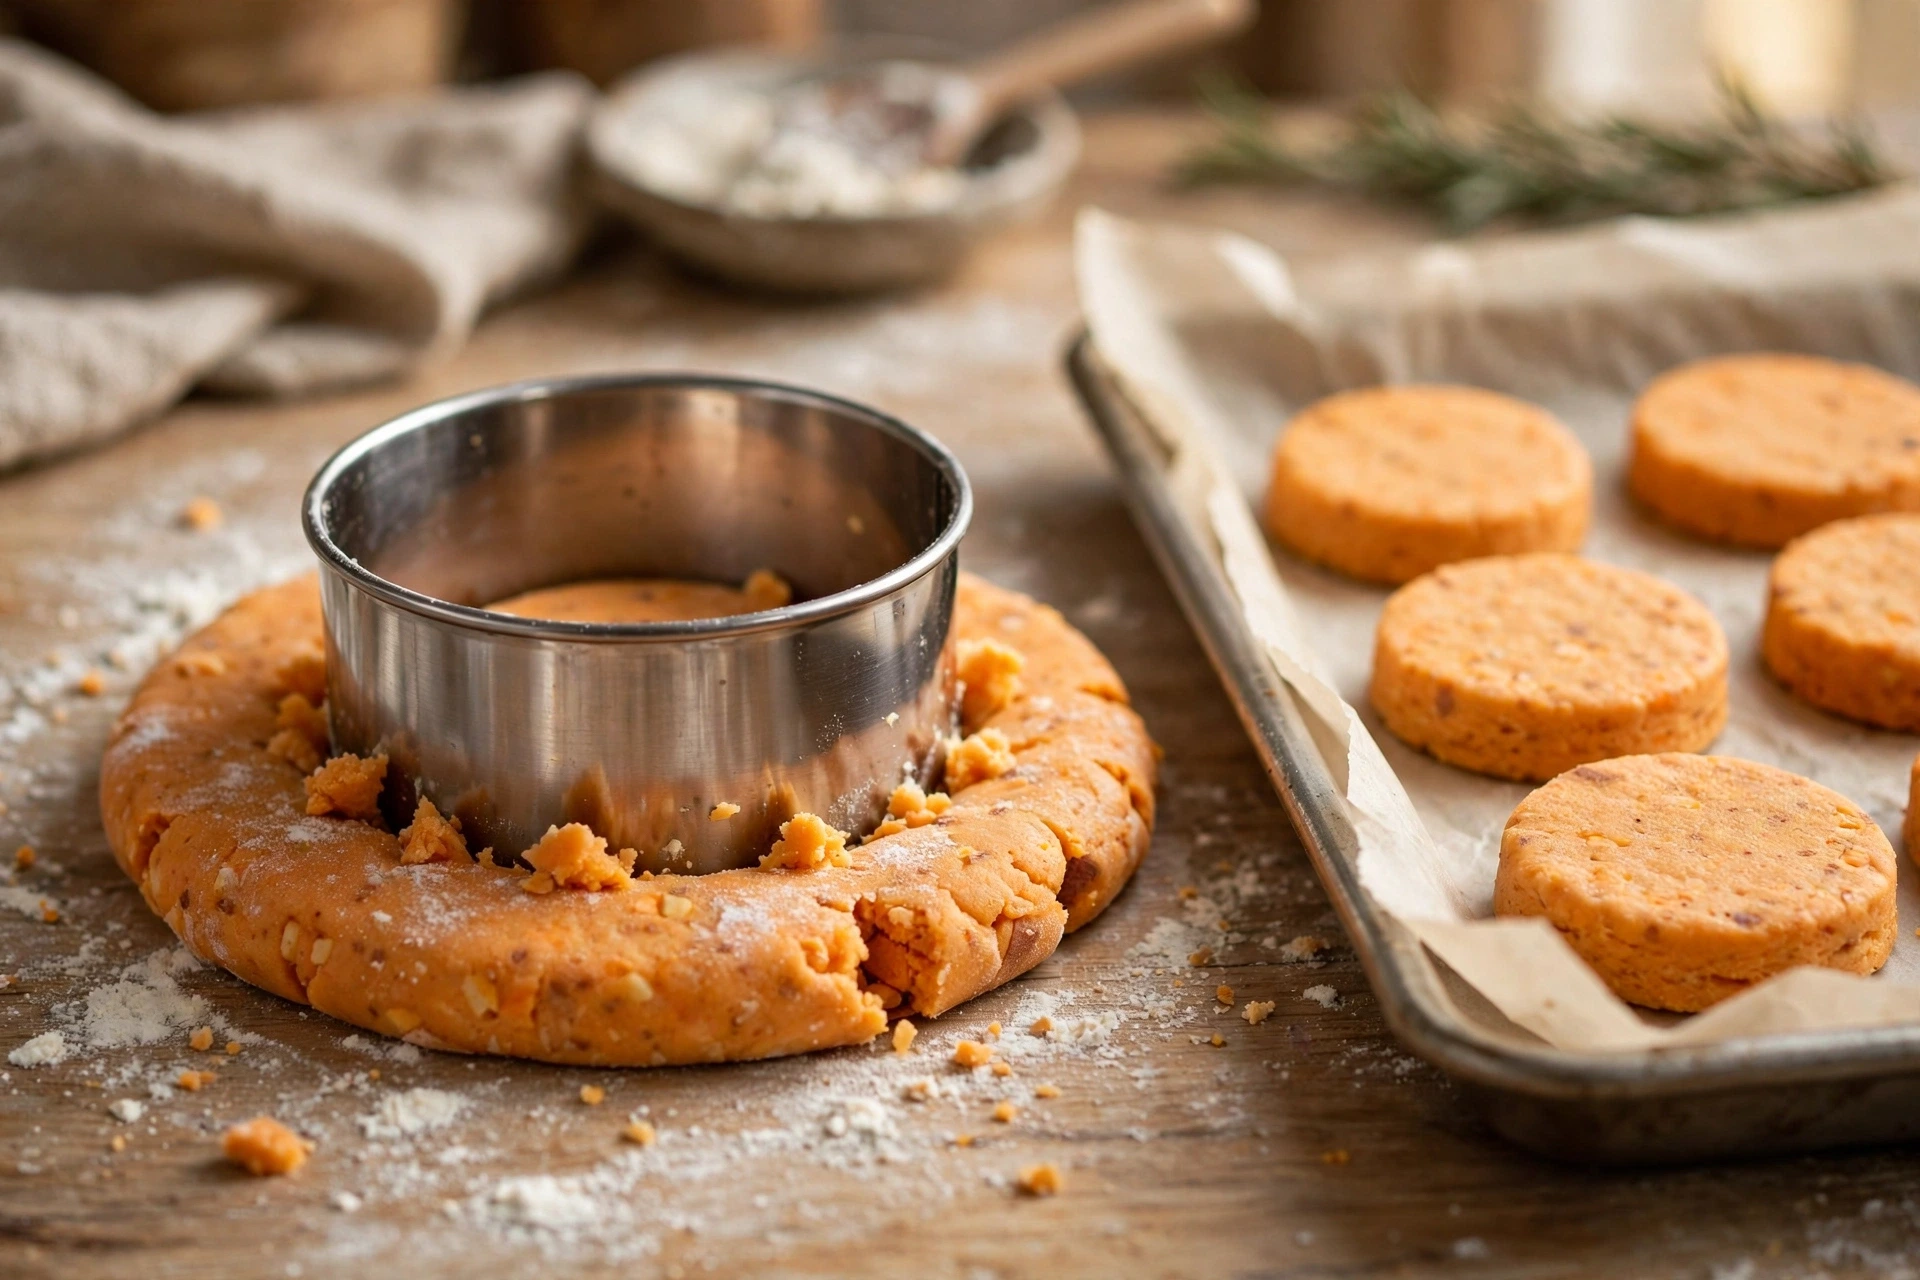
- Arrange and brush. Place the biscuits close together on the prepared baking sheet so their sides touch — biscuits that lean on each other rise taller and bake up with soft, tender sides instead of crisp ones. Brush the tops lightly with buttermilk or cream for a deep golden finish.
- Bake. Bake for 12–15 minutes, until the biscuits are tall, the tops are deeply golden, and the bottoms are lightly browned. They should sound hollow-ish when tapped on the bottom and spring back when pressed gently on top.
- Brush with honey butter. While the biscuits bake, stir the melted butter, honey, and flaky salt together in a small bowl. The moment the biscuits come out of the oven, brush them generously with the warm honey butter. Serve warm — within the first 15 minutes is biscuit nirvana.
Why This Method Works
Great biscuits are not luck. They are physics, and once you understand the two forces at play here, you will nail them every single time.
Cold butter lamination: steam is the leavening you cannot see
Those pea-sized chunks of cold butter you worked into the flour do something magical in a 425°F oven: the water inside the butter turns to steam almost instantly. Steam expands to roughly 1,600 times the volume of liquid water, and as it rushes out of the melting butter, it pushes the dough apart into distinct, paper-thin layers. This is the same principle behind croissants and puff pastry — just achieved with a humble pastry blender instead of a sheeter.
That is why the butter must be cold, the buttermilk must be cold, and the oven must be fully preheated before the tray goes in. Warm butter melts into the flour before baking begins, and melted butter cannot make steam pockets — it just makes shortbread. Cold butter, hot oven, fast steam: that is the entire formula for flakiness.
Sweet potato moisture science: bound water, not free water
Here is the quiet genius of adding mashed sweet potato to biscuit dough. A baked sweet potato is roughly 75 percent water, but that water is trapped inside starch granules and plant fibers — it is bound water, not free water. When you mix it into the dough, it hydrates the flour slowly and evenly instead of flooding it, which is why the crumb stays tender instead of gummy.
The sweet potato also brings natural sugars that caramelize in the hot oven, giving these biscuits their deep golden-orange color and those toasty edges. And here is the bonus the nutrition label loves: sweet potatoes are an excellent source of beta-carotene, the antioxidant your body converts into vitamin A, along with fiber that helps a couple of biscuits actually keep you full through the morning. A biscuit that tastes like a treat and carries real nutrients — that is a breakfast worth waking up for.
Pro Tips
- Freeze your butter. Cube it, then pop it in the freezer for 15 minutes before you start. Colder butter means more distinct layers. Some bakers even grate frozen butter on a box grater for the flakiest possible crumb.
- Chill the baking sheet. If your kitchen is warm, slide the loaded baking sheet into the fridge for 10 minutes before baking. Cold dough hitting a hot oven gives you maximum lift.
- Measure the sweet potato, do not eyeball it. One large sweet potato can yield anywhere from 3/4 cup to 1 1/2 cups of mash. Measure exactly one cup, leveled. Too much and the dough turns wet and heavy; too little and you lose the signature flavor and color.
- Keep the cutter sharp and straight. A dull cutter drags and seals the edges; twisting does the same. If your cutter sticks, dip it in flour between cuts.
- Do not fear the shaggy dough. The moment the dry flour disappears, stop mixing. Overmixed dough develops gluten, and gluten makes biscuits tough and tall in the wrong way — dense, not fluffy.
- Double the honey butter. You will want it. Leftover honey butter keeps for two weeks in the fridge and is outrageous on toast, pancakes, and roasted vegetables.
Common Mistakes (and How to Fix Them)
The biscuits spread instead of rising. Your butter was too warm, or the dough sat too long before baking. Next time, keep everything cold and get the tray into the hot oven within minutes of cutting. If the kitchen is warm, chill the cut biscuits on the tray for 10 minutes first.
The crumb is dense and gummy. Almost always overmixing, or a sweet potato that was too wet. Mix just until the dough holds together, and if your mashed sweet potato looks watery, drain it in a fine-mesh sieve for 10 minutes before measuring.
The bottoms are pale but the tops browned. Your oven rack was too high, or the baking sheet is too light-colored. Bake on the center rack, and if your sheet pan is thin or pale, try a darker pan or the lowest center position for better bottom browning.
They taste floury or bland. You skipped the salt in the honey butter, or measured flour by scooping the cup into the bag — scooping packs in up to 30 percent extra flour. Spoon flour into the cup and level it off, and never skip the pinch of flaky salt on top.
They went stale fast. Biscuits are at their peak for the first few hours. See the storage section below for the exact rules — but honestly, leftovers are rare with this recipe.
Storage & Make-Ahead

Biscuits are simple creatures, but they have rules. Follow them and you will enjoy these for days.
- Room temperature: Cool baked biscuits completely, then store airtight for up to 2 hours at room temperature before moving them to the refrigerator. (Honey butter brushed on top makes them richer — and richer foods belong in the fridge sooner.)
- Refrigerator: Baked biscuits keep 3–4 days in an airtight container. Reheat at 350°F for 5–8 minutes, or split and toast them in a buttered skillet until the cut faces are golden and crisp.
- Freezer (best method): Freeze unbaked, cut biscuits solid on the baking sheet, then transfer to a freezer bag for up to 3 months. Bake straight from frozen at 425°F, adding 2–3 minutes to the bake time. This is the make-ahead move for Thanksgiving morning — cut them the weekend before, bake fresh while the coffee brews.
- Honey butter: Refrigerate leftovers for up to 2 weeks. Warm gently before serving so it brushes on silky.
Substitutions
- No buttermilk? Stir 1 tablespoon of white vinegar or lemon juice into 1/3 cup of regular milk and let it sit 5 minutes. Plain whole-milk Greek yogurt thinned with a splash of milk works too.
- Pumpkin instead of sweet potato: Plain canned pumpkin puree swaps in 1:1. The flavor shifts toward classic pumpkin spice territory — lovely with a pinch of cinnamon added to the dry ingredients.
- Gluten-free: A 1:1 gluten-free baking flour blend works well here. Expect a slightly more tender, less lofty biscuit — still delicious with the honey butter.
- Maple instead of honey: Swap the honey for pure maple syrup in the butter glaze for a deeper, woodsier sweetness that pairs beautifully with fall breakfasts.
- Dairy-free: Use a firm vegan butter alternative (kept cold, same method) and unsweetened oat or soy milk soured with lemon juice in place of buttermilk.
What to Serve With
These biscuits were born for the holiday table, but they refuse to be limited to it. On Thanksgiving morning, serve them warm alongside a 5-Ingredient Corn Casserole and watch both dishes disappear before the parade ends. They are equally at home next to savory Cornbread Stuffing Muffins at the big dinner, or with a tray of Honey-Glazed Roasted Carrots for a cozy fall brunch.
Beyond the holidays, split them and stuff with crispy fried chicken for the sandwich of your dreams, serve alongside a hearty soup or chili for dunking, or keep it simple: warm biscuit, extra honey butter, strong coffee. Some mornings do not need improving.
Frequently Asked Questions
Can I use canned sweet potato puree instead of fresh sweet potatoes?
Yes, one cup of plain canned sweet potato puree works as a direct swap. Pat it dry with paper towels first so the dough is not too wet, and expect a slightly softer biscuit. Fresh-roasted sweet potatoes still win on flavor — roasting concentrates the sugars and gives that caramel depth — but canned puree is a perfectly good shortcut when you are short on time.
Why did my sweet potato biscuits turn out dense or gummy?
Dense biscuits almost always come from overworking the dough or warm butter. Mix just until a shaggy dough forms — a few floury patches are fine — keep the butter cold right up until it goes into the oven, and press the cutter straight down without twisting, which seals the edges and stops the biscuits from rising tall and flaky.
Can I make sweet potato biscuits ahead of time?
Yes. Cut the biscuits, freeze them solid on the baking sheet, then move them to a freezer bag for up to three months. Bake straight from frozen at 425°F, adding two to three minutes to the bake time. Baked biscuits keep two hours at room temperature, three to four days in the refrigerator, and reheat beautifully in a hot oven.
Are sweet potato biscuits sweet, and can I make them savory?
They are gently sweet — the sweet potato adds warm caramel notes, but these are not dessert-level sweet like a cookie. The honey butter pushes them toward the sweet side, so skip it and brush with plain melted butter if you want a savory biscuit. They are delicious next to soups, stews, and fried chicken either way.
Rate this recipe
Be the first to rate it!