
Baked Mac and Cheese Cups — The Lunchbox Win Your Kids Will Actually Eat
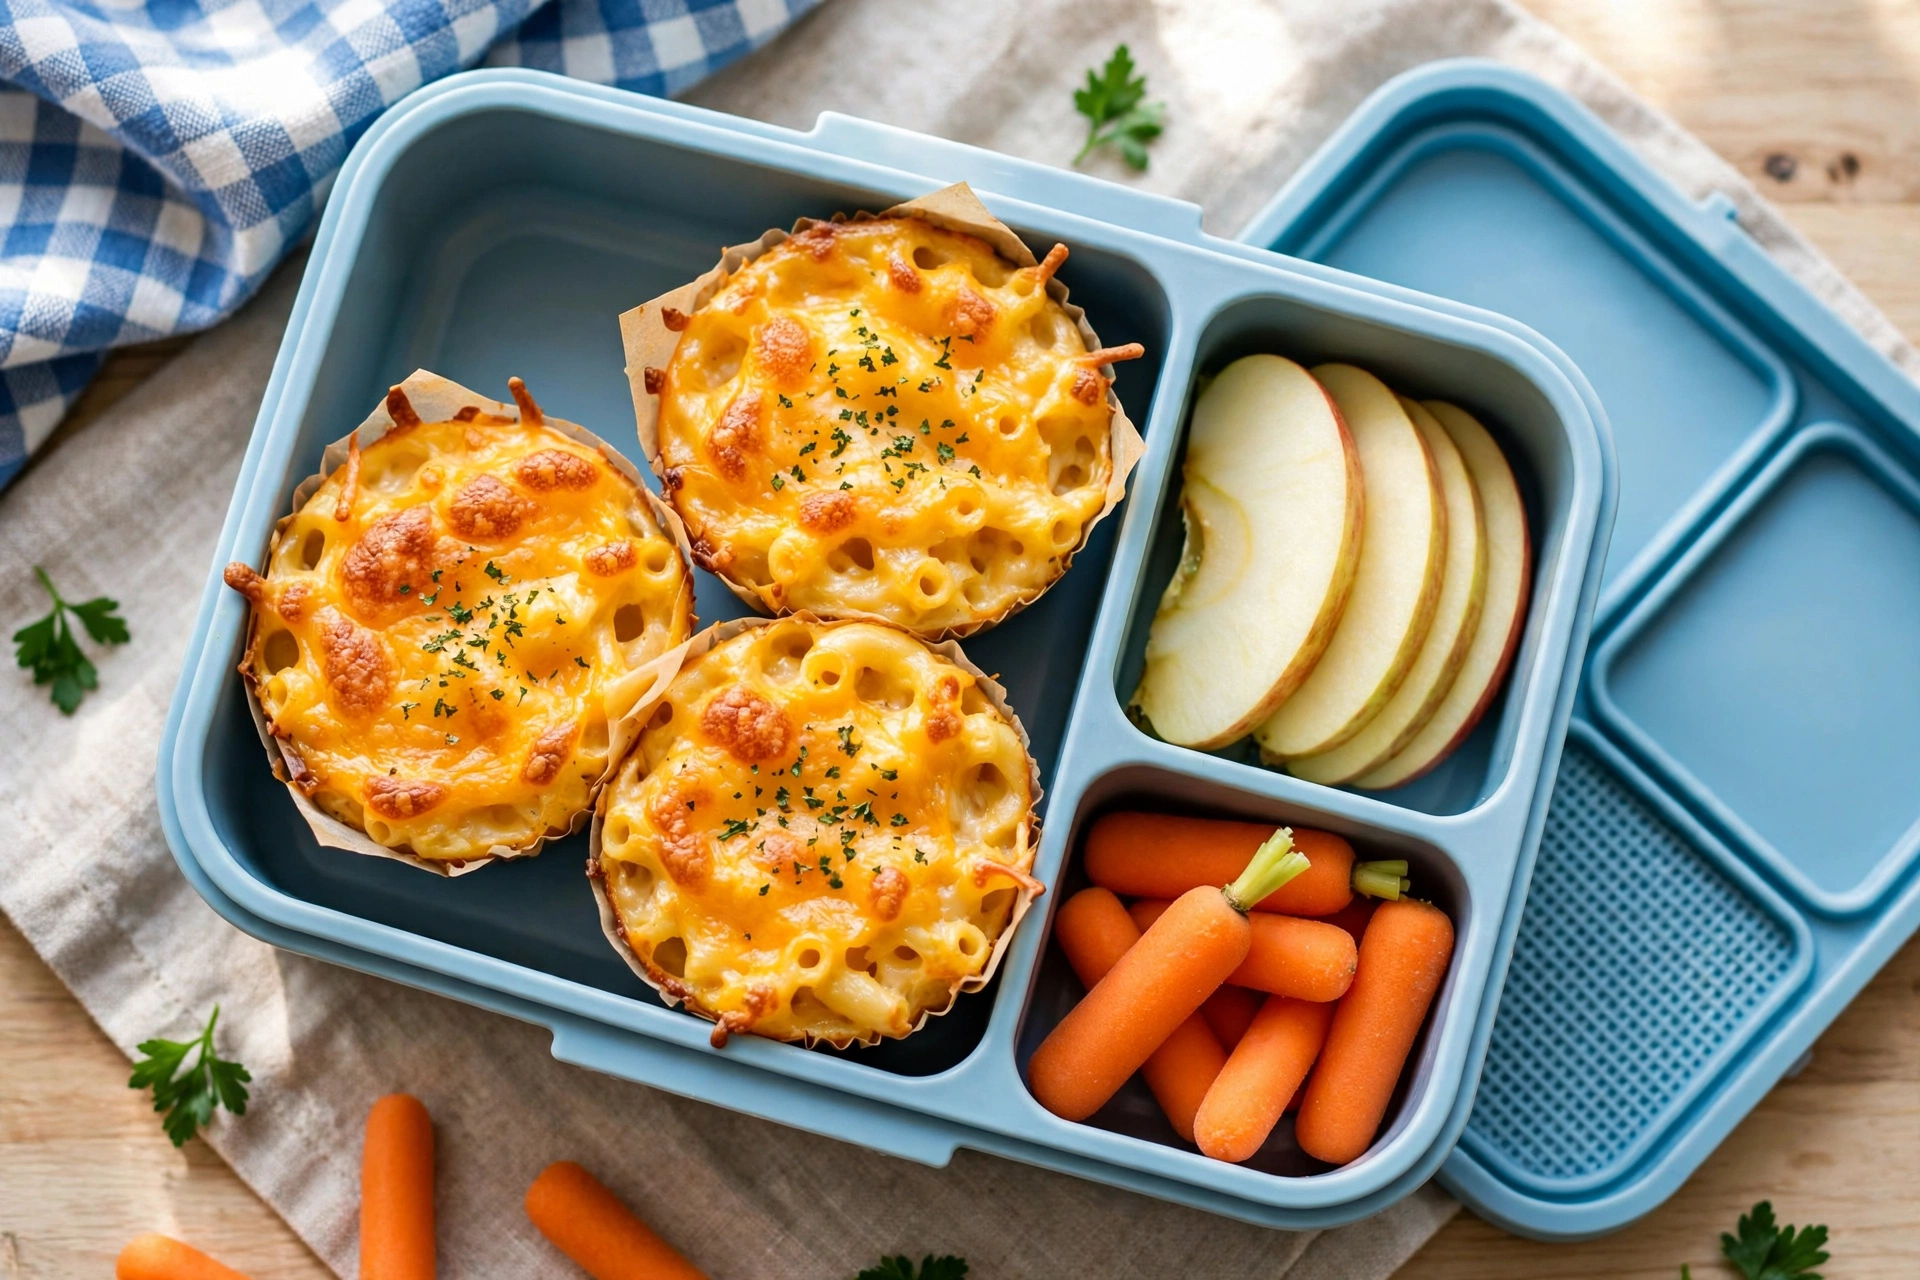
Regular mac and cheese is wonderful, but it is not exactly lunchbox-friendly. Enter these baked mac and cheese cups: every spoonful of creamy, gooey, cheesy goodness baked into a perfectly portable little cup with a golden, crispy top. They are the kind of kid-approved snack that disappears from lunchboxes and comes back home as a request for more. Simple pantry ingredients, one muffin tin, and 35 minutes — that is all standing between you and the easiest school-day win.

Prep Time: 15 minutes | Cook Time: 20 minutes | Total Time: 35 minutes | Servings: 12 cups (about 6 servings)
Ingredients
- 8 oz elbow macaroni
- 2 tbsp butter, plus more for greasing
- 2 tbsp all-purpose flour
- 1 cup whole milk
- 1 1/2 cups shredded sharp cheddar cheese, plus 1/4 cup extra for topping
- 1/4 cup grated parmesan cheese
- 1/2 tsp garlic powder
- 1/2 tsp mustard powder (or 1 tsp dijon mustard)
- Salt and black pepper to taste
- 1/2 cup panko breadcrumbs
- 1 tbsp melted butter
Directions
- Cook the pasta. Bring a large pot of salted water to a boil and cook the elbow macaroni 1 minute shy of the package directions — al dente, since it will finish in the oven. Drain well.
- Make the cheese sauce. In the same pot over medium heat, melt the butter, whisk in the flour, and cook for 1 minute until it smells toasty. Slowly whisk in the milk until smooth, then simmer 2 to 3 minutes until it thickens enough to coat a spoon.
- Get cheesy. Take the pot off the heat and stir in the cheddar, parmesan, garlic powder, and mustard powder until everything melts into a silky, glossy sauce. Season with salt and pepper. Fold in the drained pasta so every elbow is coated.
- Fill the tin. Heat the oven to 375°F (190°C) and grease a 12-cup muffin tin very well. Spoon the mac and cheese into the cups, pressing down gently to pack them.
- Top and bake. Toss the panko with the melted butter and sprinkle over each cup along with the extra cheddar. Bake 18 to 20 minutes, until the tops are deep golden and bubbling at the edges.
- Cool and pop. Let the cups cool in the tin for 5 full minutes — this sets them so they hold their shape. Run a thin knife around each cup and lift them out. Serve warm or pack into lunchboxes.

Tips for Perfect Mac and Cheese Cups
- Grease generously. Cheese sticks. A thorough butter or cooking-spray coating is the difference between perfect cups and a scrubbing session.
- Don’t skip the rest. Those 5 minutes of cooling are structural — the cups firm up as they sit and pop out cleanly.
- Shred your own cheese. Pre-shredded cheese has anti-caking starch that makes the sauce grainy. A block of sharp cheddar and a box grater give you the silkiest melt.
- Make them freezer-friendly. Cool completely, freeze in a single layer, then bag for up to 2 months. Reheat from frozen at 350°F for 12 to 15 minutes.
- Fun mix-ins. Fold in tiny broccoli florets, crispy bacon bits, or diced ham before filling the tin — the kids will never suspect the veggies.
Why You’ll Love This Recipe
This is the recipe that turns a regular Tuesday into a good-lunch day: creamy comfort food in a tidy, dunkable, no-fork-struggles package. The crispy panko-cheddar top gives way to that molten, stretchy center, and because each cup is its own serving, portioning for lunchboxes is already done. They taste just as good at room temperature as they do warm, which makes them the rare hot dinner that moonlights as a cold school lunch. Pin this one now — it is about to become your most-requested snack.
Rate this recipe
Be the first to rate it!