
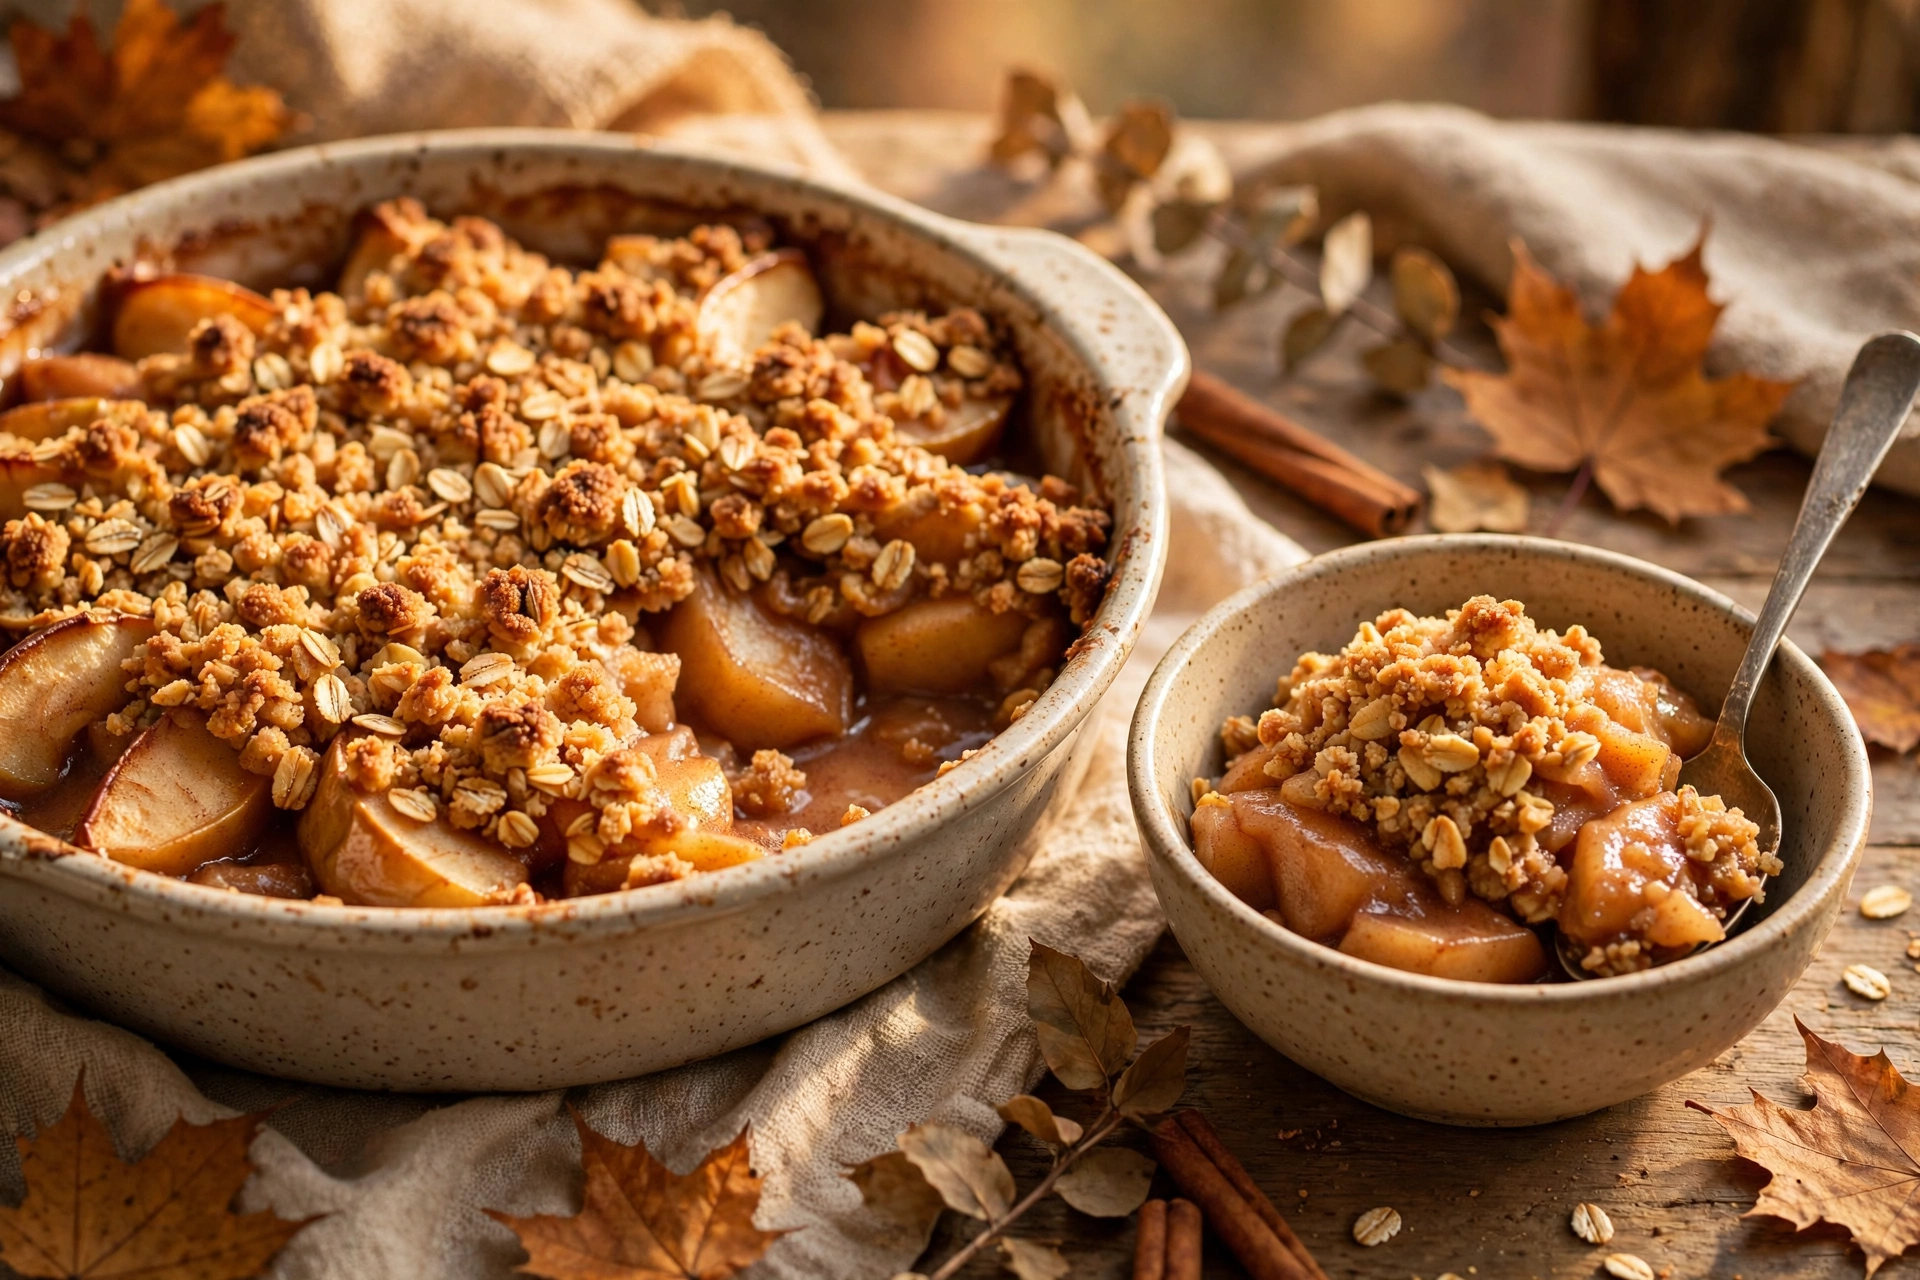
There is nothing quite like the smell of apples, cinnamon, and brown sugar bubbling away in the oven on a cool fall evening. This easy apple crisp is the dessert you make when you want all the cozy comfort of a baked apple pie without any of the fuss of rolling out pastry. Tender cinnamon apples hide under a thick, golden oat crumble that bakes up buttery and crunchy, and the whole pan goes from the counter to the oven in just 15 minutes of prep.
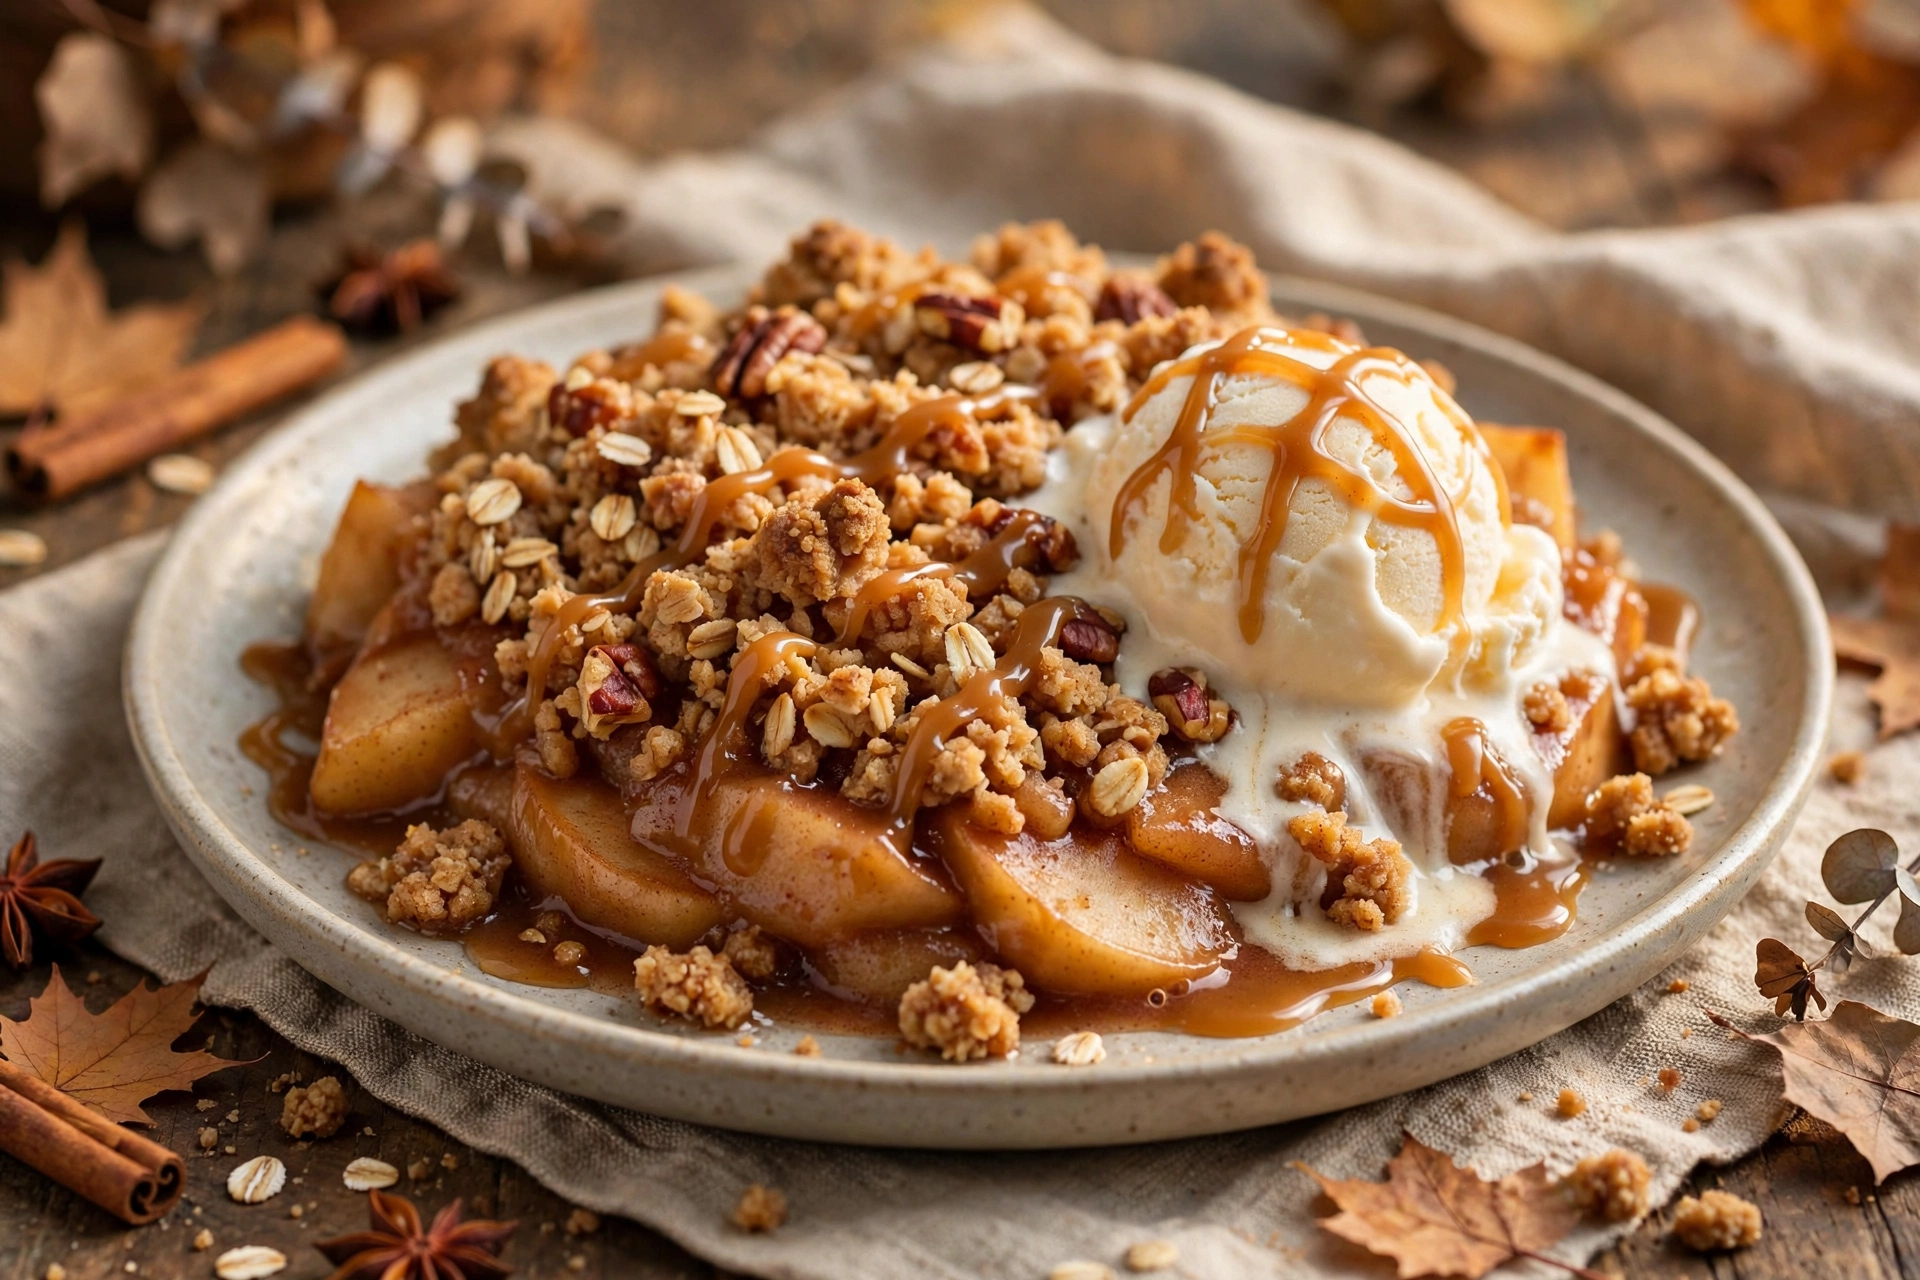
Slice it warm, spoon over plenty of those jammy apple juices, and add a scoop of vanilla ice cream if you like. The warm apples, the cold ice cream, and that crisp, toasty topping are pure fall comfort in every single bite.
Recipe at a Glance
Prep time: 15 minutes | Cook time: 40 minutes | Total time: 55 minutes, plus a 10-minute rest before serving | Servings: 8 | Oven: 375°F (190°C) | Dish: 9 x 13-inch baking dish
Ingredients
For the apple filling
- 8 medium apples (about 3 pounds), a mix of Granny Smith and Honeycrisp, peeled, cored, and sliced about 1/4 inch thick
- 1/2 cup granulated sugar
- 1/4 cup packed light brown sugar
- 1 tablespoon fresh lemon juice
- 2 tablespoons cornstarch
- 1 1/2 teaspoons ground cinnamon
- 1/4 teaspoon ground nutmeg
- 1/4 teaspoon fine salt
- 1 teaspoon vanilla extract
For the oat crumble topping
- 1 cup old-fashioned rolled oats
- 1 cup all-purpose flour
- 3/4 cup packed light brown sugar
- 1/2 teaspoon ground cinnamon
- 1/4 teaspoon fine salt
- 1/2 cup (1 stick) cold unsalted butter, cut into small cubes
Serve with vanilla ice cream or softly whipped cream, if you like.

Directions
- Heat the oven to 375°F (190°C) and lightly butter a 9 x 13-inch baking dish.
- Make the filling: In a large bowl, toss the sliced apples with the granulated sugar, brown sugar, lemon juice, cornstarch, cinnamon, nutmeg, salt, and vanilla until every slice is evenly coated.
- Pour the apple mixture into the prepared dish and spread it into an even layer.
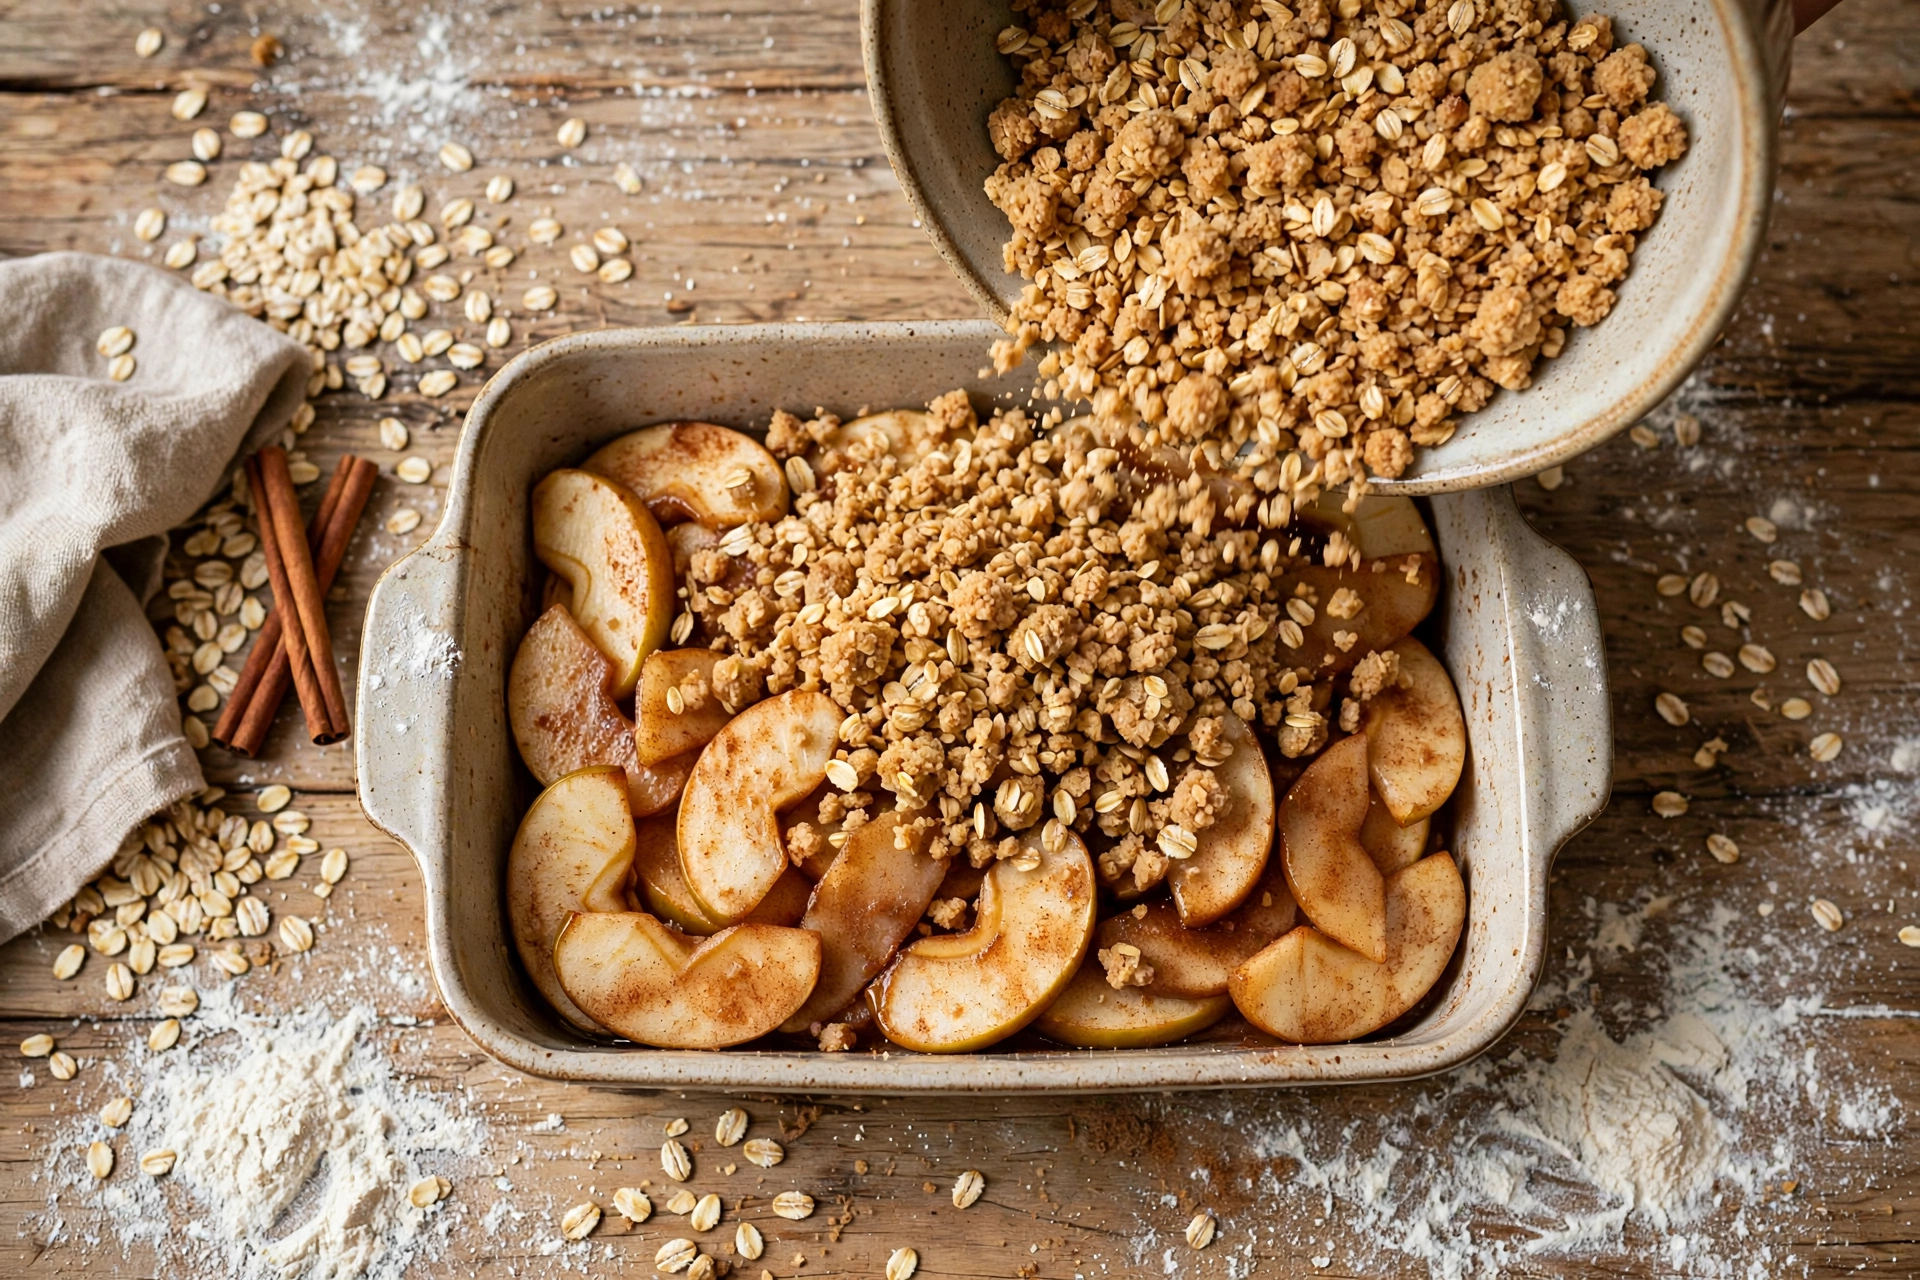
- Make the topping: In a separate bowl, stir together the oats, flour, brown sugar, cinnamon, and salt. Add the cold butter cubes and rub them into the dry ingredients with your fingertips until the mixture forms coarse, pea-sized crumbs with some larger clumps.
- Sprinkle the topping evenly over the apples, all the way to the edges of the dish.
- Bake for 40 minutes, until the topping is deep golden brown and the apple juices are bubbling thickly around the edges.
- Rest for 10 minutes before serving. This rest is not included in the 55-minute prep and baking total, and it lets the juices thicken so every serving holds together.
- Serve warm, with vanilla ice cream or whipped cream if you like.
Why This Method Works
The lemon juice and cornstarch in the filling are doing quiet, important work. Lemon juice brightens the sweetness of the apples and keeps the slices from browning while you work, and cornstarch thickens the juices as they bake so you get a glossy, spoonable sauce instead of a watery pool at the bottom of the dish. Flour alone would turn cloudy and pasty here, while cornstarch stays clear and silky.
Cold butter is the secret to a truly crisp topping. Rubbing cold butter into the oats and flour leaves little pockets of butter throughout the mixture, and those pockets melt in the oven and fry the oats and flour around them into crunchy, golden clusters. Melted butter, by contrast, soaks straight in and bakes up soft and flat. Keep the butter cold right up until you mix, and do not overwork the topping once it looks crumbly.
The 10-minute rest matters just as much. Straight out of the oven the filling is molten and runny, and a spoon will drag it apart. As it cools slightly, the cornstarch sets and the juices thicken into a sauce that clings to the apples, so each serving comes out in a neat, generous scoop with its topping still crunchy on top.
Pro Tips
- Use a mix of tart and sweet apples. Granny Smith holds its shape and adds tang, while Honeycrisp turns soft and sweet, so together they give you the best flavor and texture.
- Slice the apples evenly, about 1/4 inch thick, so they all turn tender at the same time. Thick chunks stay crunchy in the middle while thin slices turn to mush.
- Keep a few larger clumps in the topping rather than rubbing it to fine crumbs. The big clumps bake into the crunchiest, most golden bites.
- Place the dish on a baking sheet before it goes in the oven. Apple juices can bubble over the edge, and the sheet catches every drop.
- The crisp is done when the topping is deep golden and the juices bubble thickly at the edges, not just when the timer rings. If your topping browns early, tent the dish loosely with foil for the last 10 minutes.
Common Mistakes and How to Fix Them
- Soggy topping: This usually means melted butter or a topping that was mixed too long. Next time, use fridge-cold butter, rub it in lightly, and stop as soon as coarse crumbs form.
- Watery filling: Skipping the cornstarch or serving straight from the oven causes this. Keep the cornstarch in, and always rest the crisp for 10 minutes so the sauce thickens.
- Apples still hard in the middle: The slices were cut too thick or the dish was pulled too early. Cut slices 1/4 inch thick and bake until the juices bubble and a knife slides easily through an apple slice at the center.
- Topping browns before the apples soften: Cover the dish loosely with foil for the final 10 minutes so the top stops darkening while the apples finish cooking.
Substitutions
- Gluten-free: Swap the all-purpose flour for a 1-to-1 gluten-free flour blend and use certified gluten-free rolled oats.
- Dairy-free: Use cold plant-based butter sticks in place of the butter, keeping them just as cold.
- Less sweet: Cut the granulated sugar in the filling to 1/3 cup if your apples are very sweet, but keep the brown sugar in the topping for crunch and color.
- Extra spice: Add 1/4 teaspoon of ground ginger or a pinch of cardamom to the filling for a warmer, deeper fall flavor.
- Add nuts: Stir 1/2 cup of chopped pecans or walnuts into the topping for extra crunch.
Storage and Make-Ahead
Let the crisp cool completely, then cover it and store it in the refrigerator for up to 4 days. Do not leave apple crisp at room temperature for more than 2 hours. To reheat, warm individual servings in the microwave, or reheat the whole dish in a 350°F oven for 15 to 20 minutes until the topping crisps up again. For longer storage, freeze the baked and fully cooled crisp, tightly wrapped, for up to 3 months, then thaw it overnight in the refrigerator and reheat it in a 350°F oven.
To make it ahead, assemble the crisp up to 1 day in advance, cover it tightly, and refrigerate it unbaked. Bake it straight from the refrigerator, adding 5 extra minutes to the baking time, until the topping is golden and the juices are bubbling.
If fall baking is your favorite season in the kitchen, you will love our 5-ingredient pumpkin loaf for an even quicker bake, and our cinnamon apple overnight oats for a make-ahead apple breakfast. For another sweet apple treat for a fall party table, try our poison toffee apples. For background on this classic dessert, see apple crisp on Wikipedia, and for more on the fruit itself, see apple on Wikipedia.
Frequently Asked Questions
Can I make apple crisp ahead of time?
Yes, assemble the crisp up to one day ahead, cover it tightly, and refrigerate it unbaked, then bake it straight from the refrigerator and add 5 extra minutes to the baking time.
Which apples are best for apple crisp?
A mix of tart and sweet apples works best, such as Granny Smith for tang and shape and Honeycrisp for sweetness, because the combination gives the filling the best flavor and texture.
Can I make apple crisp gluten-free?
Yes, use a 1-to-1 gluten-free flour blend in place of the all-purpose flour and certified gluten-free rolled oats, and keep the butter cold so the topping still bakes up crisp.
How do I reheat apple crisp so the topping stays crunchy?
Reheat the crisp in a 350°F oven for 15 to 20 minutes until it is hot all the way through and the topping crisps up again, rather than microwaving the whole dish, which softens the topping.
Rate this recipe
Be the first to rate it!