
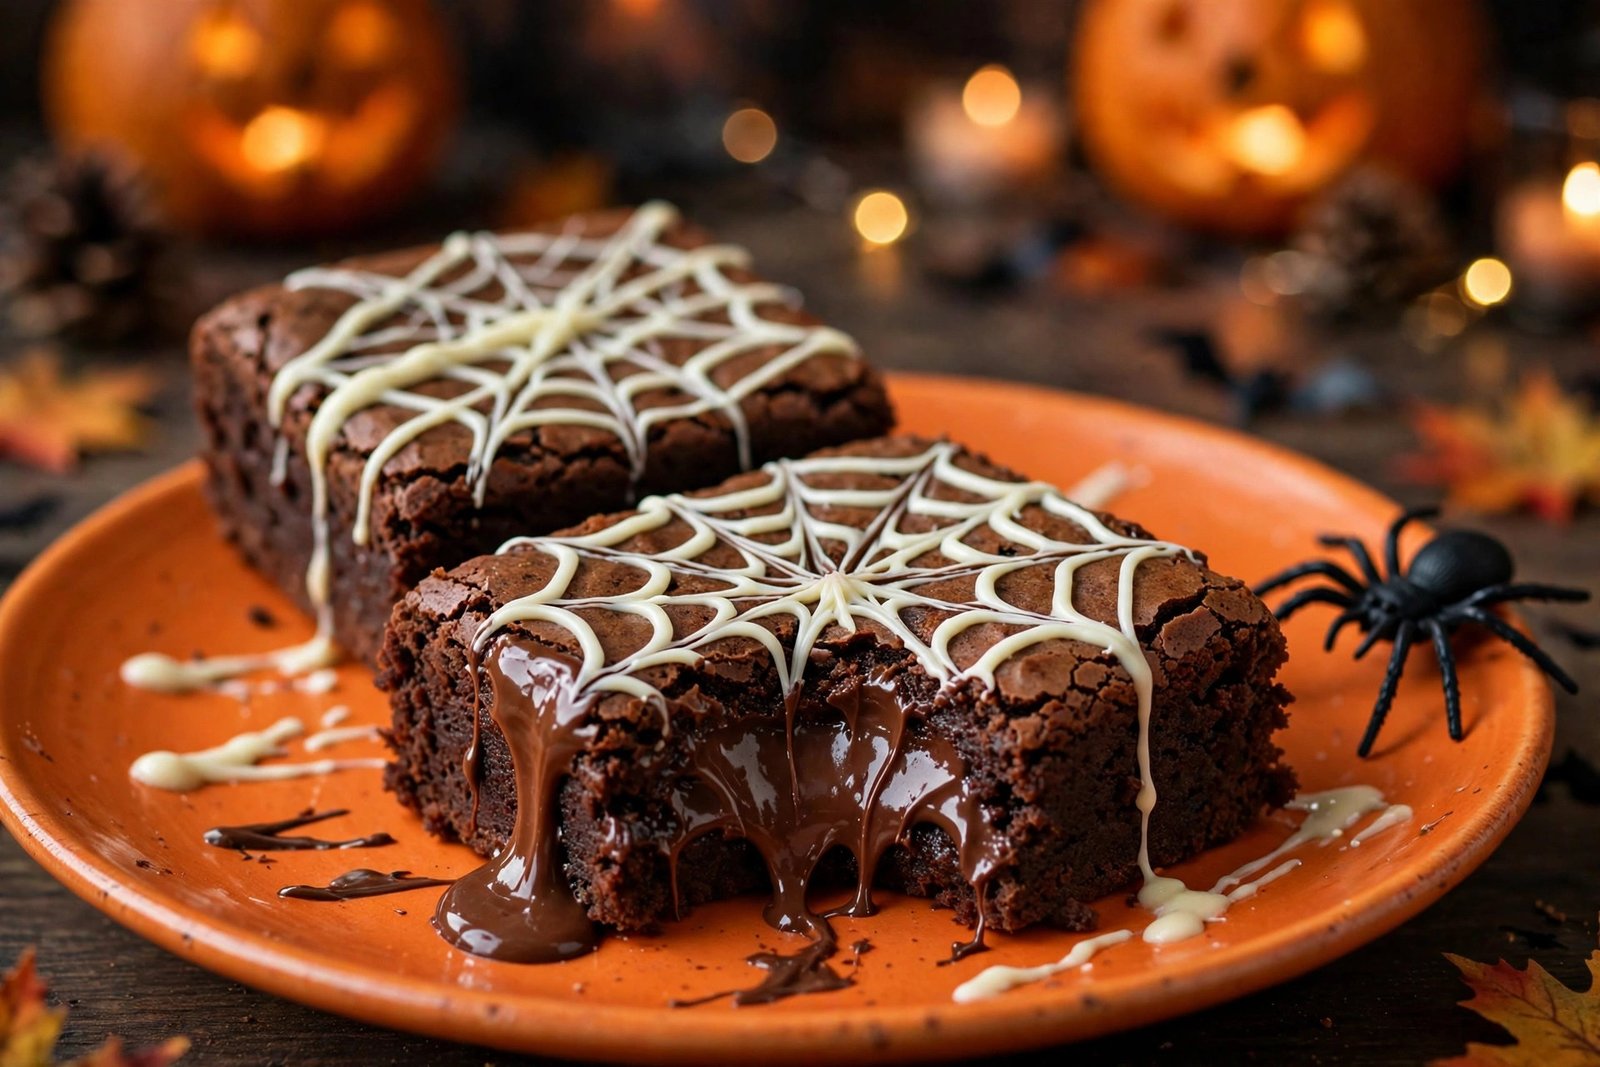
Deep, fudgy, crackly-topped brownies meet full Halloween drama — that is the magic of these Spooky Spiderweb Halloween Brownies. One pan of rich chocolate brownies, an easy piped white-chocolate spiderweb on top, and a few toy spiders for maximum giggle factor. They look like they took all afternoon at a bakery, but honestly? The web design is the easiest piping you will ever do — if you can swirl a toothpick, you can make a spiderweb.
These are the brownies that vanish first at every October party. Crackly tops, gooey centers, and that creamy white-chocolate web cracking right over the top. Kids lose their minds over them, grown-ups quietly eat three, and they are ready in about 40 minutes with pantry staples you already own.

Why You Will Love These Halloween Brownies
- One bowl, one pan, 40 minutes: faster than a trip to the store for bakery treats.
- The spiderweb is foolproof: pipe concentric circles, drag a toothpick through them, and watch the web appear like magic.
- Crackly tops, fudgy middles: this recipe is dialed in for that bakery-style texture.
- Ultimate Halloween party dessert: pairs perfectly with spooky snacks and fall drinks.
- Kid-friendly project: little hands can pipe webs and place spiders — perfect for a Halloween afternoon.
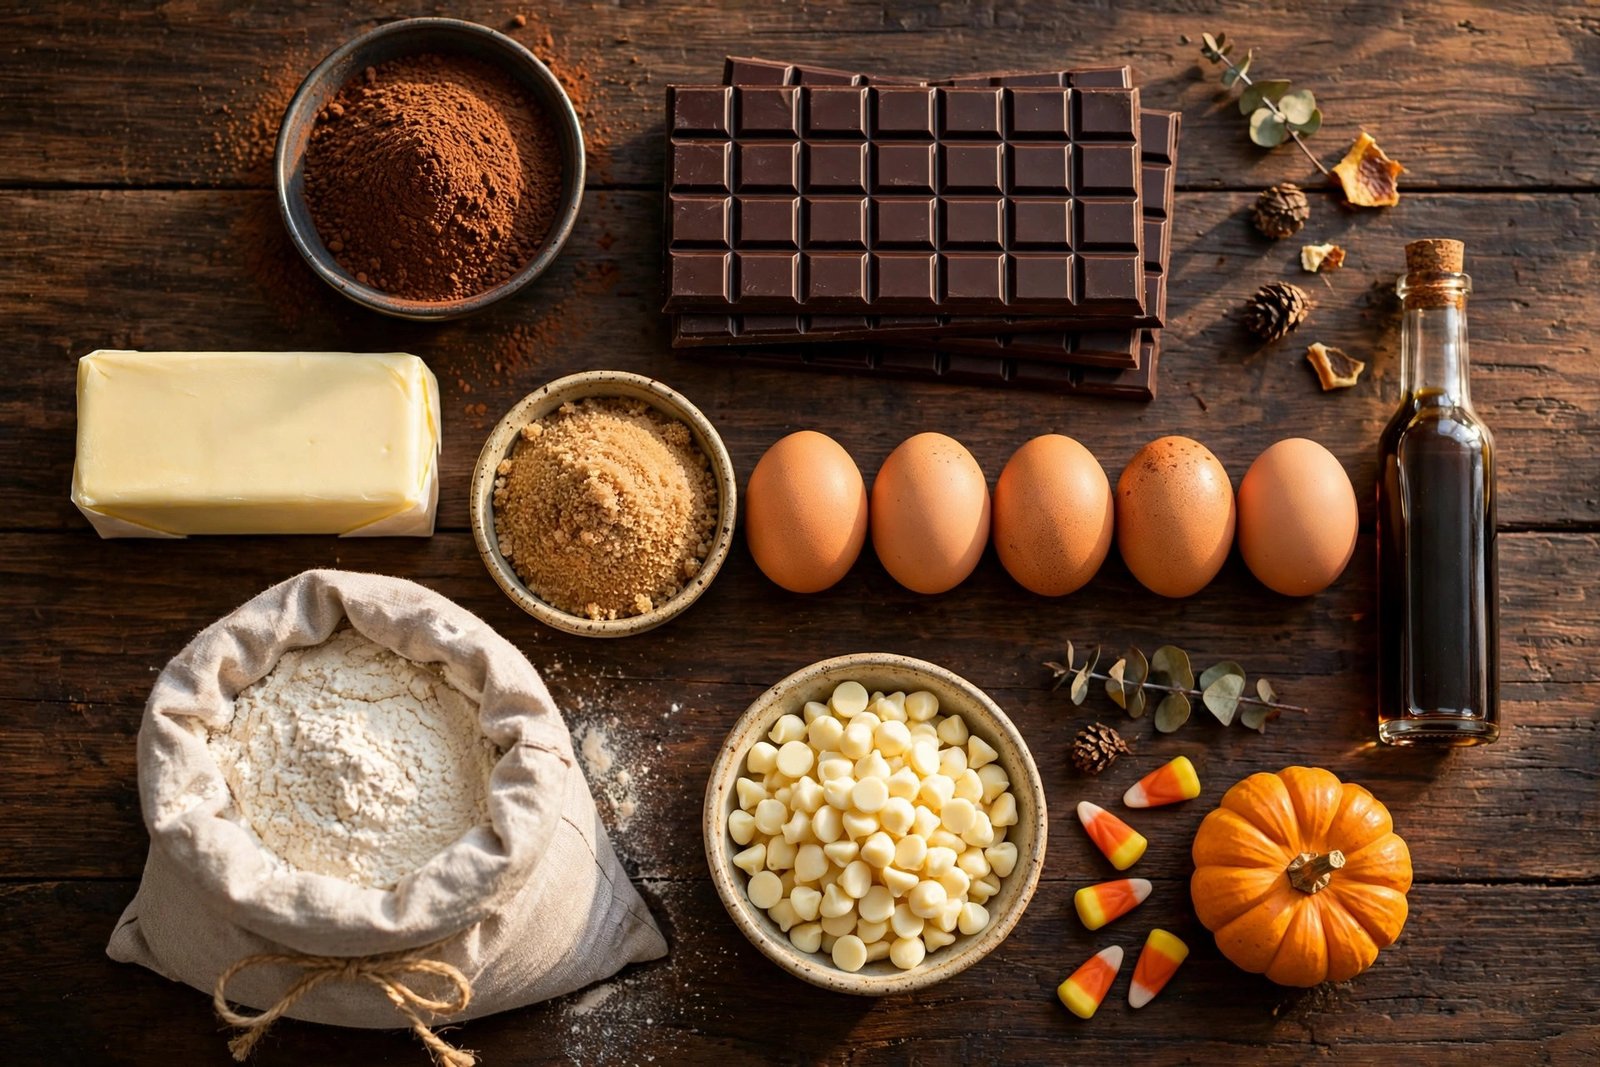
Ingredients
- 200g dark chocolate, chopped (or good-quality semisweet chips)
- 100g unsalted butter, cubed
- 150g granulated sugar
- 2 large eggs, room temperature
- 1 tsp vanilla extract
- 60g all-purpose flour
- 25g unsweetened cocoa powder
- 1/4 tsp fine salt
- 80g white chocolate, melted (for the spiderweb)
- Small plastic spider decorations, for garnish (do not bake these!)
How to Make Spooky Spiderweb Halloween Brownies
- Heat the oven. Preheat to 175°C (350°F). Line an 8×8-inch (20×20 cm) pan with parchment paper, leaving an overhang on two sides so the brownies lift out easily.
- Melt chocolate and butter. Combine the dark chocolate and butter in a heatproof bowl set over a pot of barely simmering water, stirring until glossy and smooth. (Or microwave in 30-second bursts, stirring between each.) Let it cool for 3 minutes.
- Whisk the sugar and eggs. In a large bowl, whisk the sugar, eggs, and vanilla for about a minute until slightly thickened and pale. This is what gives the brownies that gorgeous crackly top.
- Combine. Pour the slightly cooled chocolate mixture into the egg mixture and whisk until smooth and shiny. Sift over the flour, cocoa powder, and salt, then fold gently with a spatula just until no dry streaks remain. Do not overmix — that is how fudgy turns to cakey.
- Bake. Spread the batter evenly into the prepared pan and bake 22 to 25 minutes. The edges should look set and the center should still wobble just slightly — a toothpick inserted near the center should come out with a few moist crumbs, not wet batter.
- Cool completely. This is the hardest part. Let the brownies cool fully in the pan on a wire rack (at least 1 hour) before cutting into 9 squares. Warm brownies + piping = melted webs.
- Pipe the spiderwebs. Melt the white chocolate and spoon it into a small zip-top bag; snip a tiny corner. On each brownie square, pipe 3 to 4 concentric circles, then drag a toothpick from the center outward through the circles to create the web effect. Add a plastic spider on top of each brownie. Serve and watch them disappear.
Pro Tips for the Best Brownies
- Room-temperature eggs matter. Cold eggs seize the melted chocolate and can make the batter grainy. Warm them in a bowl of lukewarm water for 5 minutes if you forgot to set them out.
- Underbake, do not overbake. Brownies keep cooking from residual heat in the pan. Pull them when the center still jiggles a touch — they will set up perfectly as they cool.
- Cool fully before piping. Warm brownies melt the white chocolate webs into a puddle. Patience here is the whole game.
- Keep the piping bag tiny. Snip the very smallest corner — thin lines make a prettier, more delicate web.
- Want extra spooky? Add a drop of orange gel food coloring to the white chocolate for pumpkin-colored webs.
Easy Substitutions
- No dark chocolate? Use semisweet chocolate chips — no chopping needed, same rich result.
- Salted butter on hand? Just skip the added 1/4 tsp salt.
- Gluten-free: swap the flour for a 1:1 gluten-free baking blend; the cocoa structure keeps these chewy.
- No white chocolate? Use a can of white decorating icing with a fine piping tip — zero melting needed.
- Dairy-free: swap in dairy-free chocolate and vegan butter sticks; use aquafaba meringue piping for the web.
Common Mistakes to Avoid
- Overmixing the batter: once the flour goes in, fold only until combined. Too much mixing = cakey, tough brownies.
- Cutting while warm: gooey warm brownies fall apart under the knife. Cool fully, then cut with a hot, dry knife wiped clean between slices.
- Baking the plastic spiders: they are for garnish after baking — never put plastic decorations in the oven.
- Thick web lines: big piping holes make blobby webs. Start with a tiny snip; you can always go bigger.
Storage and Make-Ahead
- Room temperature: store in an airtight container for up to 4 days. Remove the plastic spiders before storing (they are not food).
- Freezer: wrap individual undecorated brownies tightly and freeze up to 3 months. Thaw at room temperature, then pipe fresh webs before serving.
- Make-ahead: bake the brownie base up to 2 days ahead, wrap tightly, and decorate the day of the party so the webs look crisp and fresh.
More Spooky and Sweet Favorites
Building your Halloween party spread? Our Spooky Mummy Hot Dogs are the savory partner these brownies deserve — same party, same giggles. For another chocolatey October treat, the Pumpkin Pie Cake Pops are pure fall magic. And wash it all down with a mug of Homemade Hot Apple Cider — the coziest fall drink there is.
Frequently Asked Questions
How do you make the spiderweb design on brownies?
Pipe 3 to 4 concentric circles of melted white chocolate onto each cooled brownie square, then drag a toothpick from the center outward through the circles. The lines pull into a classic spiderweb shape. Practice one on parchment first — it takes one try to get it.
Can I make these brownies ahead of a party?
Yes. Bake the brownie base up to 2 days ahead and store it tightly wrapped at room temperature. Pipe the white chocolate webs and add the spiders the day of the party so the decoration looks fresh and crisp.
Are the plastic spiders food-safe?
The spiders are decoration only — place them on top after baking and remind guests to remove them before eating. For an edible option, pipe little chocolate spiders with melted dark chocolate instead.
Can I use cocoa powder instead of melted chocolate?
This recipe is built on melted dark chocolate for that deep, fudgy texture — cocoa-only brownies taste quite different. If you are curious about the science, the history and chemistry of chocolate brownies explains why melted chocolate creates that signature crackly top. That said, dark chocolate also brings the antioxidants that make dark chocolate a surprisingly smart treat in moderation.
Rate this recipe
Be the first to rate it!
1 thought on “Spooky Spiderweb Halloween Brownies”