
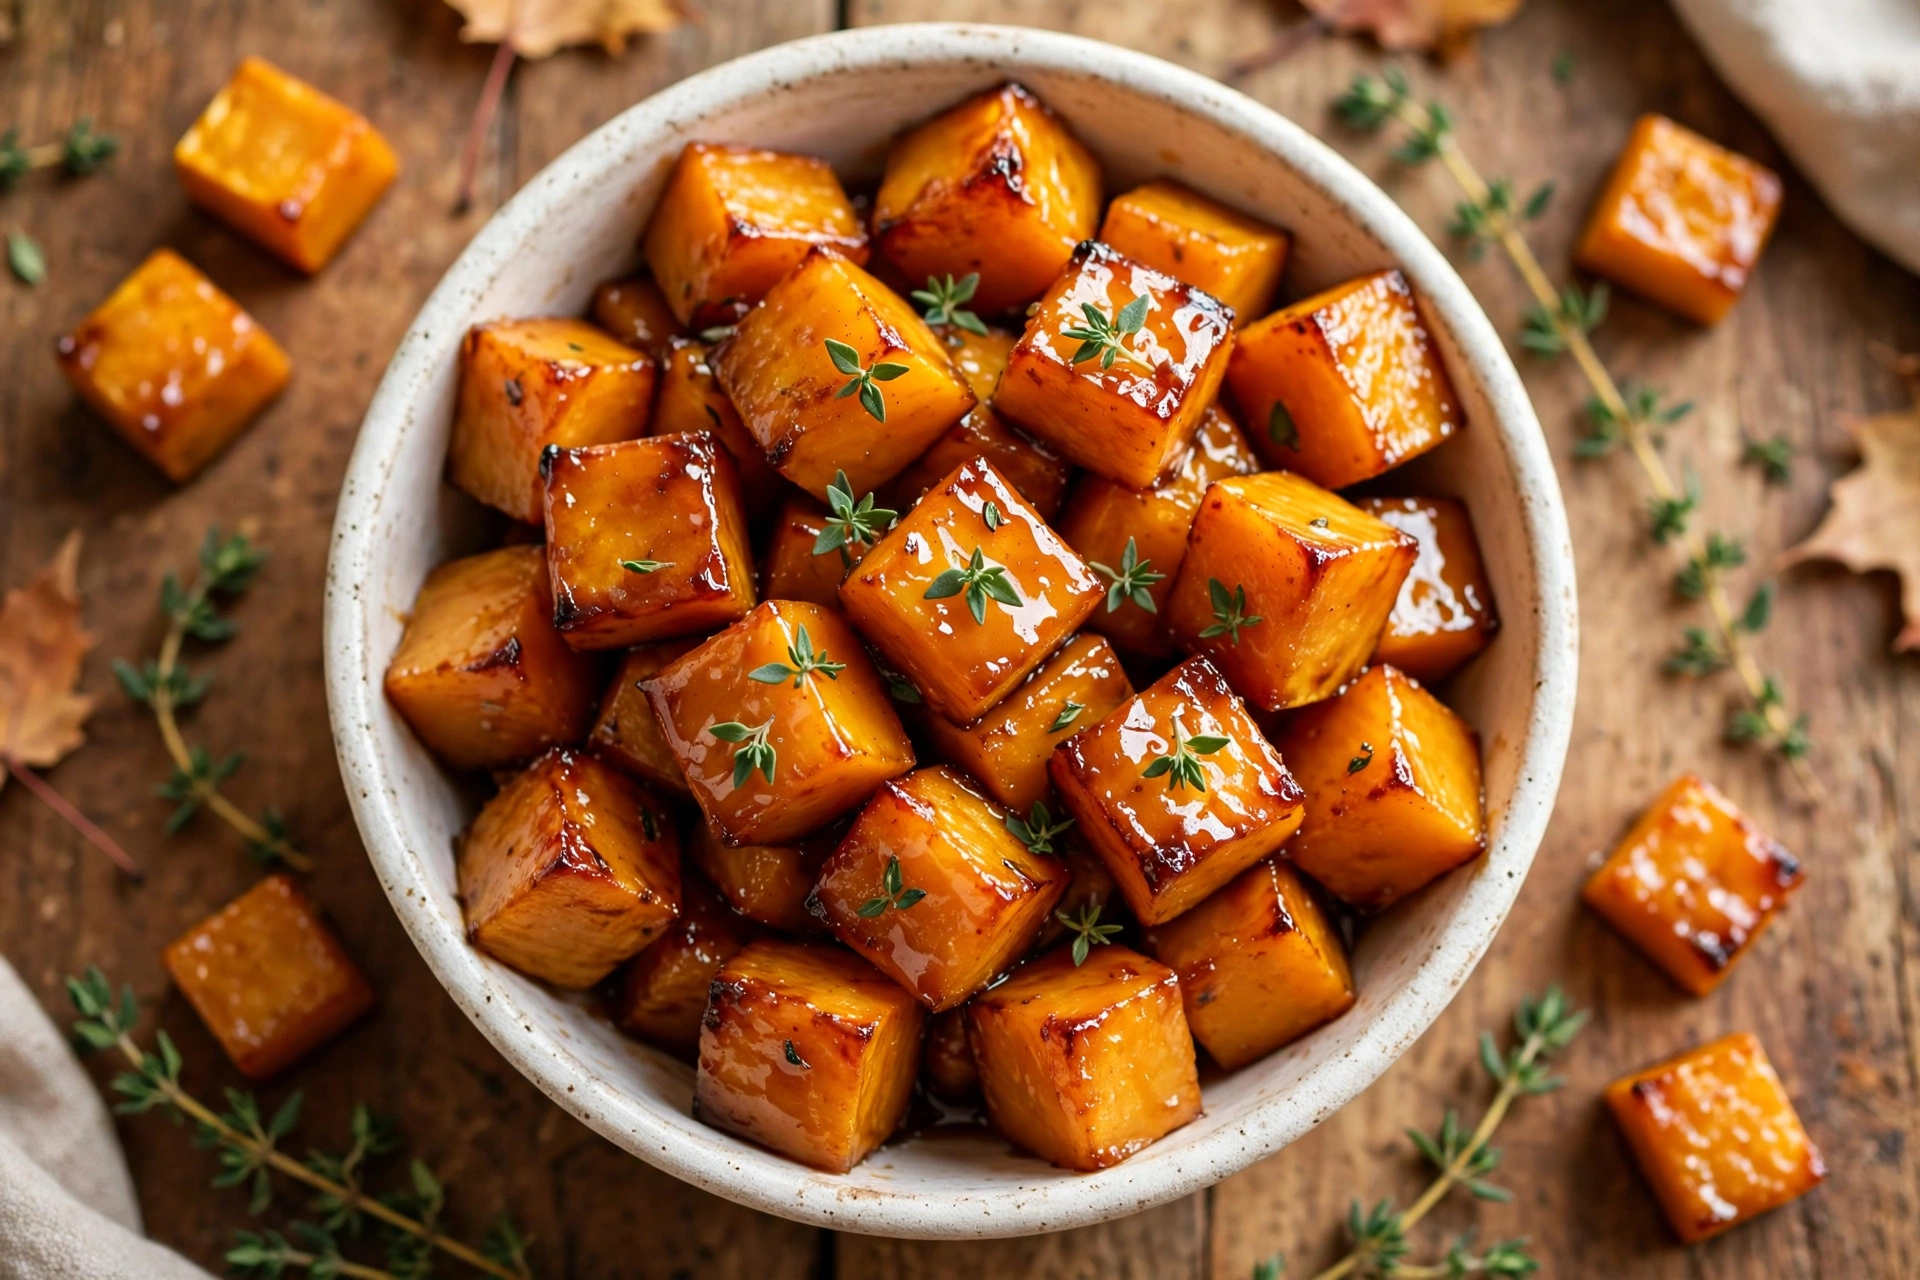
There is a moment, about twenty minutes into roasting, when the whole kitchen starts smelling like autumn itself. The butternut squash cubes turn golden at the edges, the maple syrup bubbles into a sticky glaze, and the garlic and thyme go warm and toasty. This easy roasted butternut squash is that moment, bottled into a 40-minute side dish that tastes like you worked far harder than you did.
Butternut squash is one of those vegetables that does most of the work for you. It is naturally sweet, it caramelizes beautifully in a hot oven, and it goes with almost everything on a holiday table or a regular Tuesday dinner. All it needs is a sharp knife, a hot oven, and a little patience while the edges crisp up. If you have ever been nervous about tackling a whole butternut squash, this is the recipe that turns you into a convert. The peeling takes a few minutes, the cubing takes a few more, and from there the oven handles everything.
What makes this version so good is the balance. The maple syrup is optional, but a single tablespoon is enough to coax the squash’s own sweetness into deep caramel without turning the dish into dessert. The garlic goes in at the start so it mellows and sweetens in the heat, and the fresh thyme goes on at the end so it stays bright and fragrant instead of burning. Salt and pepper do the quiet work underneath, and a hot 425-degree oven is what makes the difference between soft steamed cubes and golden, crisp-edged ones. This is the side dish I reach for when the main course is already complicated, because it never is.
It is also the rare Thanksgiving side that does not fight for oven space or attention. While the turkey rests, the squash roasts. While the gravy simmers, the squash cools just enough to serve. It sits happily next to easy butternut squash soup and maple roasted Brussels sprouts on a holiday table, and on a weeknight it turns a simple roast chicken or a bowl of soup into a proper dinner. One pan, one squash, forty minutes, and a side dish everyone asks about.
Recipe at a Glance
- Prep Time: 10 minutes
- Cook Time: 25 to 30 minutes
- Rest Time: 2 minutes
- Total Time: 40 minutes
- Servings: 4 to 6 servings
- Oven Temperature: 425°F (220°C)
- Category: Dinner side dish
Ingredients
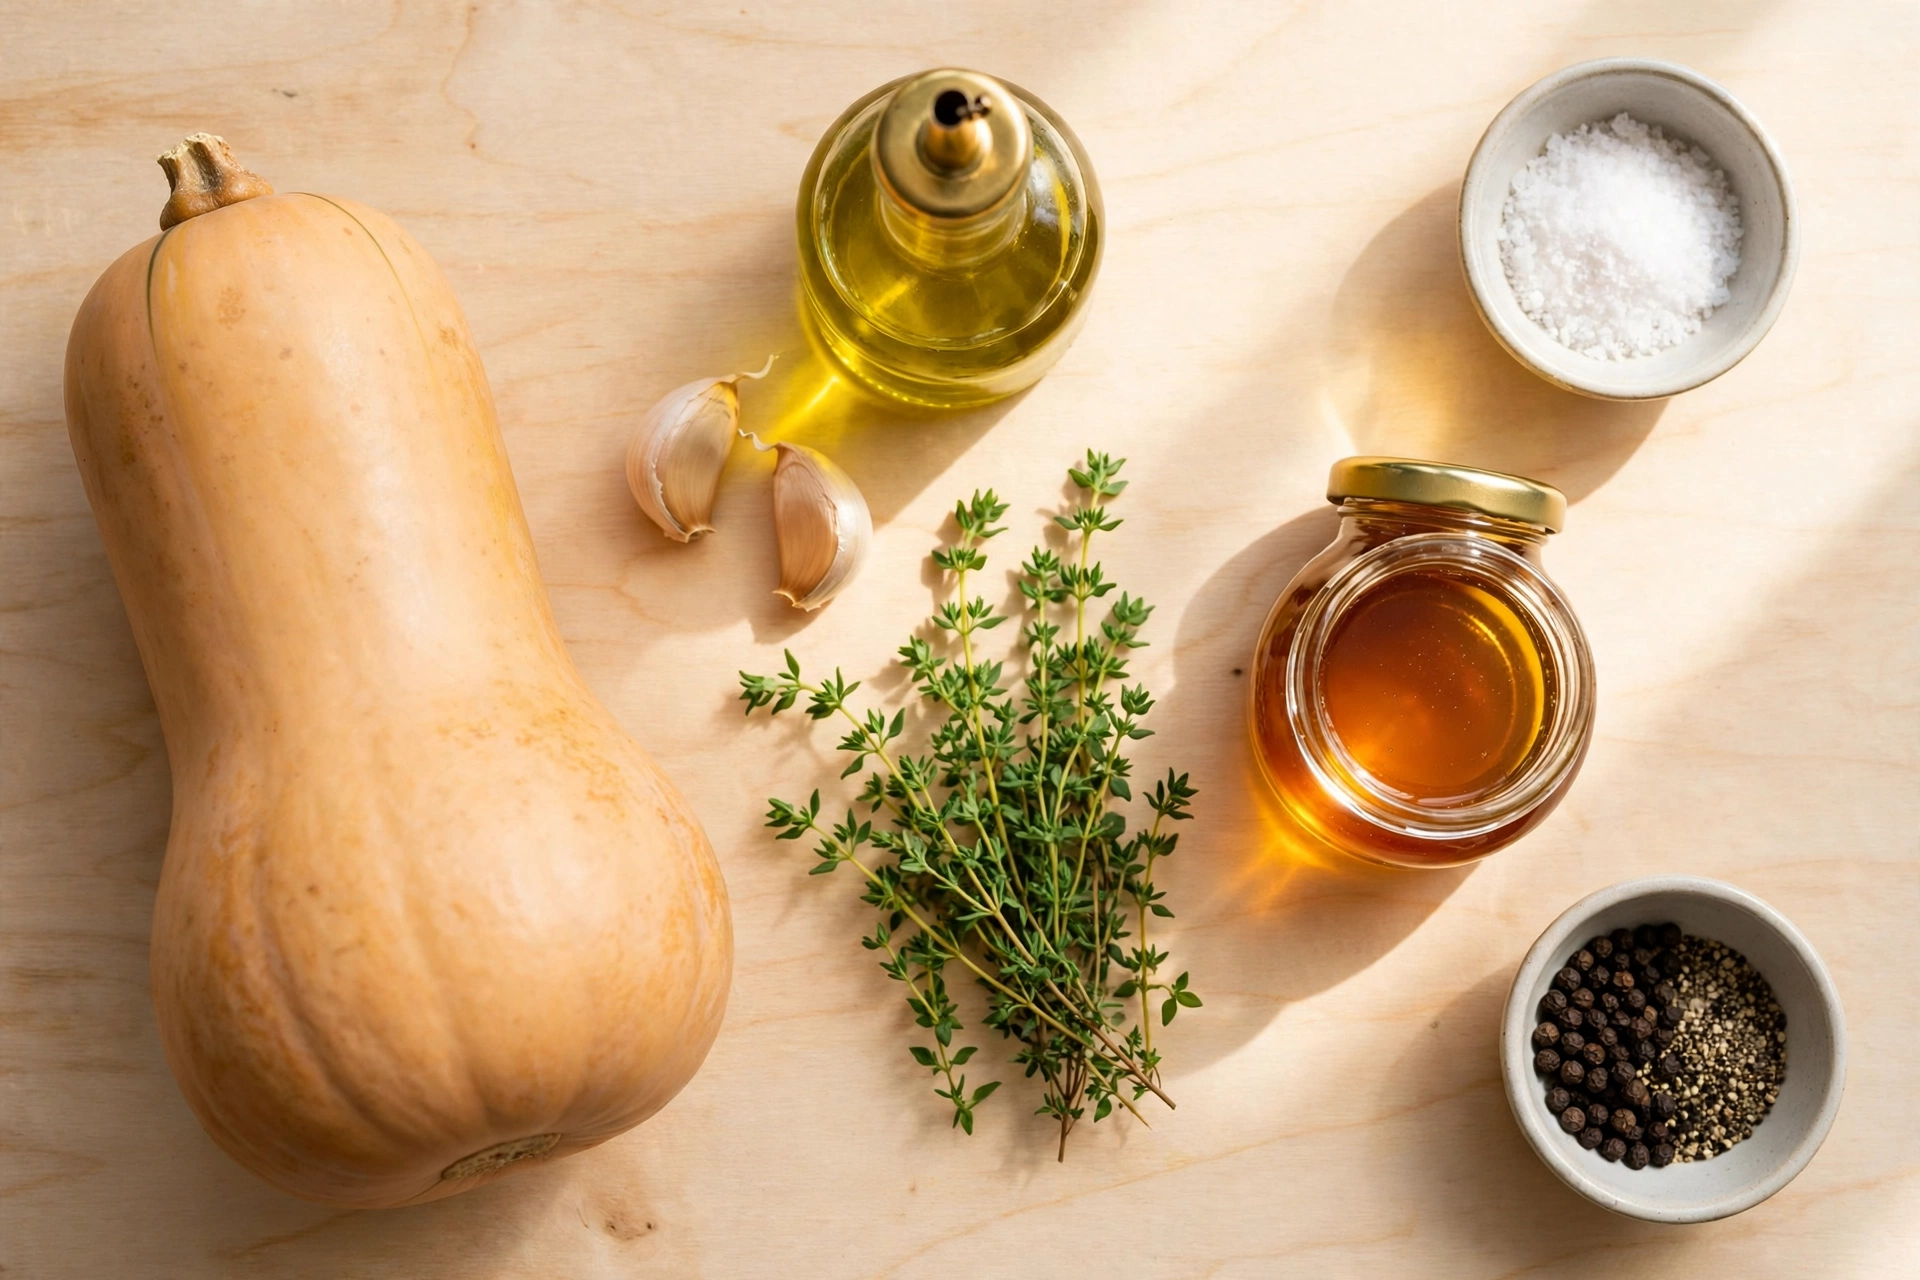
Seven simple ingredients, and every one of them earns its place. Use a medium squash, about 2.5 to 3 pounds, which gives you roughly 6 to 7 cups of cubes, just right for 4 to 6 servings.
- 1 medium butternut squash, about 2.5 to 3 pounds
- 2 tablespoons olive oil
- 1 teaspoon kosher salt
- 1/2 teaspoon freshly ground black pepper
- 1 teaspoon garlic powder, or 2 cloves garlic, finely minced
- 1 tablespoon maple syrup or honey, optional
- 1 teaspoon fresh thyme leaves, plus extra sprigs for serving
A quick note on the garlic: garlic powder is the safe choice here because it coats the cubes evenly and never burns. If you prefer fresh garlic, mince it very fine and toss it with the oil so it is coated and protected, and check the pan at 20 minutes. Fresh garlic left in dry spots can darken fast at 425 degrees.
Directions
- Heat the oven and the pan. Place a rack in the center of the oven and preheat to 425°F (220°C). Line a large rimmed baking sheet with parchment paper. A hot oven is the whole trick here, so give it the full preheat time and do not slide the pan in early.
- Peel the squash. Trim a thin slice off the top and bottom so the squash stands flat and steady. Hold it upright and run a sharp Y-shaped vegetable peeler down the sides in long strips until all the tan skin is gone. A Y peeler is faster and safer than a straight peeler on a squash this size, and it follows the curves of the neck easily.
- Seed and cube it. Cut the squash in half crosswise where the narrow neck meets the round bulb. Stand each half cut-side down and slice it in half lengthwise, then scoop out the seeds and stringy pulp with a spoon. Cut the flesh into 1-inch cubes, keeping them as even as you can. Even cubes roast evenly, and that is the difference between a pan where every piece is golden and a pan where half the cubes are mushy and half are still firm.
- Season generously. Tip the cubes into a large bowl and drizzle over the olive oil, maple syrup, salt, pepper, and garlic powder. Toss with your hands or a big spoon until every cube is glossy and coated. The oil is what carries the heat to the surface of the squash, so do not skimp on the toss, and make sure no cube is left dry.
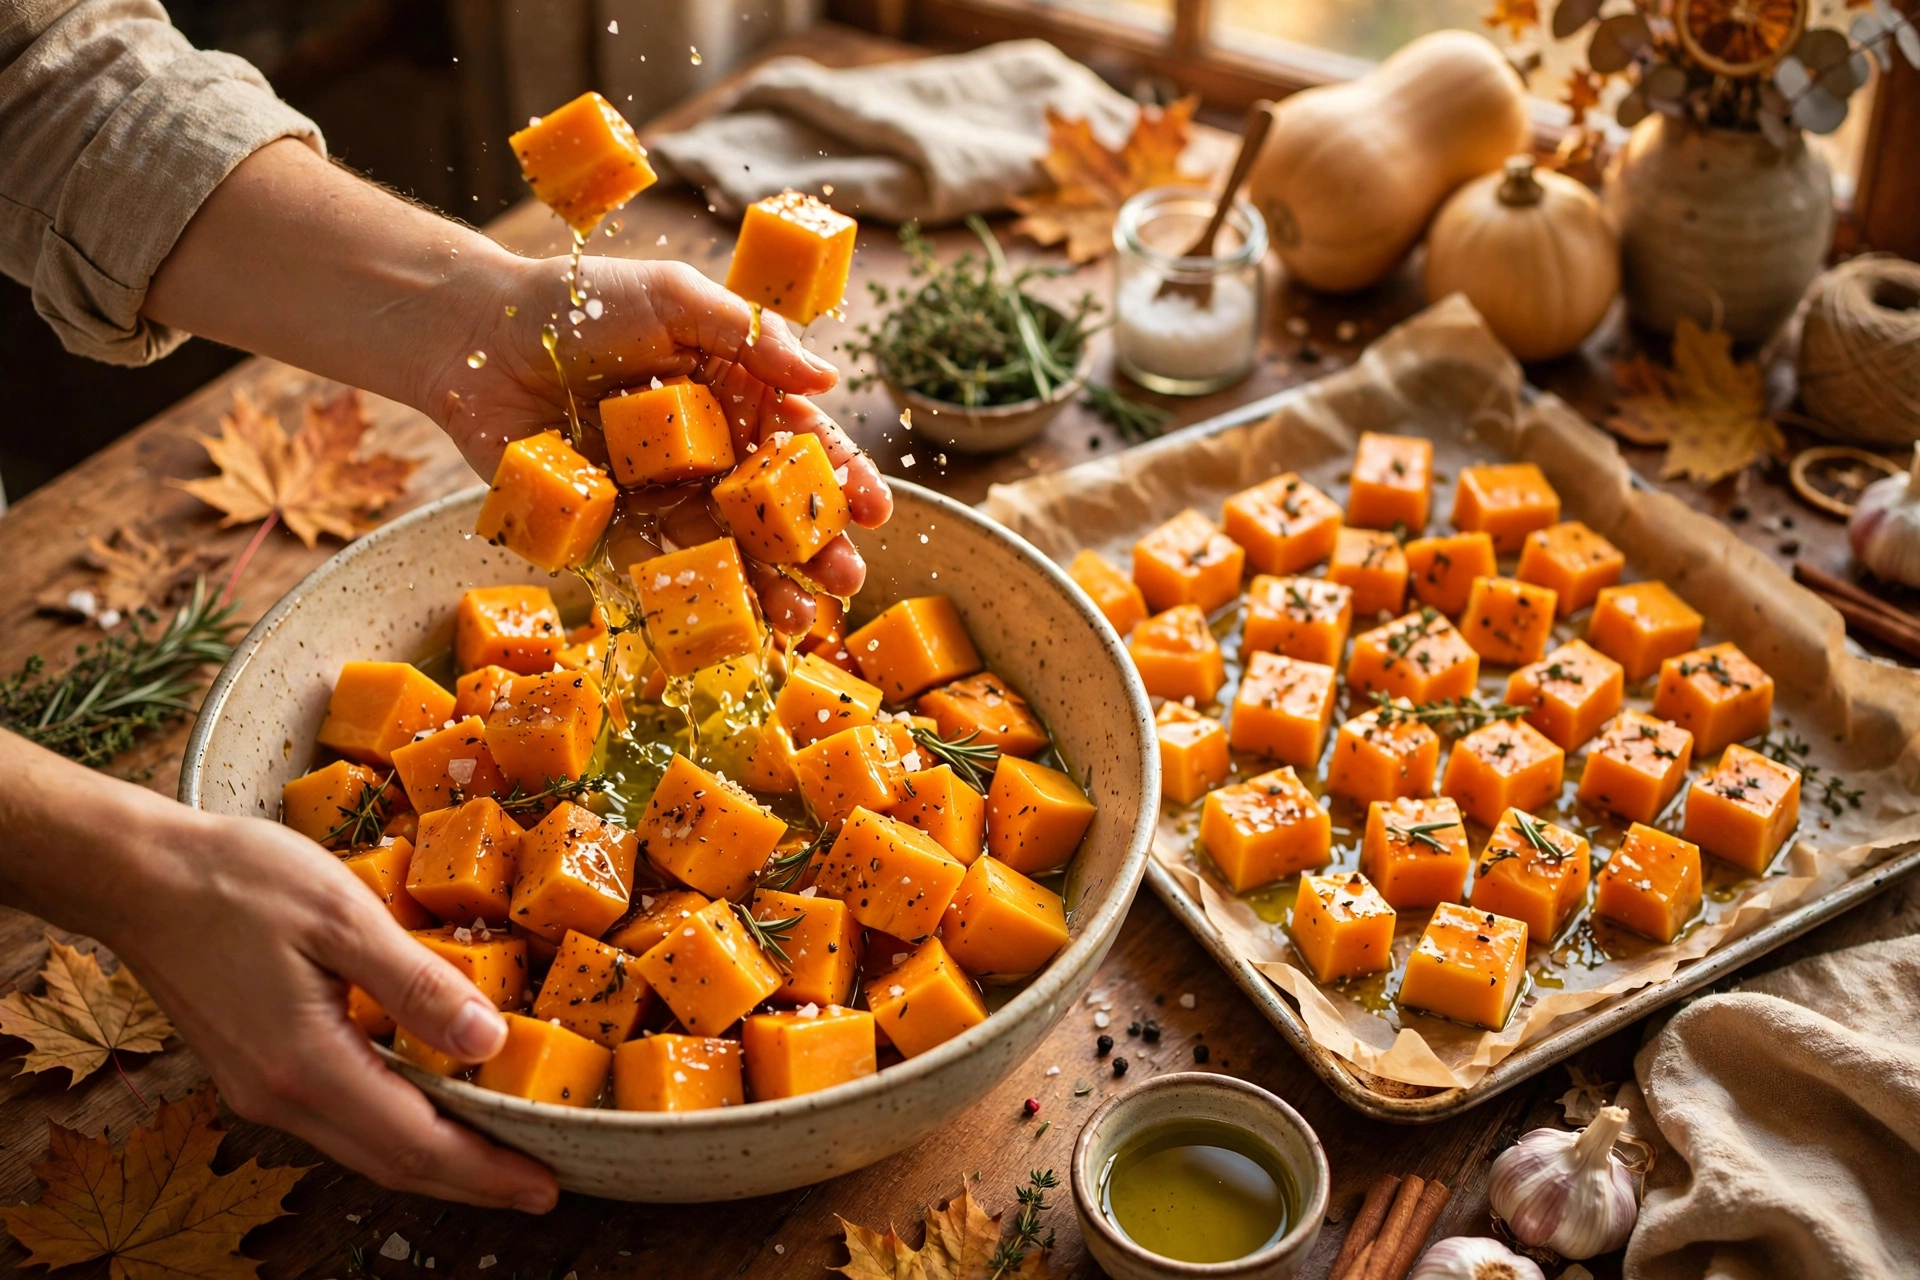
- Spread in a single layer. Pour the cubes onto the prepared baking sheet and spread them out so no two pieces are touching. Give them room to breathe. This is the single most important step in the whole recipe, and it is the one people skip when they are in a hurry.
- Roast until golden. Roast for 25 to 30 minutes, flipping the cubes once with a spatula at about the 15-minute mark. The squash is done when the edges are deeply golden and caramelized, the centers are tender enough that a knife slides through with zero resistance, and the pan smells sweet and toasty. The cubes touching the pan will brown fastest, and that is exactly what you want.
- Rest and finish. Pull the pan from the oven and let the squash rest on the pan for 2 minutes. The cubes firm up slightly as they cool, and the caramelized edges set instead of sticking. Sprinkle over the fresh thyme leaves and toss gently right on the pan.
- Serve warm. Transfer to a serving bowl and serve warm, with a few extra thyme sprigs on top. It is best in the first hour, while the edges are still crisp and the centers are still soft and sweet.
Why This Works
Roasting is not just cooking with heat, it is cooking with chemistry, and butternut squash is built for it. Here is why each part of this recipe matters, so you can trust it and repeat it without a second thought.
425°F is the sweet spot
At 425°F the outside of each cube browns and caramelizes before the inside turns to mush. The high heat drives off surface moisture fast, which is what lets the natural sugars in the squash brown instead of steam. Drop the temperature to 350°F and the same cubes will soften long before they color, giving you pale, steamed-tasting squash. Push it to 450°F and the maple syrup and garlic will burn before the centers are tender. At 425°F you get the best of both: golden edges and a soft, creamy center in 25 to 30 minutes.
Even cubes cook evenly
A 1-inch cube is small enough to cook through in half an hour and large enough to hold its shape. Cut some cubes at half an inch and others at two inches and you will get a pan of half-burnt, half-raw squash, because the small pieces finish in fifteen minutes and the big ones need forty. Taking two extra minutes to cut evenly is the cheapest insurance in the recipe.
A single layer beats a crowded pan
Every cube on the pan releases steam as it roasts. When cubes are piled on top of each other, that steam has nowhere to go, and the squash steams instead of roasting. Spread out in a single layer with space between the pieces, the steam escapes, the surface dries, and the edges crisp and caramelize. If your pan looks crowded, split the squash across two pans rather than squeezing it onto one. It is better to wash a second sheet pan than to serve a soggy one.
Oil first, herbs last
The oil goes on before roasting because it protects the surface and carries heat into the squash. The fresh thyme goes on after, because delicate herbs burn in a 425-degree oven and turn bitter. Garlic powder survives the heat because it is evenly coated in oil, while fresh thyme leaves sprinkled on at the end stay green and fragrant. That order, oil early and herbs late, is the difference between a dish that tastes roasted and a dish that tastes burnt.
Choosing the Best Butternut Squash
A good roasted squash starts at the store, and butternut is easy to pick well once you know what to look for. Choose a squash that feels heavy for its size, with a matte, even tan skin and no soft spots, cracks, or green patches. A heavy squash is dense and moist inside, which means more creamy flesh and less stringy pulp. The stem should be dry and firm, not soft or moldy, and the skin should have no shine, because a shiny squash was often picked before it was fully ripe.
Size matters too. A medium squash of about 2.5 to 3 pounds is the sweet spot for this recipe, giving you 6 to 7 cups of cubes, enough for 4 to 6 servings. A very large squash, four pounds or more, has a thicker neck and a bigger seed cavity, so you will spend more time peeling and seeding for not much more usable flesh. If the store only has small squash, buy two and use the same amounts of oil and seasoning. And if you are short on time, the pre-cut squash cubes sold in the produce section work in this recipe too. They are usually cut a little smaller than an inch, so start checking them at 20 minutes instead of 25.
Once you get it home, a whole uncut butternut squash keeps for a month or more in a cool, dry spot like a pantry shelf, away from direct sun. It does not need the fridge. Once it is cut, wrap the pieces tightly and refrigerate them, and use them within 3 to 4 days. That long shelf life is one more reason butternut squash is such a reliable pantry staple through the fall and winter months.
Pro Tips
- Pick a heavy squash. A squash that feels heavy for its size is dense and moist inside. Avoid any with soft spots, green patches, or cuts in the skin. A matte tan skin with no shine is a sign it was picked ripe.
- Warm the pan first. If you want extra-crisp edges, slide the empty sheet pan into the oven while it preheats, then pour the oiled cubes onto the hot pan. They will sizzle on contact and brown faster on the bottom.
- Do not move the cubes too often. One flip at 15 minutes is enough. Every time you stir, you break the contact between the squash and the hot pan, and that contact is what builds the caramelized crust.
- Taste before you serve. Squash varies in sweetness, so taste a cube after roasting and add a pinch more salt if it tastes flat. Salt is what makes the sweetness pop, and a dish that tastes bland usually needs salt, not more sugar.
- Save the seeds. Rinse the seeds, pat them dry, toss with a little oil and salt, and roast them on a small tray for 10 to 12 minutes while the squash cooks. They make a crunchy snack or a salad topping, and it feels good to waste nothing.
Common Mistakes and How to Fix Them
The squash turned out mushy
This is almost always a crowded pan or cubes cut too small. The fix is space: spread the cubes in a single layer with gaps between them, and use two pans if you have to. If the pan is already in the oven and steaming, pull it out, spread the cubes wider, and give them another 10 minutes at 425°F. The edges will recover more than you expect.
The edges burned before the centers softened
Either the cubes were too small or the oven runs hot. Check your oven with a thermometer if this keeps happening, and cut the cubes a full inch next time. If the pan is already dark at 15 minutes, flip the cubes, drop the heat to 400°F, and finish roasting. A little char is delicious, but black and bitter is not.
The squash tastes bland
Bland squash is under-salted squash. Butternut is sweet and mild, and it needs a full teaspoon of kosher salt for a whole squash. If you already served it, a squeeze of lemon, a drizzle of good olive oil, and a pinch of flaky salt at the table will wake it right up.
The maple syrup made it too sweet
Maple is optional for a reason. If you used it and the dish leans dessert-sweet, balance it next time by cutting the maple to 2 teaspoons and adding a squeeze of lemon juice or a pinch of chili flakes at the end. Acid and heat are the two best tools for taming sweetness.
Substitutions
- No maple syrup? Use honey, brown sugar, or nothing at all. The squash is naturally sweet, and the recipe is delicious with the maple left out entirely.
- No fresh thyme? Use 1/2 teaspoon dried thyme, tossed in with the oil before roasting, or swap in fresh rosemary, sage, or parsley. Rosemary is stronger, so use half as much.
- No olive oil? Avocado oil or melted butter both work. Butter browns faster, so watch the pan after 20 minutes if you use it.
- Want heat? Add 1/4 teaspoon chili flakes or a pinch of cayenne with the seasonings. The warmth plays beautifully against the maple.
- Want a warm spice version? Add 1/2 teaspoon cinnamon and a pinch of nutmeg with the salt and pepper. It leans cozier and more holiday-like, and it is wonderful next to turkey.
- Different squash? Acorn squash, delicata, or even sweet potatoes roast the same way at 425°F. Cut them to the same 1-inch cubes and keep the same timing. For a full holiday table, pair this squash with our easy dinner rolls, warm from the oven and ready to mop up every last bit of maple glaze.
Storage and Make-Ahead
This squash keeps beautifully, which is half the reason it is such a good holiday side. Cook it once, and it covers you for days.
- Fridge: Cool the squash completely, then store it in an airtight container in the fridge for 3 to 4 days. The flavors actually deepen overnight, and the thyme perfumes the cubes.
- Freezer: Freeze in a single layer on a baking sheet for an hour, then transfer to a freezer bag for up to 3 months. The texture softens a little after thawing, so frozen squash is best stirred into soups, mashed, or reheated in a hot oven rather than served on its own.
- Reheating: Spread the squash on a baking sheet and reheat at 400°F for 8 to 10 minutes until hot and the edges crisp up again. The microwave works in a pinch, but it softens the edges, so the oven is worth it.
- Make-ahead: Peel and cube the squash up to 2 days ahead and store the raw cubes in a container of cold water in the fridge, or in a sealed bag with a damp paper towel. Drain and pat very dry before tossing with oil, because wet cubes steam instead of roast.
- Room temperature: Like any cooked vegetable, do not leave roasted squash out for more than 2 hours. If it has been sitting on a buffet table all afternoon, refrigerate the leftovers and reheat them fresh.
Serving Ideas
Roasted butternut squash is the friendliest side dish on the table, because it gets along with nearly everything. Here are the pairings that work best.
- Thanksgiving dinner: Serve it next to turkey, gravy, and stuffing, where its sweetness balances the savory richness of the rest of the plate. It is the colorful vegetable the table needs.
- Weeknight chicken: A pile of golden squash turns plain roast chicken or grilled chicken thighs into a dinner that feels complete without a second side.
- Grain bowls: Spoon the warm cubes over cooked quinoa or wild rice with a handful of greens, some crumbled feta, and a drizzle of balsamic. Lunch is sorted.
- With soup: Float a few cubes on top of a bowl of creamy tomato soup or a smooth squash soup for texture and color. The contrast of silky soup and caramelized cubes is wonderful.
- As a salad topper: Cool the cubes to room temperature and toss them over baby spinach with toasted pecans, dried cranberries, and a maple vinaigrette. It is a fall salad that eats like a meal.
- Breakfast hash: Dice the leftovers smaller and fry them in a skillet with an egg on top for a next-morning hash. The caramelized edges crisp up again beautifully.
Butternut squash itself is a winter squash with sweet, nutty orange flesh, and it is one of the most popular squashes in American cooking for good reason. If you want to know more about the vegetable itself, the Butternut squash page on Wikipedia has a lovely overview of its history and varieties. For nutrition details, the USDA FoodData Central database lists the full nutrient profile for raw and cooked butternut squash, including its vitamin A and fiber content.
Frequently Asked Questions
Do you peel butternut squash before roasting?
Yes, peel butternut squash before roasting it in cubes. The skin is thick and tough, and it stays chewy even after 30 minutes in a hot oven. A sharp Y-shaped vegetable peeler takes the skin off in a few minutes, and it is much safer than trying to cut the skin away with a knife.
How do you cut butternut squash into cubes?
Trim the top and bottom so the squash stands flat, peel it, then cut it in half crosswise where the narrow neck meets the round bulb. Halve each piece lengthwise, scoop out the seeds with a spoon, and cut the flesh into 1-inch cubes. Keep the cubes as even as you can so they all finish roasting at the same time.
Why is my roasted butternut squash mushy?
Mushy roasted butternut squash is usually caused by a crowded pan or cubes cut too small. When the cubes touch each other, they steam instead of roast, and the edges never crisp. Spread the cubes in a single layer with space between them, use two pans if needed, and keep the oven at 425°F so the surface dries and caramelizes.
Can I make roasted butternut squash ahead of time?
Yes, you can make roasted butternut squash ahead of time. The full recipe takes just 40 minutes, and the finished squash keeps well. Roast it, cool it completely, and store it in an airtight container in the fridge for 3 to 4 days. Reheat it on a baking sheet at 400°F for 8 to 10 minutes until hot and the edges crisp up again. You can also peel and cube the squash up to 2 days ahead and keep the raw cubes in cold water in the fridge.
Rate this recipe
Be the first to rate it!