
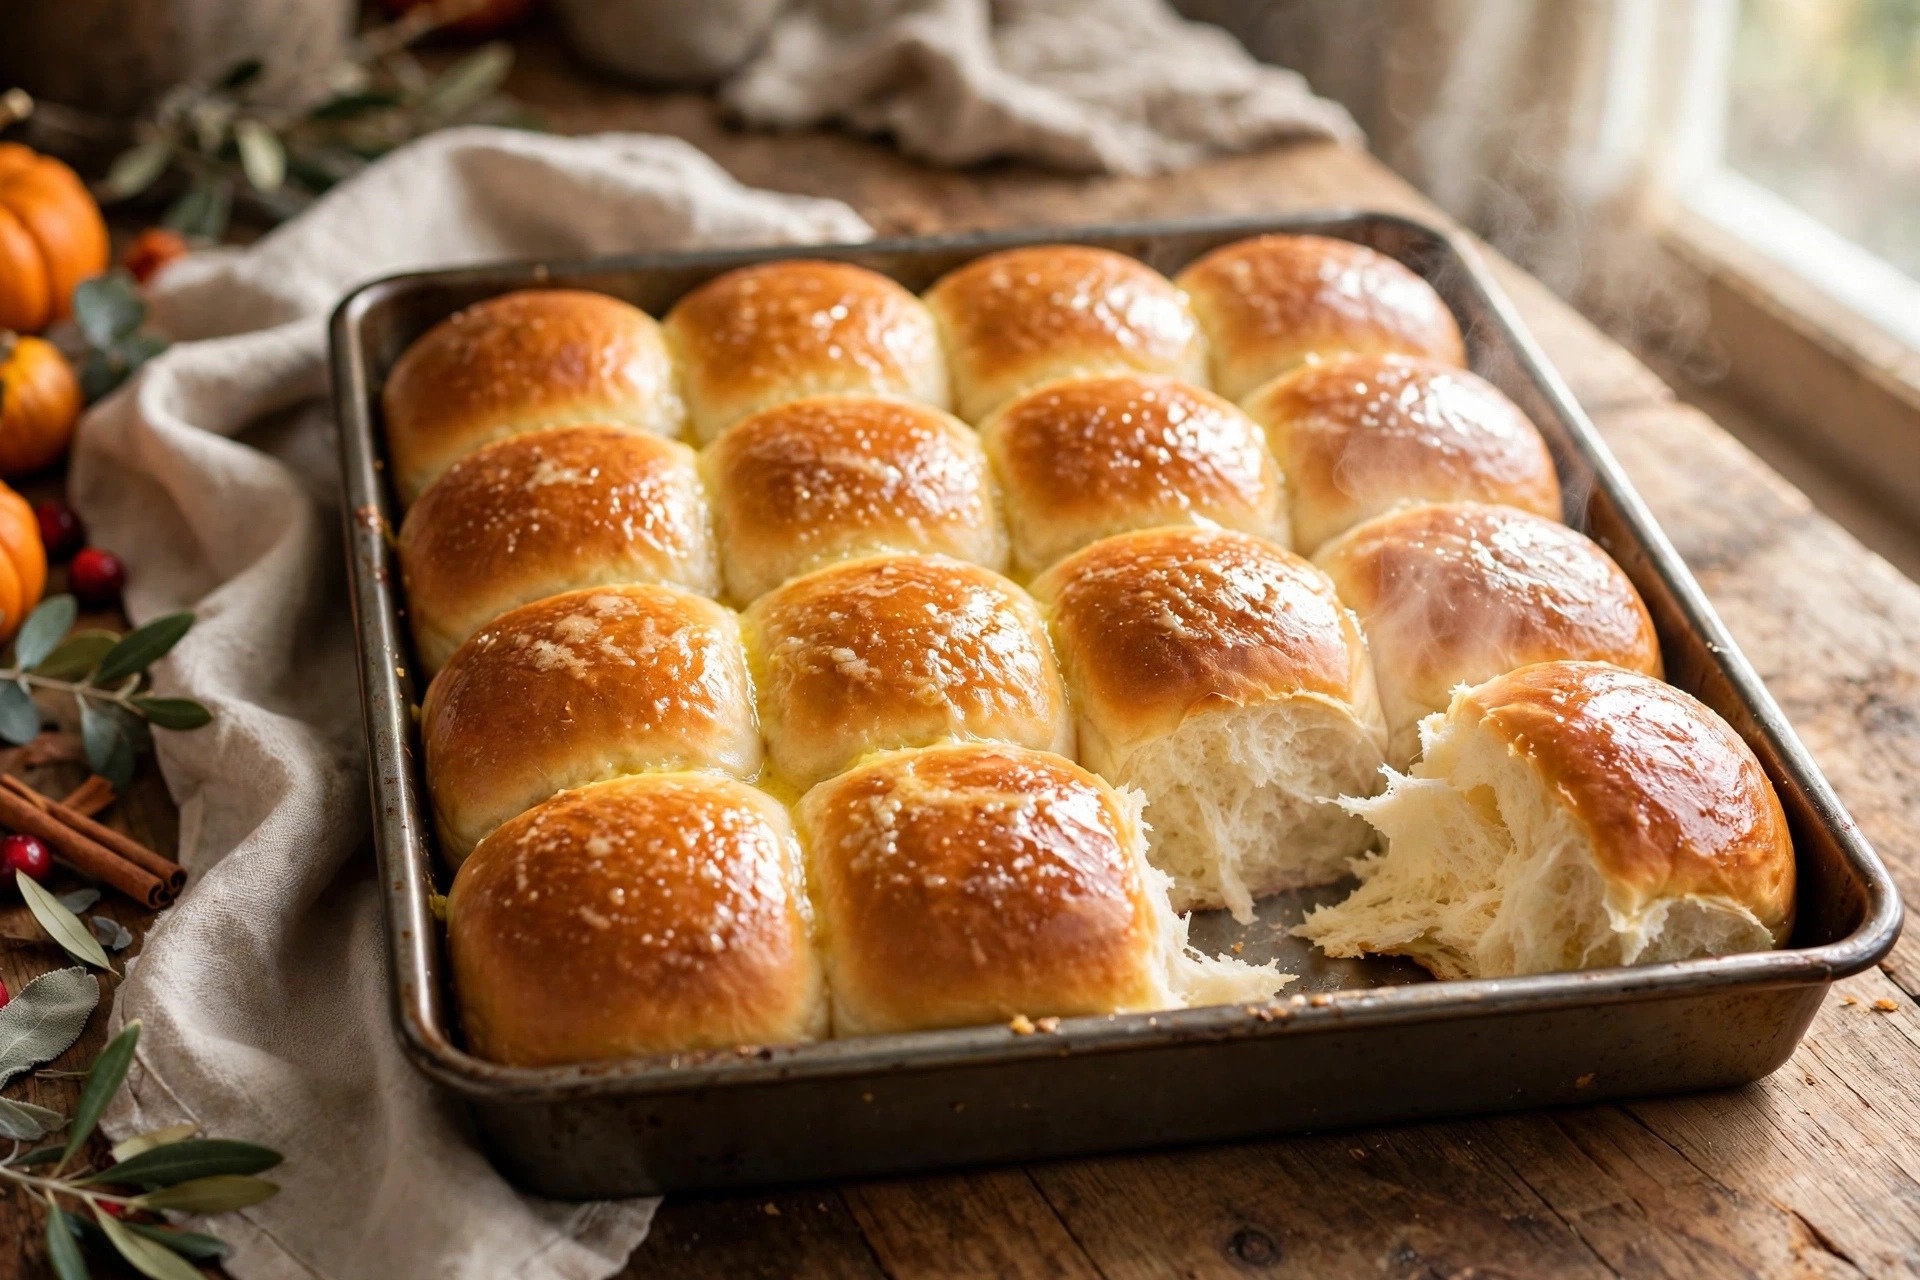
There is a very specific sound that tells you Thanksgiving dinner is about to be wonderful, and it is the soft little sigh a warm dinner roll makes when you pull it away from its neighbours. Steam curls up, butter glistens on the golden top, and the inside is so soft and pillowy that it practically begs for one more pat of butter. These easy dinner rolls are exactly that roll, and the best part is that they are ready in just 1 hour, from the moment you measure the flour to the moment they land on the table.
Most homemade dinner rolls ask you to plan half your day around them, with two long rises and a lot of waiting. Not these. One quick rise, one pan, and a clever little shortcut or two are all it takes. Instant yeast does the heavy lifting, warm milk wakes it up fast, and a warm kitchen does the rest. You mix, knead for five minutes, shape sixteen little dough balls, let them puff up for 25 minutes, and bake for 20 minutes. That is the whole story, and it ends with the best bread basket your table has ever seen.
They are soft without being doughy, golden without being crusty, and buttery in the way that only a homemade roll can be. Serve them next to your turkey and gravy, set them on the table beside a pan of honey butter cornbread and a bowl of green beans almondine, or spoon them up next to a dish of creamed corn. Or just eat one standing at the counter with honey butter dripping down your fingers. Nobody will judge you. We have all done it.
Recipe at a Glance
- Prep Time: 15 minutes
- Rise Time: 25 minutes
- Bake Time: 20 minutes
- Total Time: 1 hour
- Yield: 16 rolls
- Serves: 8 (2 rolls per person)
- Oven: 375°F (190°C)
- Pan: 9×13-inch baking pan, greased
Cool the rolls for 5 minutes in the pan before serving. That short rest is separate from the 1-hour total and lets the crumb set so the rolls pull apart cleanly instead of squashing.
Ingredients
For the Dough
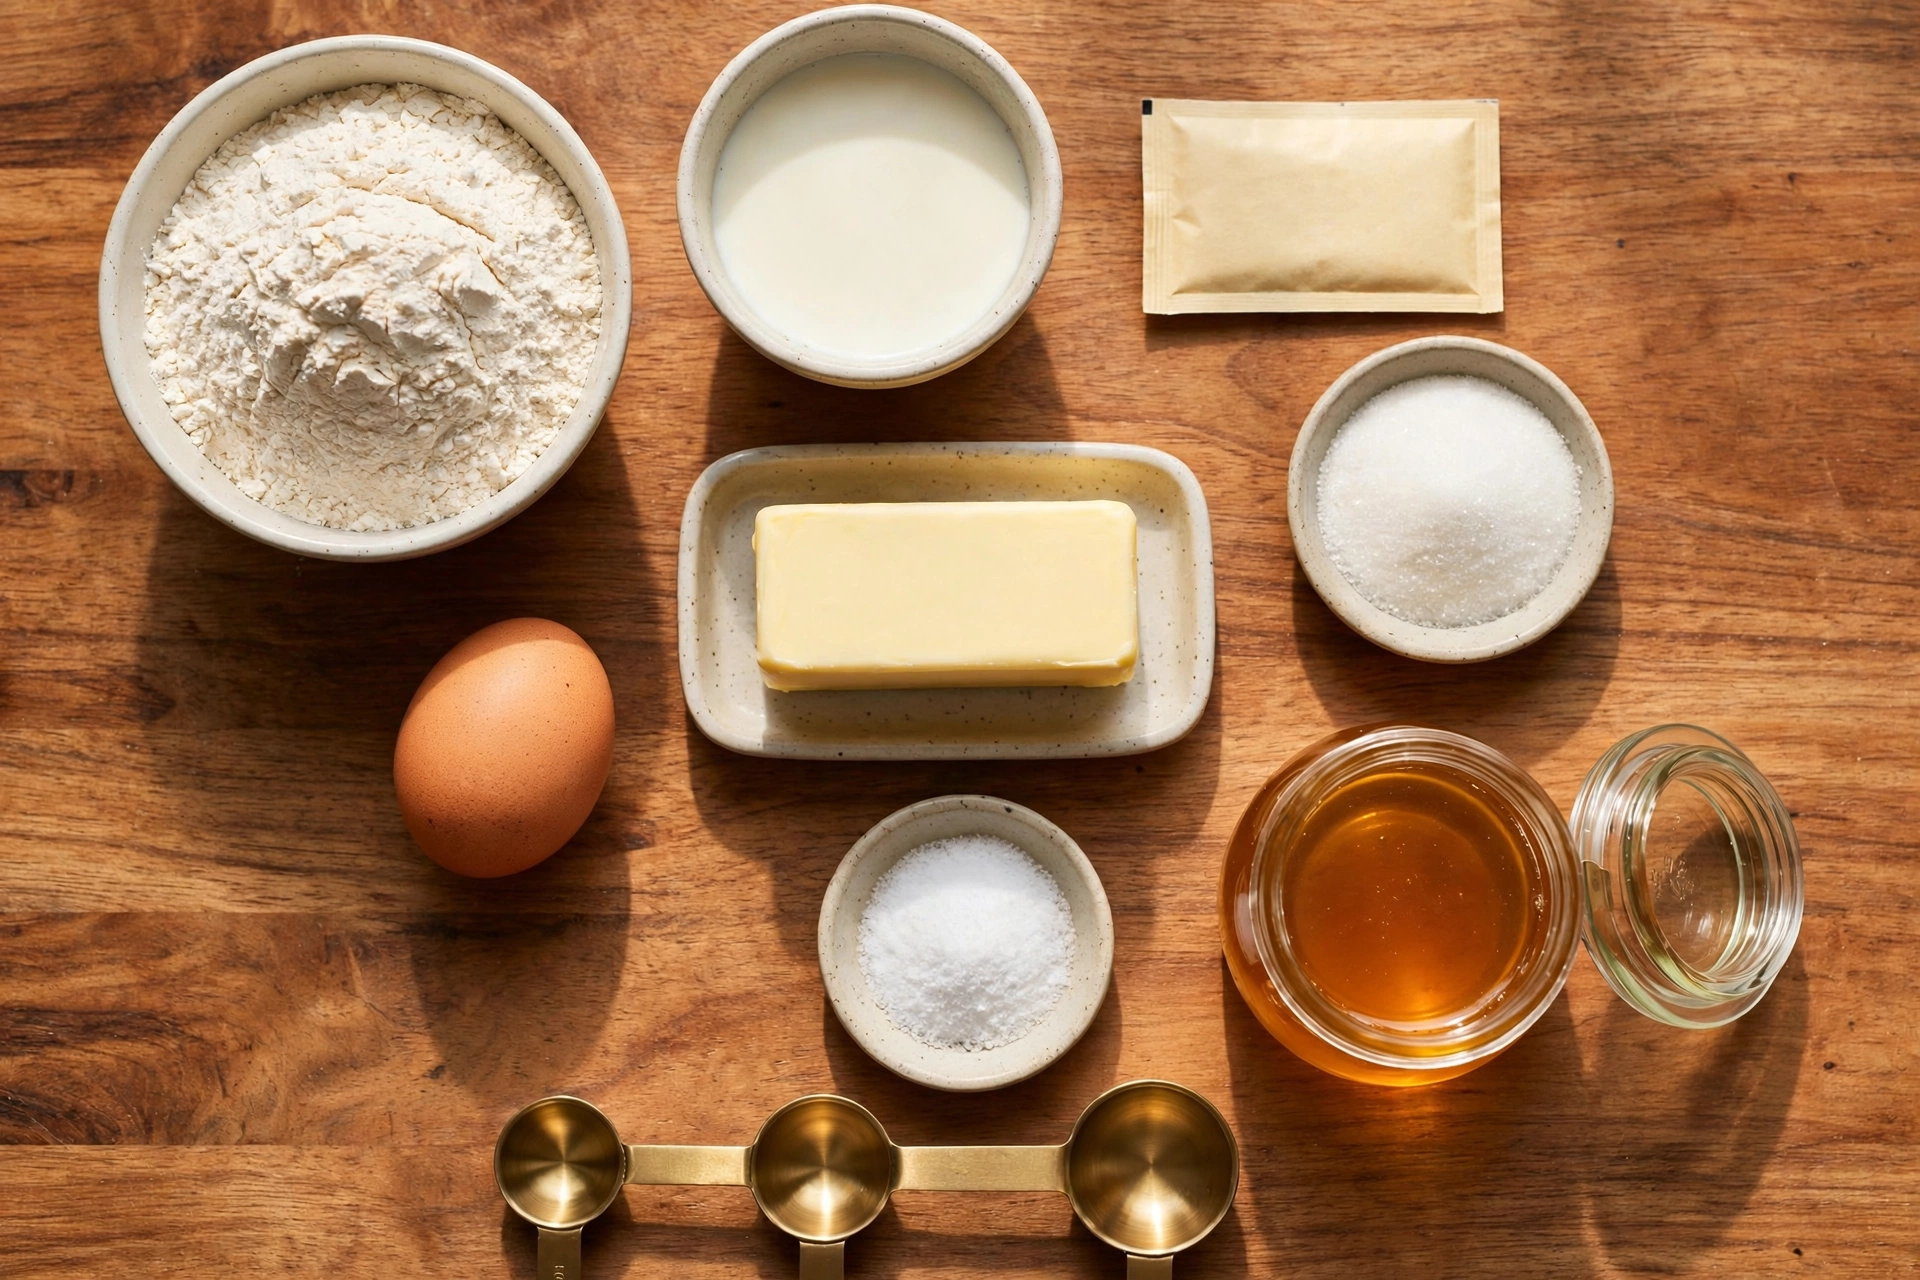
- 1 cup warm whole milk (240 ml), about 110°F (43°C)
- 2 1/4 teaspoons instant yeast (1 packet, 7 g)
- 2 tablespoons granulated sugar, divided
- 1 large egg, at room temperature
- 1/4 cup unsalted butter, melted and slightly cooled (4 tablespoons / 57 g)
- 3 1/2 cups all-purpose flour (420 g), plus extra for dusting
- 1 teaspoon fine sea salt
For the Honey Butter Topping
- 2 tablespoons unsalted butter, melted
- 1 tablespoon honey
- Flaky sea salt, for sprinkling (optional)
Directions
- Wake up the yeast. Pour the warm milk into a large mixing bowl and sprinkle the instant yeast and 1 tablespoon of the sugar over the top. Give it a gentle stir and let it sit for 5 minutes. It should turn foamy and smell faintly like fresh bread. If nothing happens, your milk was probably too cool or too hot, so start again with fresh yeast and milk at 110°F. This 5-minute rest happens inside your 15 minutes of prep time.
- Mix the wet ingredients. Whisk the egg, the melted butter, and the remaining 1 tablespoon of sugar into the foamy milk mixture until everything is smooth and combined. The melted butter should feel warm, not hot, when you touch the bowl. Hot butter can shock the yeast, so let it cool for a minute if it is steaming.
- Make the dough. Add the flour and the salt to the bowl and stir with a wooden spoon or spatula until a shaggy dough forms and no dry flour remains. The dough will look rough and a little sticky at this point, and that is exactly right. Do not add extra flour yet.
- Knead for 5 minutes. Turn the dough out onto a lightly floured surface and knead for about 5 minutes, pushing it away with the heel of your hand, folding it back, and turning it a quarter turn each time. The dough will transform from sticky and rough to smooth, soft, and slightly tacky. It should spring back slowly when you poke it, and a small piece should stretch thin without tearing. If you own a stand mixer, knead with the dough hook on medium-low for about 4 minutes instead. Resist the urge to keep adding flour. A soft, slightly tacky dough bakes into a soft, pillowy roll, while a stiff, floury dough bakes into a dense one.
- Shape 16 rolls. Divide the dough into 16 equal pieces, about 45 g each if you like to weigh them. Roll each piece into a tight, smooth ball by cupping your hand over it and rolling it in small circles on the counter. The tight skin on the outside of each ball is what helps the roll rise tall and round instead of spreading flat. Arrange the balls in 4 rows of 4 in your greased 9×13-inch pan, leaving just a little space between them.
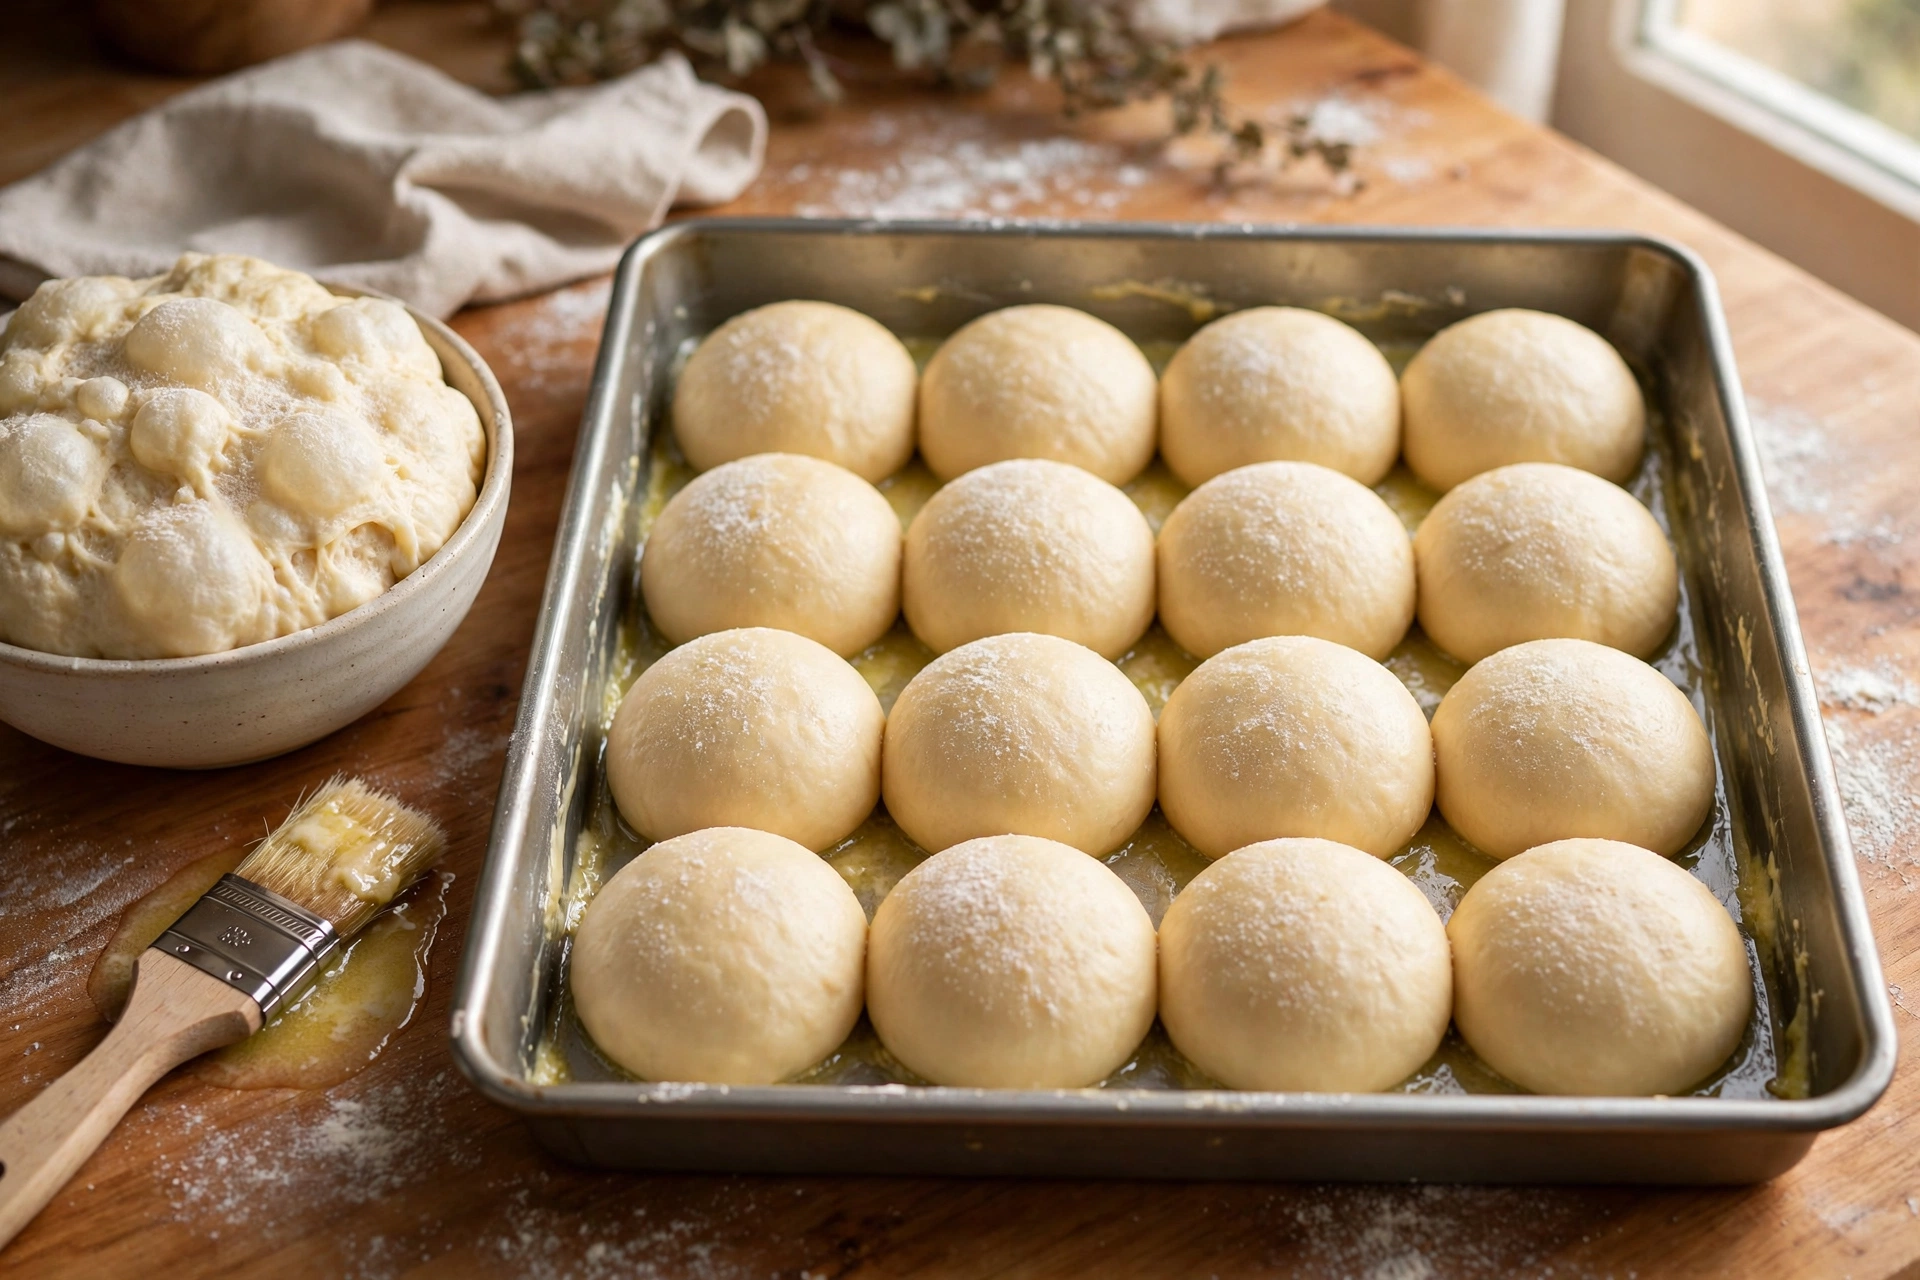
- Let them rise for 25 minutes. Cover the pan loosely with a clean kitchen towel or plastic wrap and set it in a warm spot in your kitchen. A turned-off oven with the light on is perfect. During the last 10 minutes of the rise, switch the oven on to 375°F (190°C) so it is fully hot when the rolls are ready. After 25 minutes the rolls should look puffy and be touching each other, nearly doubled in size. If your kitchen is cool, give them up to 10 extra minutes, but do not let them over-rise until they look saggy or wrinkled.
- Bake for 20 minutes. Uncover the pan and bake for 18 to 20 minutes, until the tops are deep golden brown and the rolls sound hollow when you tap one. An instant-read thermometer pushed into the center of a middle roll should read about 190°F (88°C). That temperature tells you the crumb is fully set and the egg in the dough is safely cooked through. If the tops brown too fast, tent the pan loosely with foil for the last 5 minutes.
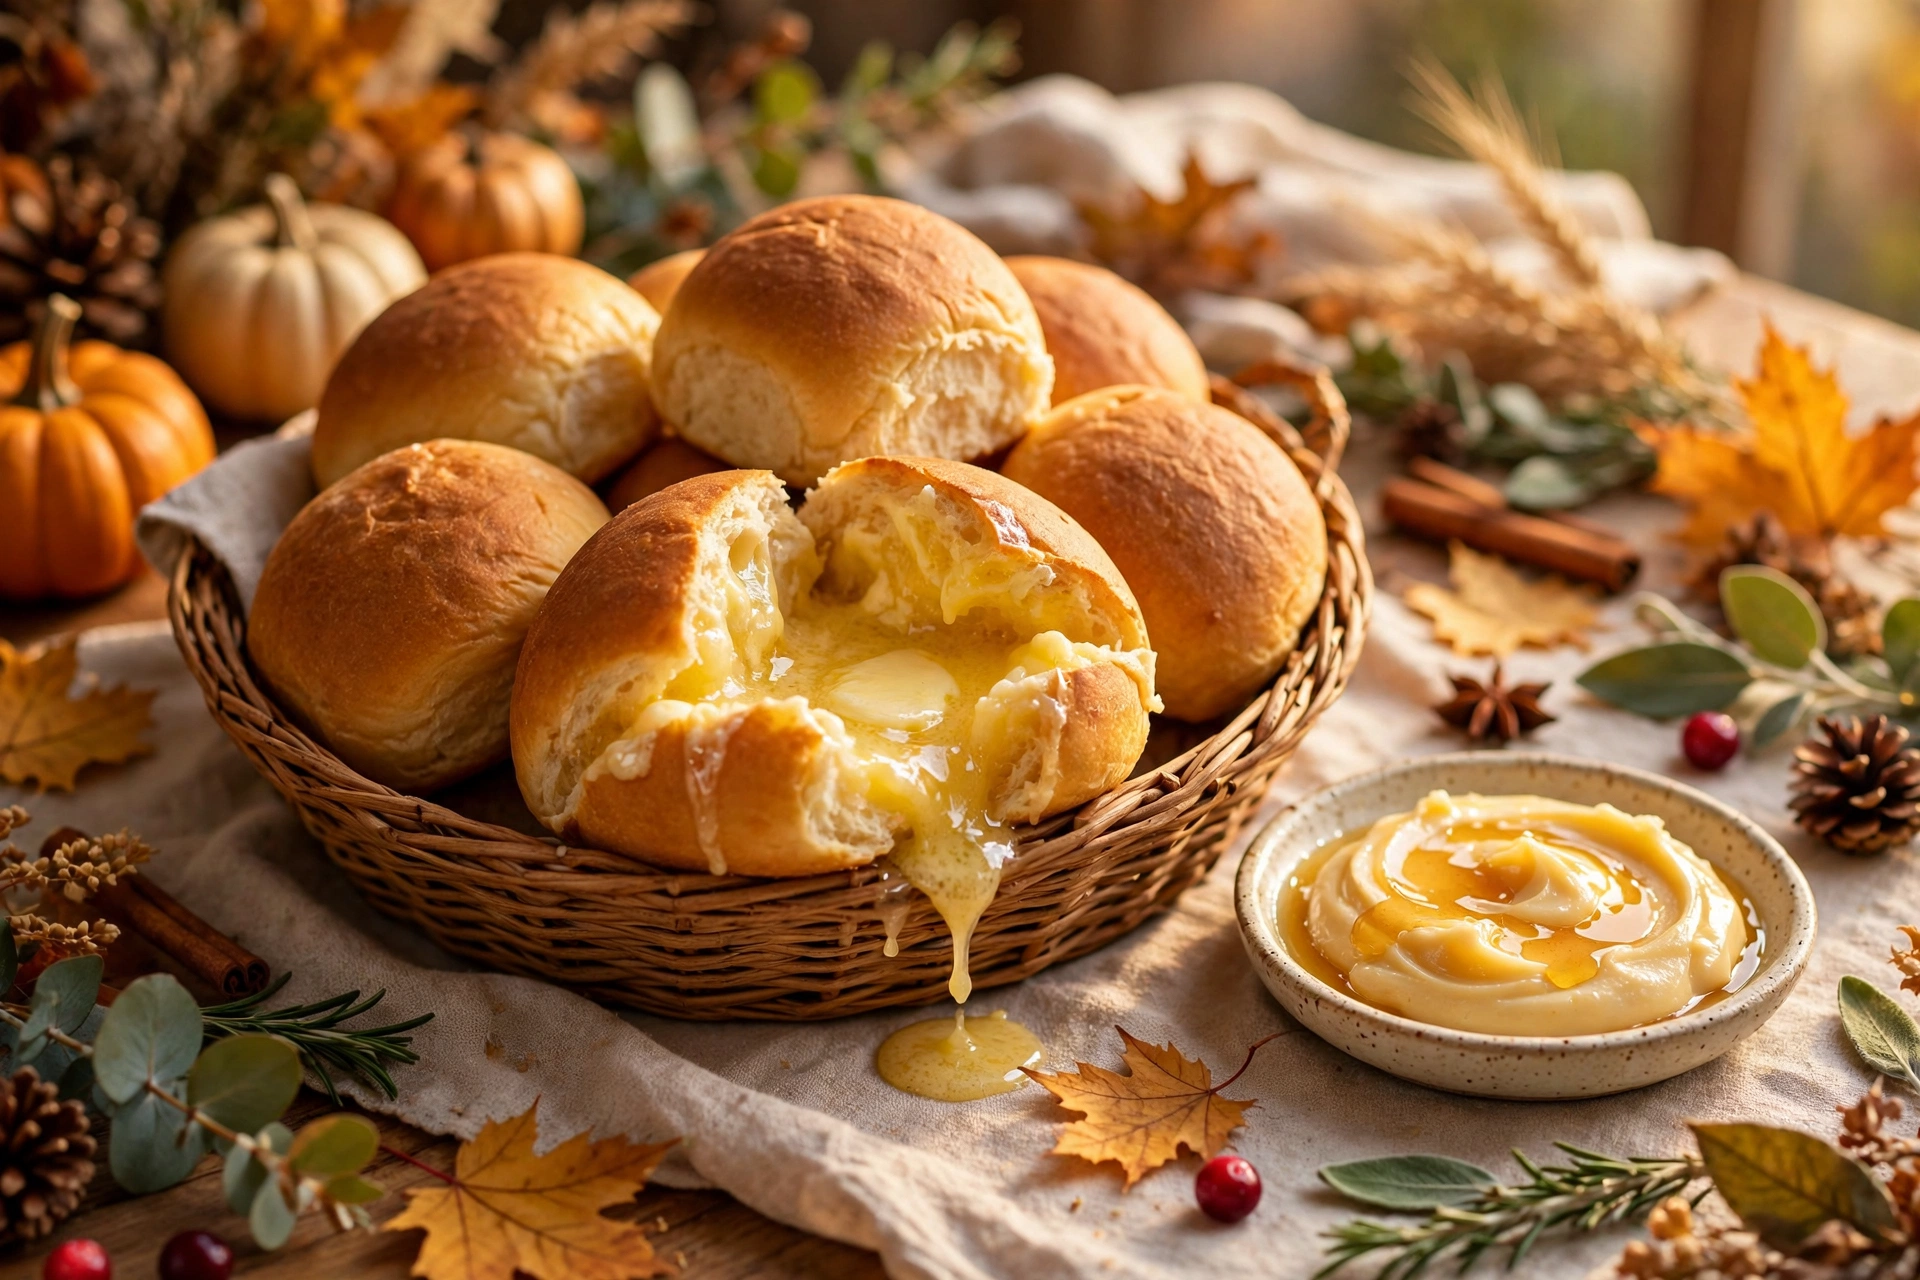
- Brush with honey butter and serve. While the rolls are still hot, stir the melted butter and honey together and brush the mixture generously over the tops. Sprinkle with flaky sea salt if you like. Let the rolls cool in the pan for 5 minutes, then pull them apart and serve warm. That glossy honey butter topping is the difference between a good roll and a roll people ask about for weeks.
Why This Works
Quick dinner rolls work because every ingredient has a job, and the recipe never asks any of them to do two jobs at once. Instant yeast is the first smart choice. Unlike active dry yeast, it does not need to be dissolved and proven separately, and it works fast enough that a single 25-minute rise is all you need. One rise instead of two is the whole reason these rolls fit into a single hour.
Warm milk is the second smart choice. Milk at about 110°F wakes the yeast up quickly, and the milk itself makes the crumb richer and softer than water ever could. The fat and natural sugars in whole milk feed the yeast and tenderize the dough at the same time, which is why these rolls stay soft for days instead of turning stale by dinner. Milk hotter than 120°F starts to kill yeast, so 110°F is the sweet spot, warm like a comfortable bath, never hot. If you ever wonder what is actually inside the flour you are baking with, the USDA FoodData Central database lists the nutrition of enriched all-purpose flour, including the iron and B vitamins added during milling, which is part of why a simple roll can still be a nourishing one.
The egg and the melted butter are the richness team. The egg adds structure and a beautiful golden color, and its fat keeps the crumb tender. Butter coats the flour proteins and shortens the gluten strands, which is a fancy way of saying it keeps the rolls soft instead of chewy. Brushing the baked rolls with honey butter does more than add shine. The butter soaks into the warm crust and keeps it soft, the honey adds a whisper of sweetness, and the salt on top makes the whole thing taste more buttery.
Shaping matters more than most people think. Rolling each piece into a tight ball stretches the outside of the dough into a smooth skin, and that skin holds the gases from the yeast in like a balloon. Loose, lumpy balls spread sideways and bake flat. Tight balls rise up, bump into their neighbours, and bake into those tall, pull-apart rolls with soft sides and golden tops. Crowding sixteen rolls into one 9×13-inch pan is deliberate too. The rolls support each other as they rise, and the sides that touch stay pale and pillowy while only the tops turn golden.
Pro Tips
- Weigh your flour if you can. A cup of flour can weigh anywhere from 120 g to 150 g depending on how you scoop it, and that difference is enough to turn soft rolls dense. Spoon the flour into the measuring cup and level it off, or weigh 420 g for the most reliable result.
- Check the milk with your finger. No thermometer? Dip a clean finger in. It should feel warm and comfortable, like warm bath water. If it feels hot, let it cool for a few minutes. Yeast is a living thing, and hot milk is the fastest way to end the rise before it starts.
- Keep the dough soft. The dough should feel tacky, like a sticky note, not dry like play dough. If it sticks to your hands in big gloopy sheets, add flour one tablespoon at a time. If it only clings a little, leave it alone and let the kneading do its work.
- Find the warmest spot in your kitchen. On top of the fridge, near a sunny window, or in an oven with just the light on are all good choices. In a cold kitchen the rolls will still rise, they will just take longer, so plan for up to 10 extra minutes.
- Brush the butter on while the rolls are hot. Warm crust drinks the honey butter right in. Wait until the rolls are cool and the butter just sits on top instead of soaking in.
Common Mistakes
- Milk that is too hot. Milk above 120°F kills yeast outright, and the rolls will bake into flat, dense little pucks. Always check the temperature, and when in doubt, let the milk cool. Lukewarm milk that takes a few extra minutes to rise is always better than hot milk that never rises at all.
- Adding too much flour. This is the number one reason homemade rolls turn out heavy. Flour on your hands and the counter is fine, but flour mixed into the dough changes the recipe. Trust the sticky stage. Five minutes of kneading turns a shaggy, sticky dough smooth without any extra flour.
- Under-kneading the dough. If you stop kneading while the dough still tears easily and feels rough, the rolls will not hold their shape in the oven. Knead until the dough is smooth and springs back when poked. That stretchy network you are building is what traps the air and makes the rolls fluffy.
- Letting the rolls over-rise. Puffy and touching is perfect. Saggy, wrinkled, or collapsing is too far. Over-risen rolls run out of steam in the oven and sink in the middle. Set a timer for 25 minutes and check them, rather than wandering off and forgetting the pan.
- Overbaking. Two extra minutes in the oven is the difference between golden and dry. Start checking at 18 minutes, and pull the pan when the tops are deep golden and the center reads about 190°F. The rolls keep cooking a little from their own heat while they cool.
Substitutions
- Active dry yeast: You can use the same amount of active dry yeast, but dissolve it in the warm milk with the sugar and let it sit for 10 minutes until foamy before adding the other ingredients. The rise may take up to 10 minutes longer, so the total time becomes about 1 hour 10 minutes instead of 1 hour.
- Milk: Whole milk gives the softest crumb, but 2% milk works well too. For a dairy-free version, use unsweetened oat milk or soy milk warmed to the same 110°F, and swap the butter for a neutral oil or dairy-free butter. The rolls will be a little less rich but still soft and golden.
- Butter: Salted butter works fine, just skip the extra salt in the topping. Olive oil can replace the butter in the dough, but the rolls will taste a little less rich and a little more rustic, which some people actually prefer with soup.
- Flour: Bread flour makes slightly chewier, taller rolls. For a heartier version, replace up to half the all-purpose flour with whole wheat flour, and add an extra tablespoon or two of milk since whole wheat drinks up more liquid.
- Honey: Maple syrup swaps in one-for-one in the honey butter topping and tastes wonderful with Thanksgiving dinner. A pinch of cinnamon in the topping turns these into something special next to sweet potatoes.
- Herb butter topping: Stir a teaspoon of chopped fresh rosemary or thyme into the melted butter instead of honey for a savoury roll that belongs next to roast turkey and gravy.
Storage & Make-Ahead
Fresh dinner rolls are at their absolute best on the day they are baked, warm from the oven with butter melting into them, but they keep beautifully if you store them right. Let the rolls cool completely, then store them in an airtight container or a zip-top bag at room temperature for up to 2 days. A quick 10 seconds in the microwave, or 5 minutes in a 300°F oven wrapped in foil, brings back that fresh-from-the-oven softness.
For longer storage, the fridge keeps them for up to 5 days, though the cold does firm them up a little, so always warm them before serving. The freezer is your best friend here. Wrap the cooled rolls tightly in plastic wrap, then in foil, and freeze for up to 3 months. Thaw them at room temperature for about an hour, then warm them in a 300°F oven for 8 to 10 minutes wrapped in foil until they are soft and steamy again.
To make them ahead for Thanksgiving, shape the rolls and arrange them in the pan the night before, then cover the pan tightly with plastic wrap and refrigerate for up to 24 hours. On the day, take the pan out of the fridge and let the rolls sit at room temperature for about 30 minutes while the oven preheats to 375°F, then bake as directed. That 30-minute rest is part of the make-ahead path, not part of the 1-hour version, so plan for it on the day.
Frequently Asked Questions
Can I make these dinner rolls ahead of time?
Yes. Shape the rolls, arrange them in the greased pan, cover tightly with plastic wrap, and refrigerate for up to 24 hours. On baking day, let the pan sit at room temperature for about 30 minutes while the oven preheats to 375°F, then bake as directed. You can also bake the rolls fully, cool them, and freeze them for up to 3 months.
Can I use active dry yeast instead of instant yeast?
Yes. Use the same amount of active dry yeast, but dissolve it in the warm milk with the sugar and let it sit for 10 minutes until foamy before adding the egg, butter, flour, and salt. The rise may take up to 10 minutes longer, so the total time becomes about 1 hour 10 minutes instead of 1 hour.
Why didn’t my dinner rolls rise?
The most common reason is milk that was too hot, which kills the yeast, or yeast that was old and no longer active. Check that your milk is about 110°F and that your yeast foams within 5 minutes of mixing. A cold kitchen can also slow the rise, so move the pan to a warm spot and give it up to 10 extra minutes before worrying.
How do I store leftover dinner rolls?
Let the rolls cool completely, then store them in an airtight container at room temperature for up to 2 days, in the fridge for up to 5 days, or in the freezer for up to 3 months. Warm them in a 300°F oven for 8 to 10 minutes wrapped in foil, or microwave one roll for about 10 seconds, before serving.
Rate this recipe
Be the first to rate it!
5 thoughts on “Easy Dinner Rolls”