
There is no smell on earth quite like gingerbread cookies baking in the oven. The moment warm molasses, ginger, and cinnamon hit hot air, the whole house smells like Christmas morning, and suddenly everyone wanders into the kitchen asking if they can have one. These easy gingerbread cookies are the soft, chewy kind – tender in the middle with crackled, sugar-dusted edges, deeply spiced but never harsh, and sturdy enough to cut into the cutest little gingerbread men, stars, and Christmas trees.
This is a true make-ahead holiday hero. The dough comes together in minutes, rests overnight while you sleep, and rolls out like a dream with zero spread, so every cookie holds its shape. Underbake them just a touch and you get that bakery-style chewy center that stays soft for days. Whether you are filling cookie tins for neighbors, setting up a decorating station for the kids, or just hoarding them for yourself with a mug of hot cocoa, this recipe has your back.
About 90 minutes from start to finish (most of that is just the dough chilling), one bowl of pantry staples, and roughly 28 gorgeous cut-out cookies. Let us bake the best gingerbread of your life.

Recipe at a Glance
- Prep time: 20 minutes
- Chill time: 60 minutes minimum (overnight is best)
- Bake time: 8-10 minutes per batch
- Total time: about 90 minutes
- Yield: about 28 cookies (with 3-inch cutters)
- Oven: 350°F (175°C)
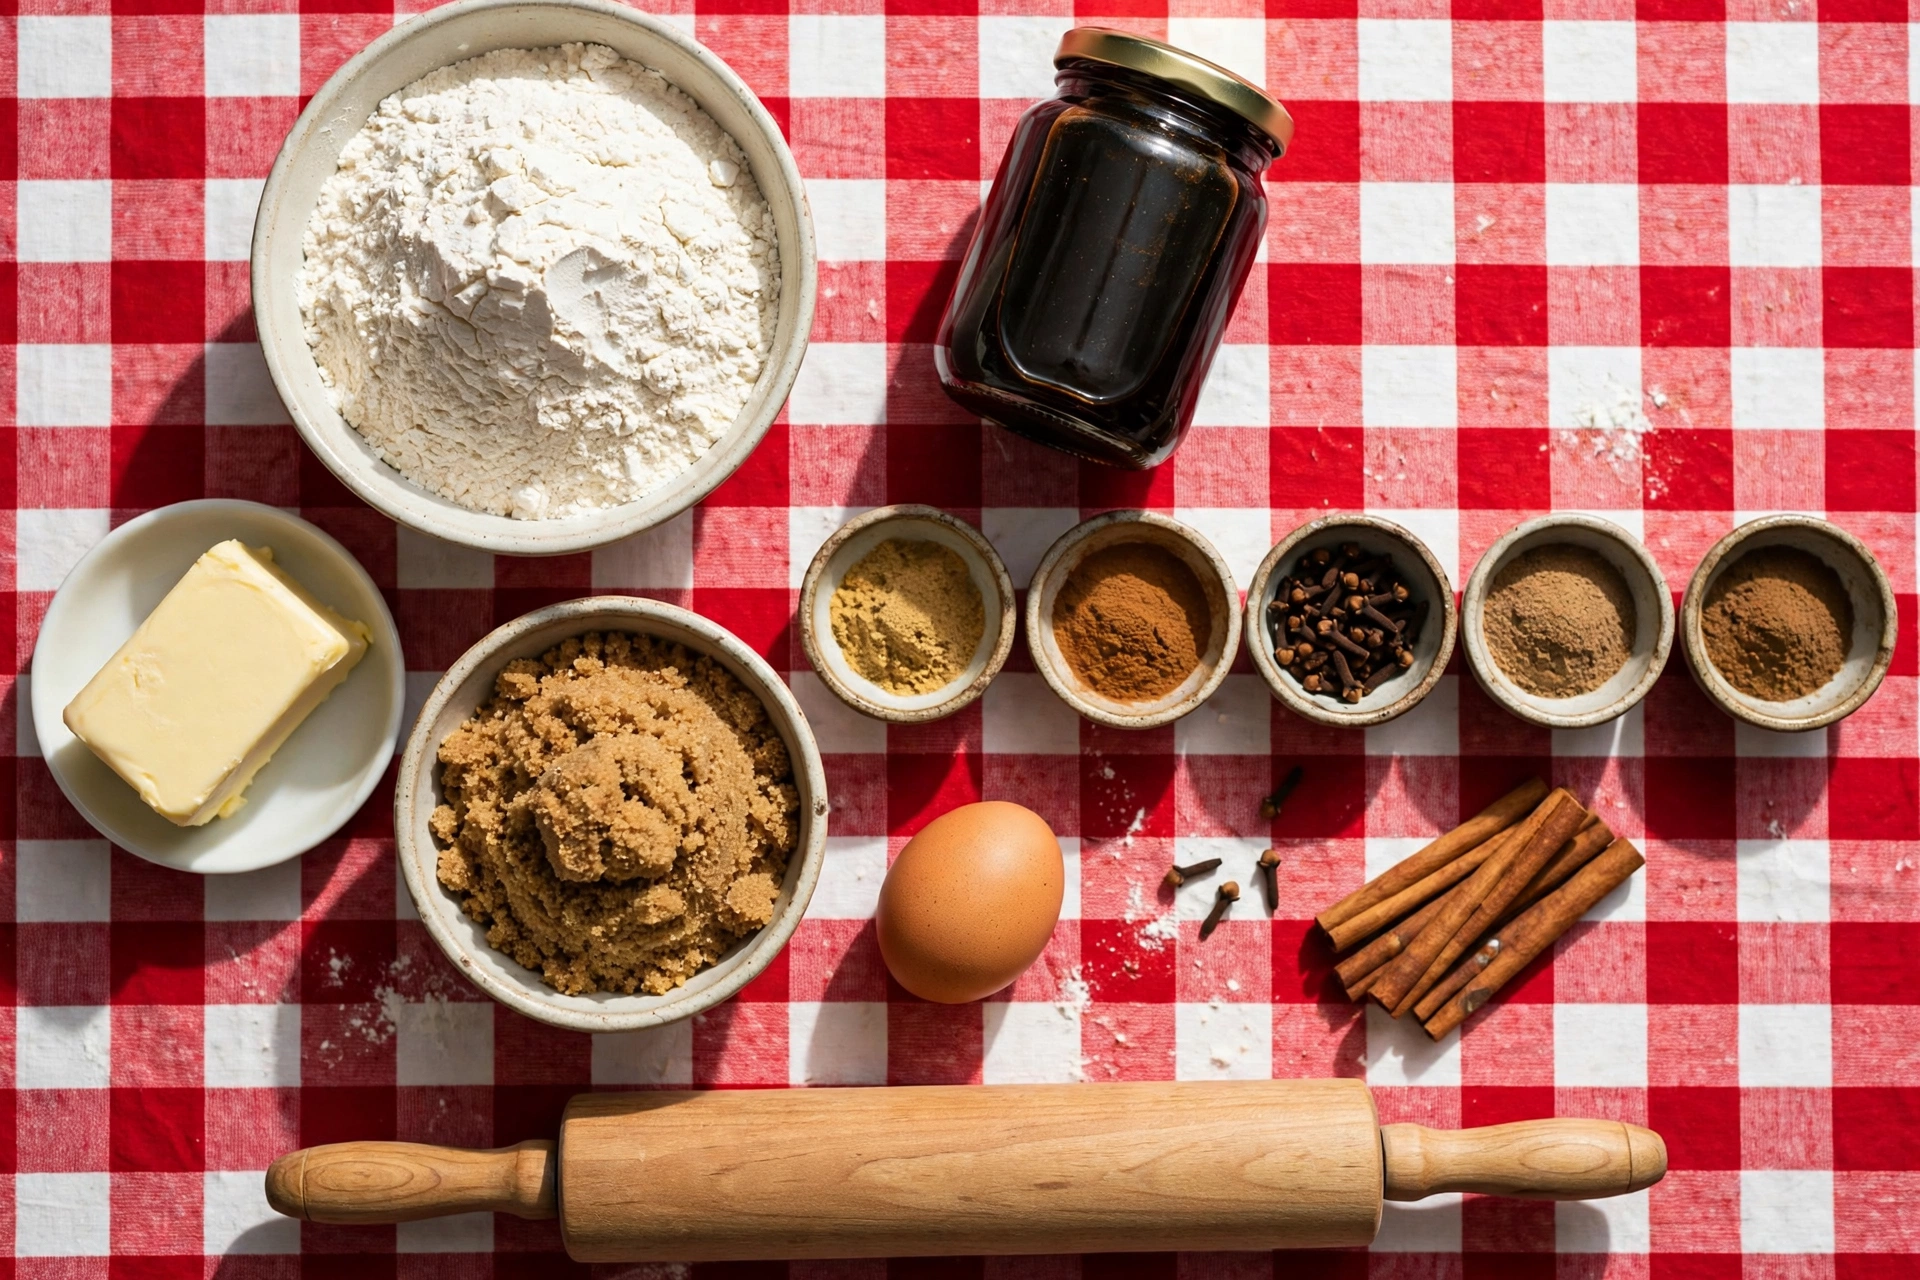
What You Will Need
Nothing fancy here – this is a pantry-friendly recipe by design. You will want a stand mixer or a sturdy hand mixer for creaming the butter (the dough gets thick), a rolling pin, parchment paper, and a set of 3-inch Christmas cookie cutters. Gingerbread men, stars, trees, and snowflakes are the classics, but any sturdy cutter works. A wire cooling rack keeps the bottoms crisp, and if you are decorating, a piping bag with a small round tip makes the cutest little icing buttons and smiles.
Why This Recipe Works
Chilling the dough is non-negotiable (and here is why)
Warm cookie dough is soft, sticky, and spreads in the oven because the butter melts before the structure sets. Chilling does two things: it firms the butter back up so the cut-outs hold their edges, and it gives the flour time to fully hydrate, which deepens the molasses flavor. Sixty minutes is the minimum, but an overnight rest turns the flavor from good to bakery-magical as the spices meld and mellow. This is also why you roll the dough between two sheets of parchment and chill it again if your kitchen is warm – cold dough equals crisp shapes.
Molasses is what makes them chewy, not just brown
Molasses is a humectant, which is a fancy word for “holds onto moisture.” It is the same reason traditional gingerbread stays soft for days while plain sugar cookies go crunchy. Brown sugar adds a second wave of molasses flavor and extra moisture. Together they give these cookies their tender, bendable crumb and that deep caramel warmth you cannot get from white sugar alone. Use unsulphured molasses, not blackstrap – blackstrap is bitter and will bully the spices right out of the cookie.
Roll at 1/4 inch and pull them early for soft centers
Thickness is the whole game with cut-out cookies. Roll them 1/4 inch thick and they bake through to a tender bite in 8 to 10 minutes. Go thinner and they turn into crisp spice snaps (tasty, but not this recipe). Then underbake slightly – pull them when the edges look set and a touch darker but the centers still look puffy and soft. They finish setting on the hot pan, and that carryover heat is the secret to centers that stay pillowy instead of drying out.
Ingredients
- 3 1/4 cups all-purpose flour, spooned and leveled
- 1 teaspoon baking soda
- 2 tablespoons ground ginger
- 1 1/2 teaspoons ground cinnamon
- 1/2 teaspoon ground cloves
- 1/2 teaspoon ground nutmeg
- 1/2 teaspoon ground allspice
- 3/4 teaspoon fine salt
- 3/4 cup (12 tablespoons) unsalted butter, softened to room temperature
- 3/4 cup packed light or dark brown sugar
- 1/2 cup unsulphured molasses (not blackstrap)
- 1 large egg, room temperature
- 1 teaspoon pure vanilla extract
- Granulated sugar, for sprinkling (optional)
For decorating (optional)
- Royal icing made with meringue powder (recommended – no raw-egg worry), or your favorite cookie icing
- Sprinkles, mini candies, and colored sugars
Directions
- Whisk the dry ingredients. In a large bowl, whisk together the flour, baking soda, ginger, cinnamon, cloves, nutmeg, allspice, and salt until evenly combined and no spice streaks remain. Set aside.
- Cream the butter and sugar. In a stand mixer or with a hand mixer, beat the softened butter and brown sugar on medium-high for 2 to 3 minutes, until light and fluffy. Scrape down the bowl.
- Add the molasses, egg, and vanilla. Beat in the molasses until smooth, then beat in the egg and vanilla just until combined. The mixture will look glossy and smell incredible already.
- Combine. Add the dry ingredients to the wet in two additions, mixing on low just until no flour streaks remain. The dough will be soft and sticky – that is exactly right.
- Chill. Divide the dough in half, press each half into a 1-inch-thick disk, wrap tightly in plastic, and chill at least 1 hour or overnight.
- Heat the oven and roll. When ready to bake, heat the oven to 350°F (175°C) and line two baking sheets with parchment. Roll one dough disk between two sheets of parchment to 1/4 inch thick. If the dough gets soft while you work, slide it back in the fridge for 10 minutes.
- Cut and bake. Cut shapes with floured 3-inch cutters, placing them 1 inch apart on the prepared sheets. Re-roll scraps once (twice max, after that they get tough). Bake 8 to 10 minutes, until the edges are set and slightly darker and the centers still look soft and puffy.
- Cool. Cool on the pan for 5 minutes – they will firm up as they rest – then move to a wire rack to cool completely before decorating.
Pro Tips
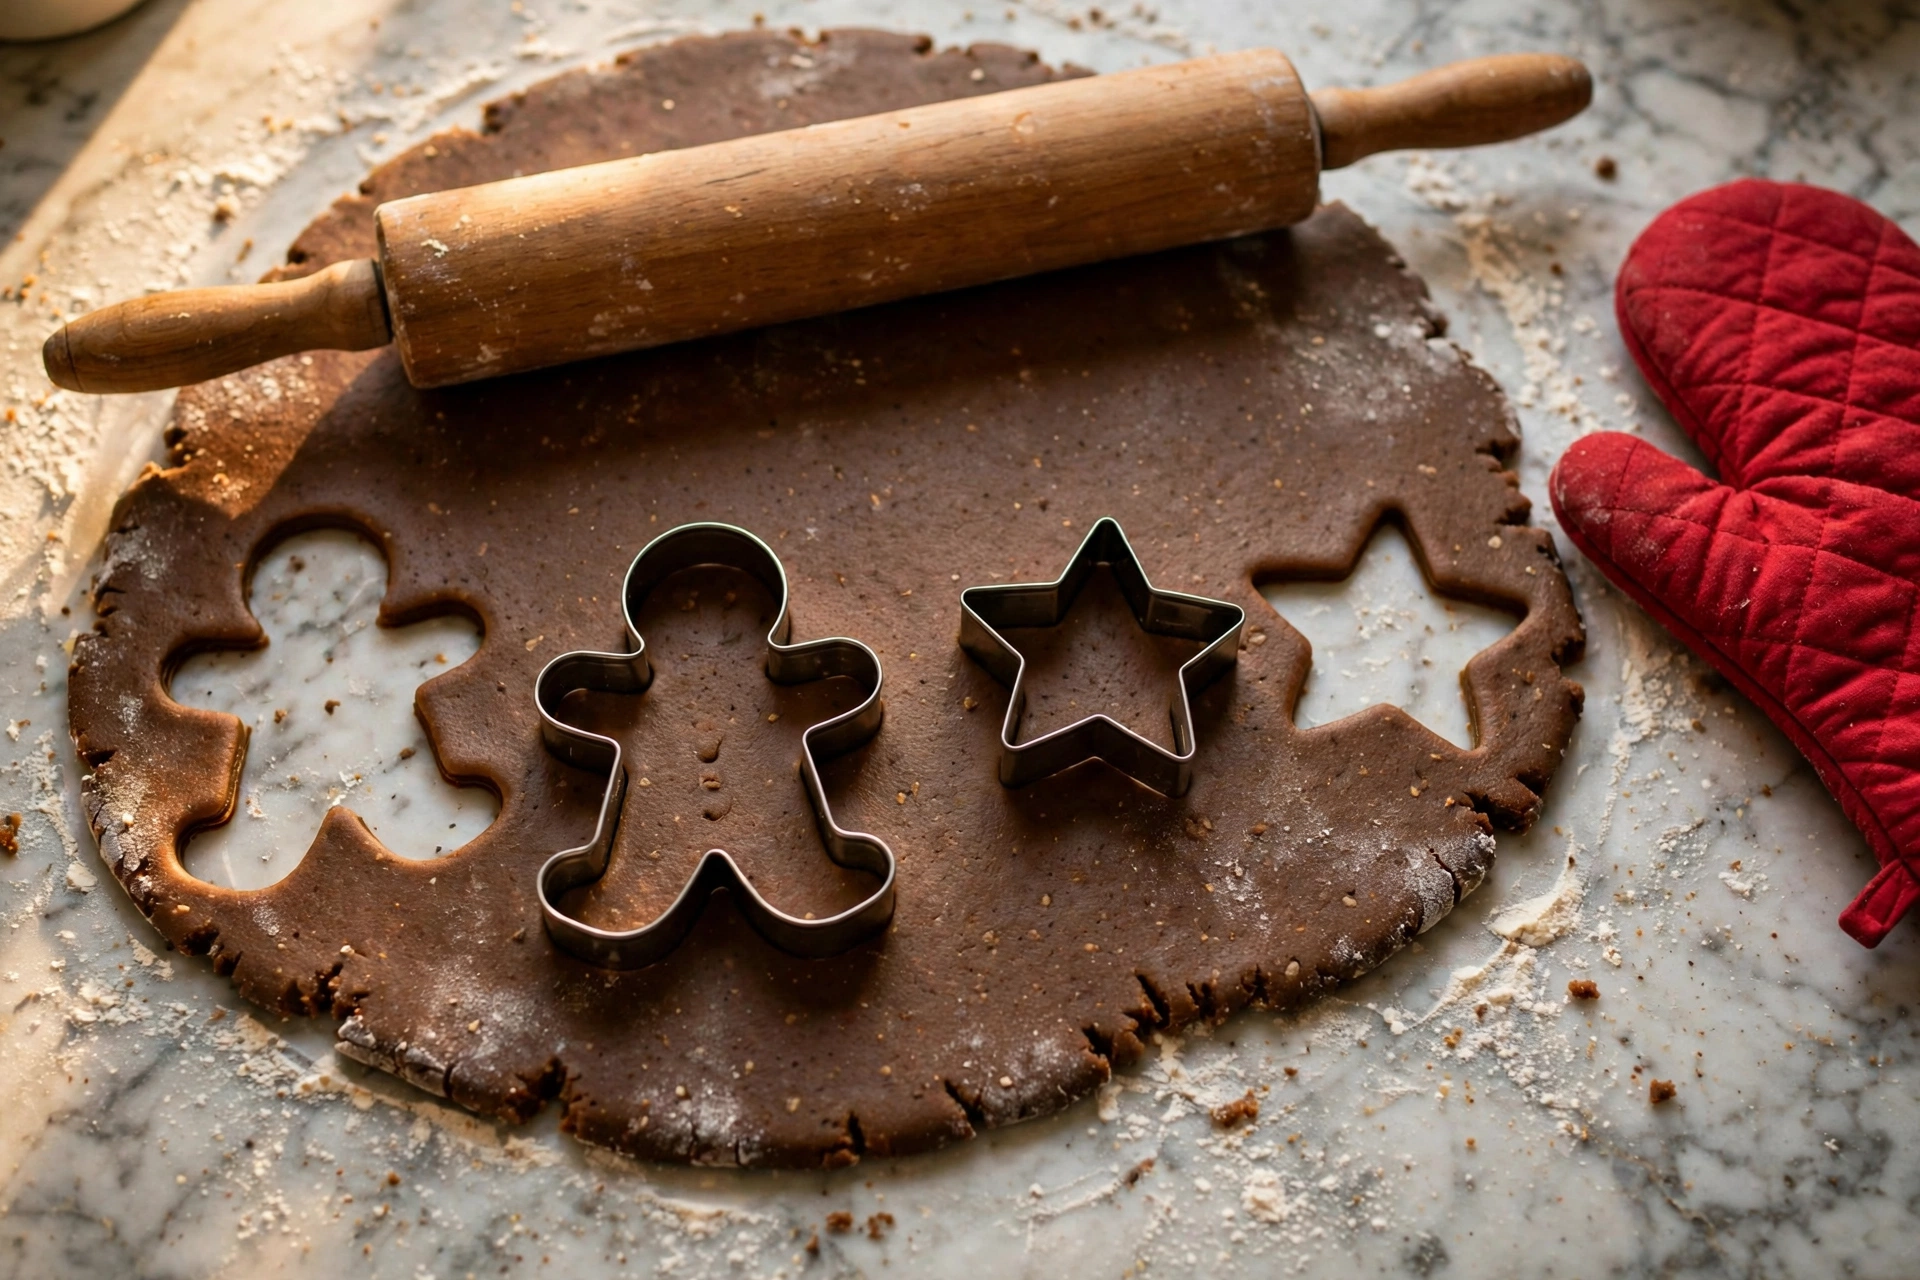
- Chill the rolled dough before cutting. Rolling first and chilling the flat sheet for 15 minutes makes the cleanest, sharpest cookie shapes – the dough cuts like cold pastry instead of warm fudge.
- Re-roll scraps only once. Every re-roll works more flour in and develops more gluten, which means tougher cookies. Combine the scraps, chill, and roll one more time, then call it done (baker’s snack territory).
- Dip cutters in flour, not oil. A quick dip and tap between cuts keeps the dough from sticking to the cutter edges without greasing them up.
- Bake one test cookie first. Ovens lie. Bake one cookie, check it at 8 minutes, and adjust the batch timing. It saves a whole tray of regret.
- Sprinkle sugar before baking. A pinch of granulated sugar on each unbaked cookie melts into a sparkly, crackly top that looks like frost on a window.
Common Mistakes (and How to Fix Them)
- Cookies spread into blobs: the dough was too warm. Chill the dough and the rolled sheets properly, and make sure the baking sheet is not warm from the last batch before reloading it.
- Hard, crunchy instead of chewy: they were overbaked. Pull them when centers still look soft – they finish on the pan. Set a timer at 8 minutes and check.
- Tough, dense cookies: too much flour or overmixing. Spoon flour into the cup and level it (never scoop from the bag), and mix only until the flour disappears.
- Bitter or harsh spice flavor: blackstrap molasses or stale spices. Use mild unsulphured molasses and replace ground spices older than a year – they fade and turn flat, not stronger.
- Cookies stuck to the cutter: floured cutters, cold dough. If the dough warms up while you work, chill the sheet again for 10 minutes.
Substitutions
- No molasses? Dark corn syrup or honey works in the same amount, but the cookies will be lighter in color and milder in flavor – and a touch less chewy.
- Dairy-free: swap the butter for a stick-style vegan butter (not tub margarine) 1:1. Texture stays beautifully soft.
- Gluten-free: a 1:1 gluten-free baking flour blend with xanthan gum works well; chill an extra 30 minutes since GF doughs are softer.
- Egg-free: replace the egg with 1/4 cup unsweetened applesauce. The cookies will be slightly cakier but still delicious.
- Spice swaps: out of allspice? Use a mix of cinnamon, nutmeg, and cloves. Want more zing? Add 1/4 teaspoon of finely ground black pepper – old-fashioned gingerbread often had it.
- Icing: use a meringue-powder royal icing so there is no raw-egg food-safety concern, especially if kids are decorating.
Storage & Make-Ahead
- Baked cookies: store airtight at room temperature for up to 1 week. Tuck a slice of fresh bread in the container – it keeps the cookies soft by giving up its own moisture.
- Freezing baked cookies: freeze undecorated cookies up to 1 month in a freezer bag with parchment between layers. Thaw at room temperature and decorate fresh.
- Dough: refrigerate up to 3 days or freeze up to 3 months (double-wrapped). Thaw frozen dough overnight in the fridge before rolling.
- Decorated cookies: follow the 2-hour rule – cookies decorated with egg-based royal icing should not sit at room temperature longer than 2 hours total. Using a meringue-powder icing removes this worry entirely.
- Make-ahead plan: bake the cookies 2 to 3 days before your event, store airtight, and decorate the day before. They taste even better on day two as the spices settle.
Simple Royal Icing (Meringue-Powder Style)
For picture-perfect decorating without any raw-egg worry, use meringue powder – it gives you that classic hard-setting white icing that pipes beautifully and dries to a smooth shell. Whisk together 3 tablespoons of meringue powder and 4 cups of powdered sugar, then beat in 6 tablespoons of warm water until glossy, stiff peaks form. Thin small portions with a few drops of water until the icing ribbons off the spoon – that is the sweet spot for piping outlines and flooding cookie surfaces. Let the iced cookies dry uncovered for 6 to 8 hours before stacking, and decorate with sprinkles while the icing is still wet so they stick.
Gift and Party Ideas
A tin of these gingerbread cookies is one of the most loved holiday gifts you can give, and they travel beautifully because they are sturdy and stay soft for days. Layer them between sheets of parchment in a cookie tin with a ribbon on top, and add a handwritten tag with the bake date. For a cookie decorating party, bake a big batch of undecorated cookies, set out bowls of royal icing in holiday colors with piping bags, sprinkles, and mini candies, and let everyone loose – kids especially love turning plain gingerbread men into little snowman lookalikes. These cookies also hang beautifully on the Christmas tree with a ribbon threaded through a hole poked before baking, doubling as edible ornaments.
If you love this kind of cozy holiday baking, you will also adore our Easy Christmas Sugar Cookies for a softer, buttery cut-out option, our Gingerbread Smoothie that tastes like these cookies in a glass, and our 5-Ingredient Pumpkin Loaf for another spiced holiday classic. For more on the science of why molasses keeps baked goods soft, this molasses overview is a fun read.

Frequently Asked Questions
Why are my gingerbread cookies hard instead of soft?
The number one cause is overbaking. Gingerbread continues to firm up on the hot pan after you pull it from the oven, so take the cookies out when the edges are set and the centers still look soft and puffy – usually 8 to 10 minutes at 350 degrees F. Too much flour (from scooping instead of spooning) and overmixing also make tough cookies.
Can I make gingerbread cookie dough ahead of time?
Yes, and you should. The dough needs at least 1 hour of chilling anyway, and it keeps beautifully in the fridge for up to 3 days or in the freezer for up to 3 months. Overnight chilling actually improves the flavor as the spices meld, so making it a day ahead is the smartest move.
How do I keep cut-out cookies from spreading?
Keep everything cold: chill the dough, chill the rolled sheets before cutting, and never put cut cookies on a warm baking sheet. This dough has no leavener beyond a teaspoon of baking soda and is designed for minimal spread, so if your shapes are melting, temperature is the culprit – chill, chill, chill.
Can I decorate these with royal icing?
Absolutely – gingerbread and royal icing are a classic pair. Use a royal icing made with meringue powder rather than raw egg whites, which removes any food-safety worry and lets the decorated cookies be stored at room temperature. The baked cookies themselves are fully cooked and safe; just cool them completely before icing.
Rate this recipe
Be the first to rate it!
1 thought on “Easy Gingerbread Cookies (Soft & Chewy Christmas Treats)”