
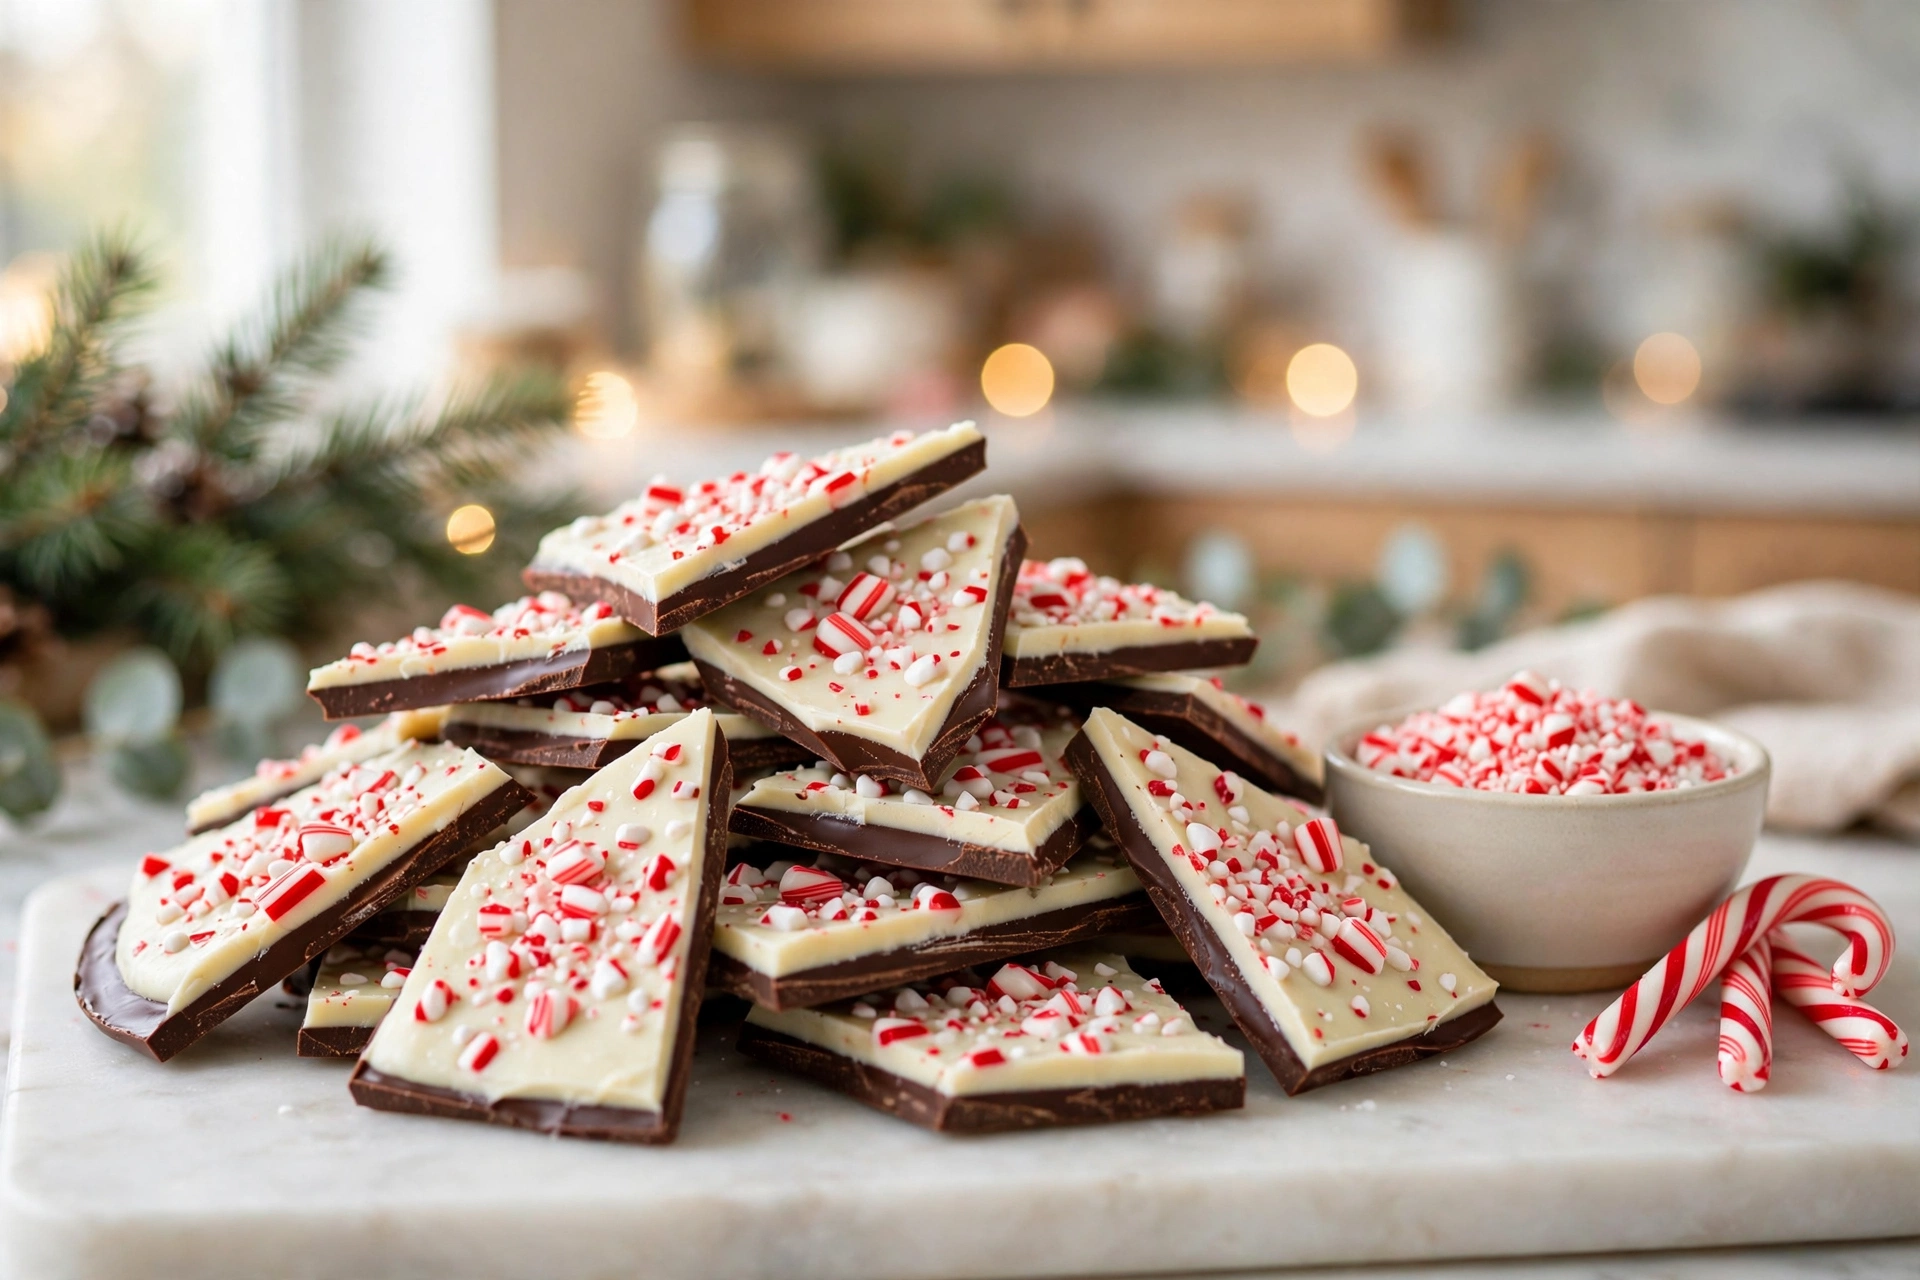
There is a sound that means Christmas has officially started in our house, and it is not a carol. It is the snap of peppermint bark breaking into glossy shards on a cold baking sheet. This easy peppermint bark is the treat that disappears first from every cookie tray, the one neighbors ask about by name, and the one that takes just one hour from start to finish with absolutely no baking involved. Two layers of chocolate, dark and white, a cool rush of peppermint, and a crunchy confetti of crushed candy canes on top. That is the whole magic trick, and it works every single time.
If you have ever wanted a homemade Christmas candy that looks like it came from a fancy chocolate shop but asks almost nothing of you, this is the recipe. There is no candy thermometer, no tempering, no oven, and no special equipment beyond a baking sheet and a bowl. You melt chocolate, spread it, sprinkle it, chill it, and snap it. In one hour you have about 24 beautiful pieces of bark ready for gifting, for cookie trays, or for the quiet joy of eating three pieces standing at the kitchen counter. Pair it with a steaming mug of our easy peppermint white hot chocolate and you have the coziest corner of the holiday season right there in your own kitchen.
Recipe at a Glance
- Prep time: 15 minutes
- Cook time: 0 minutes (no baking — chocolate is gently melted)
- Chill time: 45 minutes
- Total time: 1 hour
- Servings: About 24 pieces
- Difficulty: Easy
- Course: Snacks
- Method: Melt, layer, chill, and snap — no oven required
Why You Will Love This Easy Peppermint Bark
First, it is genuinely the easiest Christmas candy you will ever make. Fifteen minutes of active work, one baking sheet, and a microwave or a bowl over simmering water. There is no dough to chill, no frosting to pipe, and no timer to watch. The hardest part is waiting the 45 minutes for the chocolate to set, and even that is mostly the refrigerator doing the work while you wrap presents or put your feet up.
Second, it tastes like the holidays in one bite. The dark chocolate base is rich and just bitter enough to keep things grown-up, the white chocolate layer is sweet and creamy, and the peppermint runs cool and bright through both of them. Then the crushed candy canes add a crunch that makes every piece feel festive. It is the kind of treat that looks impressive in a gift tin and tastes even better than it looks, which is exactly the combination you want when December gets busy.
Third, it is a gift-giver’s dream. One batch makes about 24 pieces, it keeps beautifully for two weeks at room temperature, and it travels well in a tin lined with parchment. Make a double batch on a Sunday afternoon and you have teacher gifts, neighbor gifts, and hostess gifts sorted before the week even starts. And if peppermint is your favorite holiday flavor, our frozen hot chocolate is the icy, creamy cousin of this bark, perfect for the days when the house is warm from the oven and you still want something minty and chocolatey.
Ingredients
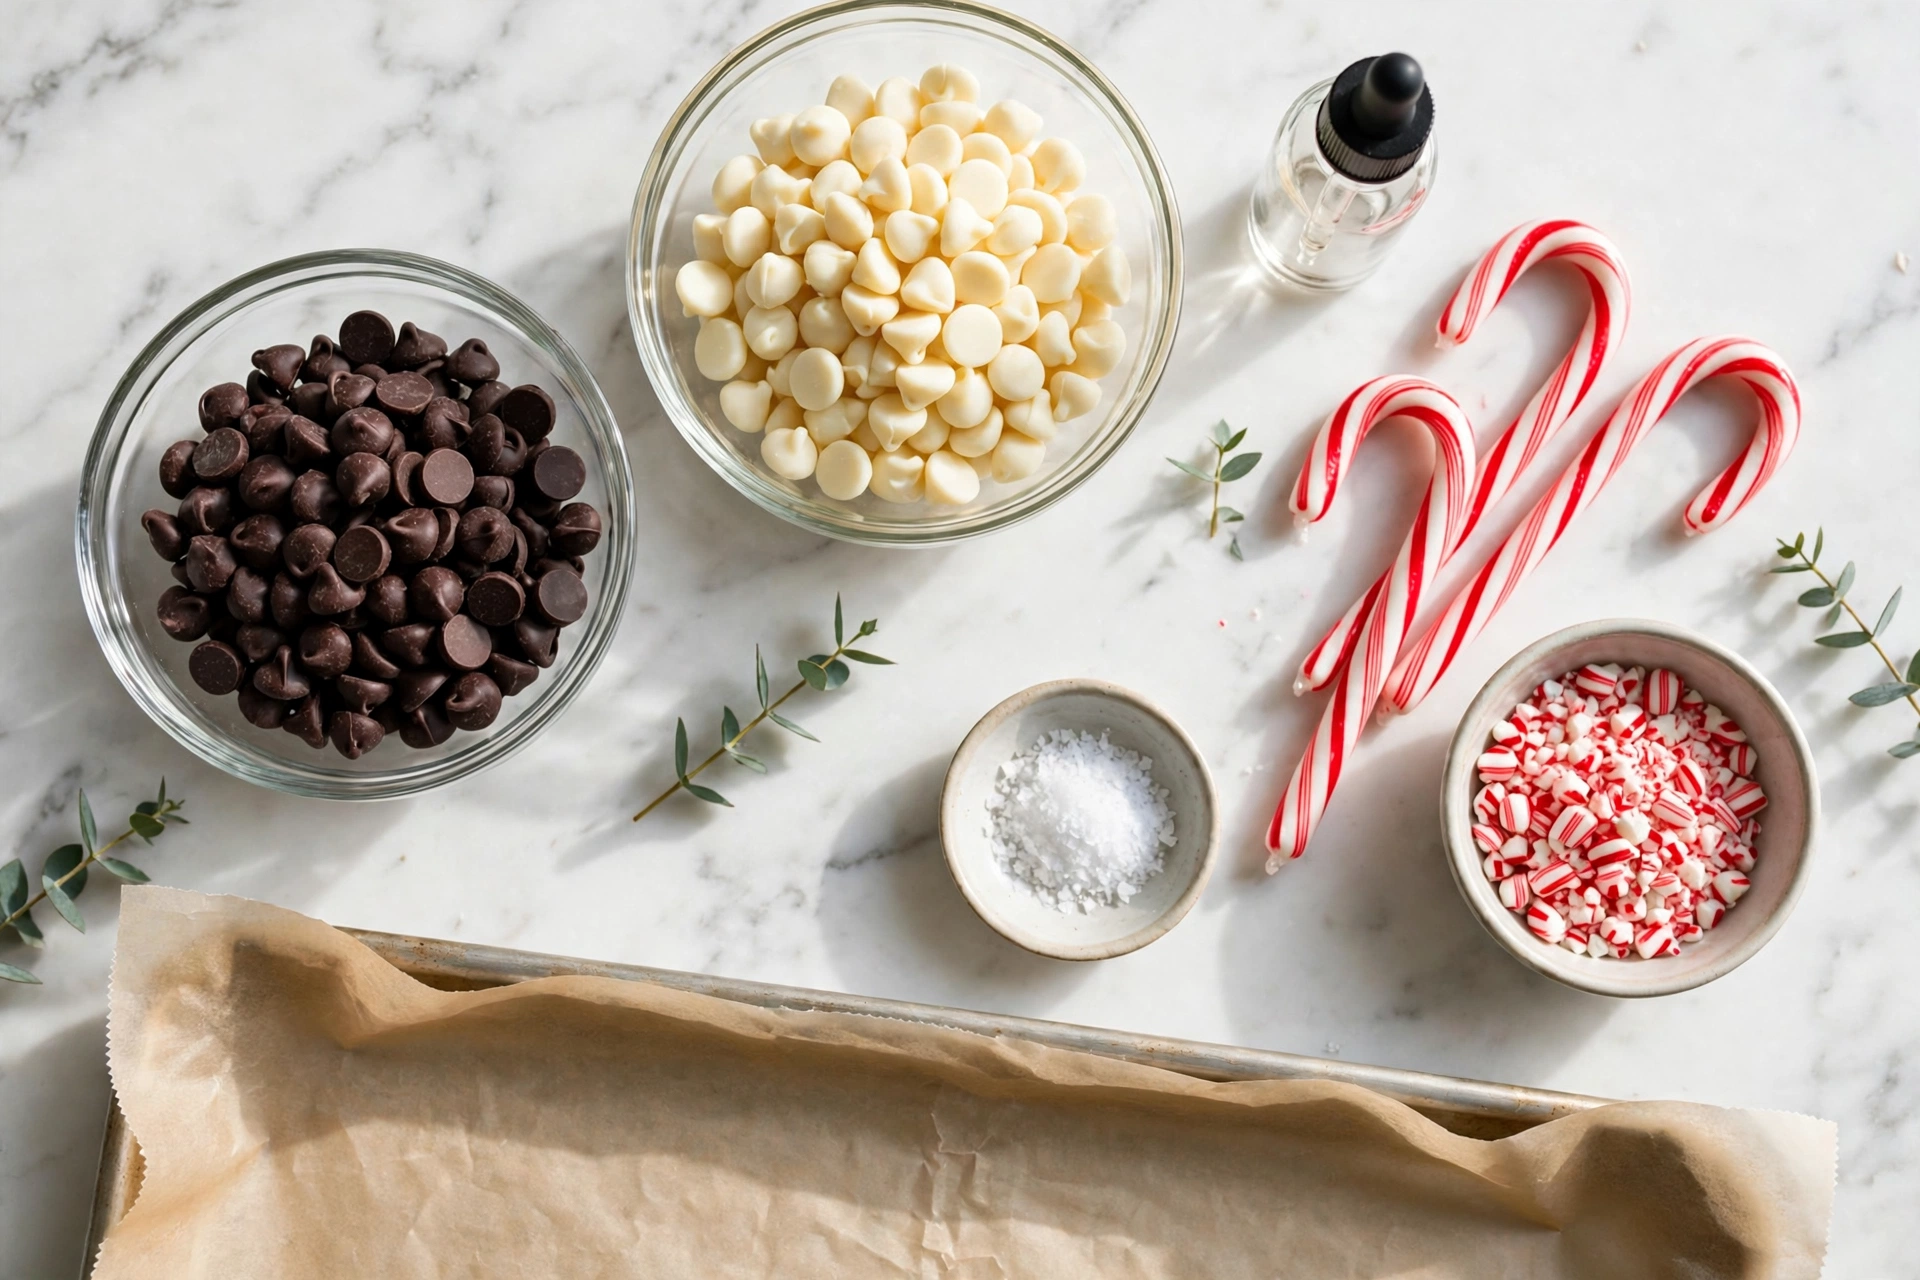
- 12 ounces semi-sweet chocolate chips (about 2 cups), or chopped dark chocolate
- 12 ounces white chocolate chips (about 2 cups), or chopped white chocolate
- 1/2 teaspoon peppermint extract, divided (1/4 teaspoon per layer)
- 1/2 cup crushed candy canes (about 5 to 6 standard candy canes)
- 1/4 teaspoon flaky sea salt (optional, but lovely)
- 1 teaspoon coconut oil, divided (optional, 1/2 teaspoon per layer, for a smoother melt and extra shine)
Directions
- Line the pan and crush the candy. Line a rimmed baking sheet (about 13 by 18 inches, or a quarter-sheet pan for thicker bark) with parchment paper, leaving a little overhang on the sides so you can lift the finished slab out easily. Place the candy canes in a zip-top bag, seal it, and crush them with a rolling pin or the bottom of a heavy glass until you have a mix of fine crumbs and small crunchy pieces. Set the crushed candy aside.
- Melt the dark chocolate. Place the semi-sweet chocolate chips in a microwave-safe bowl and microwave in 30-second bursts, stirring well after each one, until the chocolate is smooth and glossy — usually 90 seconds to 2 minutes total. If you prefer the stovetop, set the bowl over a pot of barely simmering water and stir until melted, keeping every drop of water out of the bowl. Stir in 1/4 teaspoon of peppermint extract and the optional 1/2 teaspoon of coconut oil.
- Spread the dark layer. Pour the melted dark chocolate onto the parchment-lined sheet and spread it into an even layer about 1/4 inch thick with an offset spatula or the back of a spoon. Slide the pan into the refrigerator for 15 to 20 minutes, just until the chocolate is firm to the touch but still very slightly tacky when you press it lightly with a fingertip.
- Melt the white chocolate gently. While the dark layer chills, melt the white chocolate chips in a clean, completely dry bowl. White chocolate scorches far more easily than dark chocolate, so use 50 percent power and 20-second bursts, stirring well after each one, until it is smooth — usually 60 to 90 seconds total. Stir in the remaining 1/4 teaspoon of peppermint extract and the optional 1/2 teaspoon of coconut oil.
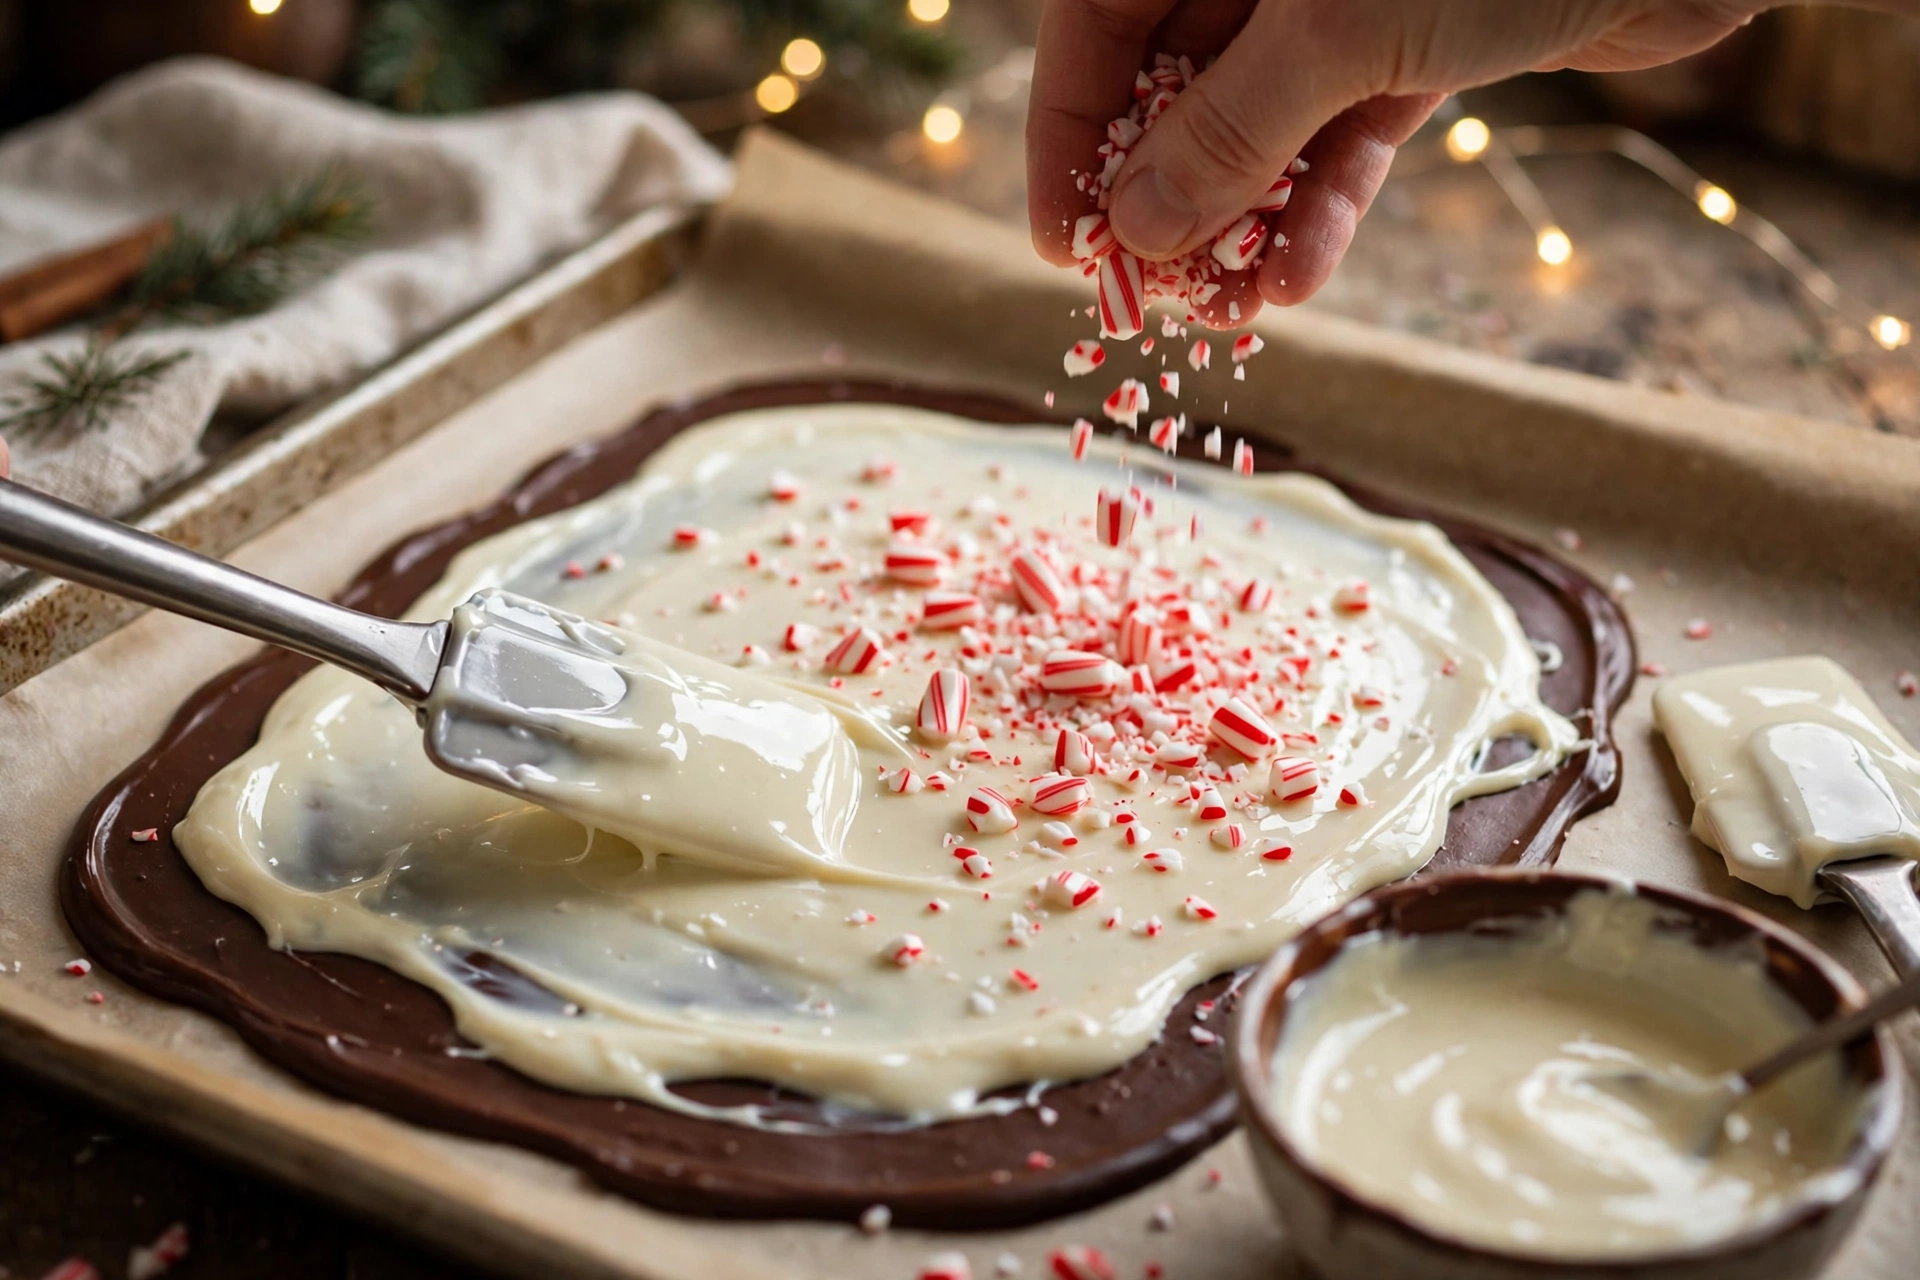
- Spread the white layer and top it. Pour the melted white chocolate over the chilled dark layer and spread it gently into an even layer, working from the center outward so you do not drag the dark chocolate underneath. Immediately sprinkle the crushed candy canes evenly over the top, then the flaky sea salt if you are using it. Press the candy pieces down very lightly with the flat of your hand or a sheet of parchment so they stick.
- Chill, then snap. Refrigerate the pan for 30 minutes, until the bark is completely firm and cold to the touch. Lift the slab out by the parchment overhang, place it on a cutting board, and break it into about 24 irregular pieces with your hands, or cut it with a large sharp knife warmed under hot water and dried. Serve right away or pack it into tins.
Why This Works
The two-layer structure is what makes peppermint bark taste like so much more than melted chocolate poured into a pan. The dark chocolate base brings depth and a gentle bitterness that keeps the candy from tasting one-note sweet, while the white chocolate layer on top is creamy and mellow, carrying the peppermint flavor cleanly. The layers stay distinct when you bite through them, giving you a snap, then a melt, then a crunch from the candy canes. A single layer of either chocolate alone would be pleasant; the two together taste like something a chocolatier planned.
The partial chill between layers is the quiet technique that holds the whole recipe together. If you pour hot white chocolate onto a fully liquid dark layer, the two chocolates swirl into each other and you lose the clean striped edge that makes bark look like bark. If you chill the dark layer until it is rock hard and cold, the white chocolate sets on top of it like a lid and the layers slide apart the moment you snap the bark. Chilling for just 15 to 20 minutes leaves the dark chocolate firm but still faintly tacky, so the warm white chocolate softens the very top of the dark layer by a hair and the two layers fuse as they cool. That 15-to-20-minute window is the difference between bark that snaps cleanly and bark that falls apart in the tin.
Peppermint extract, not mint extract and not peppermint oil, is the right flavoring here, and the distinction matters more than it sounds. Peppermint extract is made from peppermint leaves and tastes cool, clean, and unmistakably like a candy cane. Mint extract is usually spearmint, which tastes like chewing gum and will make your bark taste like toothpaste. Peppermint oil is far more concentrated than extract, so a single extra drop can turn the whole batch medicinal. Splitting the 1/2 teaspoon of extract between the two layers instead of dumping it all into one also matters: each layer carries its own mint, so every bite tastes balanced instead of having one minty layer and one plain layer.
Finally, the gentle melt is what keeps the chocolate glossy and snappy instead of dull and streaky. Chocolate seizes when water touches it, and white chocolate scorches when it gets too hot, so the low-and-slow microwave method with short bursts and plenty of stirring protects both layers. Stirring between bursts does half the melting work for you, because the residual heat in the bowl keeps melting the chips even after the microwave stops. The optional coconut oil is a small insurance policy: a half teaspoon thins the chocolate just enough to spread smoothly and adds a soft shine to the finished surface. It is the kind of tiny professional touch that costs nothing and makes the bark look store-bought.
Pro Tips
- Keep everything bone dry. A single drop of water in melted chocolate makes it seize into a grainy clump. Dry your bowls, your spatula, and your hands before you start, and never melt chocolate over a vigorously boiling pot.
- Crush the candy canes in a bag. A zip-top bag and a rolling pin give you the perfect mix of fine dust and crunchy bits, and the bag keeps red shards off your counter. Save a spoonful of the finest dust to sprinkle last for a pretty snowy finish.
- Do not skip the parchment overhang. Those two little flaps of paper are your handles. Without them, you will be prying a cold chocolate slab off a baking sheet with a spatula, and the bark will win.
- Work quickly once the white chocolate is spread. The candy canes need to land while the white chocolate is still wet, or they will sit on top and fall off. Have the crushed candy measured and waiting before you melt the white chocolate.
Common Mistakes to Avoid
- Chilling the dark layer until rock hard. This is the number one reason peppermint bark layers separate. Twenty minutes in the fridge is enough; the layer should feel firm but still slightly tacky. If you left it in too long, let it sit on the counter for 5 minutes before adding the white layer.
- Using mint extract instead of peppermint extract. Mint extract is spearmint, and spearmint plus chocolate tastes like toothpaste. Check the bottle label: it should say peppermint, and the ingredient list should name peppermint oil or peppermint leaves.
- Overheating the white chocolate. White chocolate burns at a lower temperature than dark chocolate, and once it scorches it turns yellow, thick, and grainy. Use half power, 20-second bursts, and stir more than you think you need to.
- Stirring the candy canes into the chocolate. Crushed candy cane is mostly sugar, and sugar dissolves into warm chocolate, turning it pink and sticky. Sprinkle it on top only, after spreading, so it stays crunchy and bright.
- Skipping the salt. A pinch of flaky sea salt sounds odd on candy, but salt makes chocolate taste more like chocolate. It is the same reason a salted caramel works. Skip it only if you truly dislike salty-sweet flavors.
Storage & Make-Ahead
Peppermint bark is one of the best make-ahead holiday treats because it actually improves after a day of resting, as the peppermint flavor settles evenly through both chocolate layers. Store the pieces in an airtight container or tin, layered between sheets of parchment paper so the pieces do not stick together. At cool room temperature, below about 70 degrees F, it keeps beautifully for up to 2 weeks. In the refrigerator it keeps for up to 1 month, and in the freezer, wrapped tightly in a zip-top bag with the air pressed out, it keeps for up to 3 months. Thaw frozen bark in the refrigerator overnight, then let it sit at room temperature for 10 minutes before serving so it snaps cleanly instead of shattering.
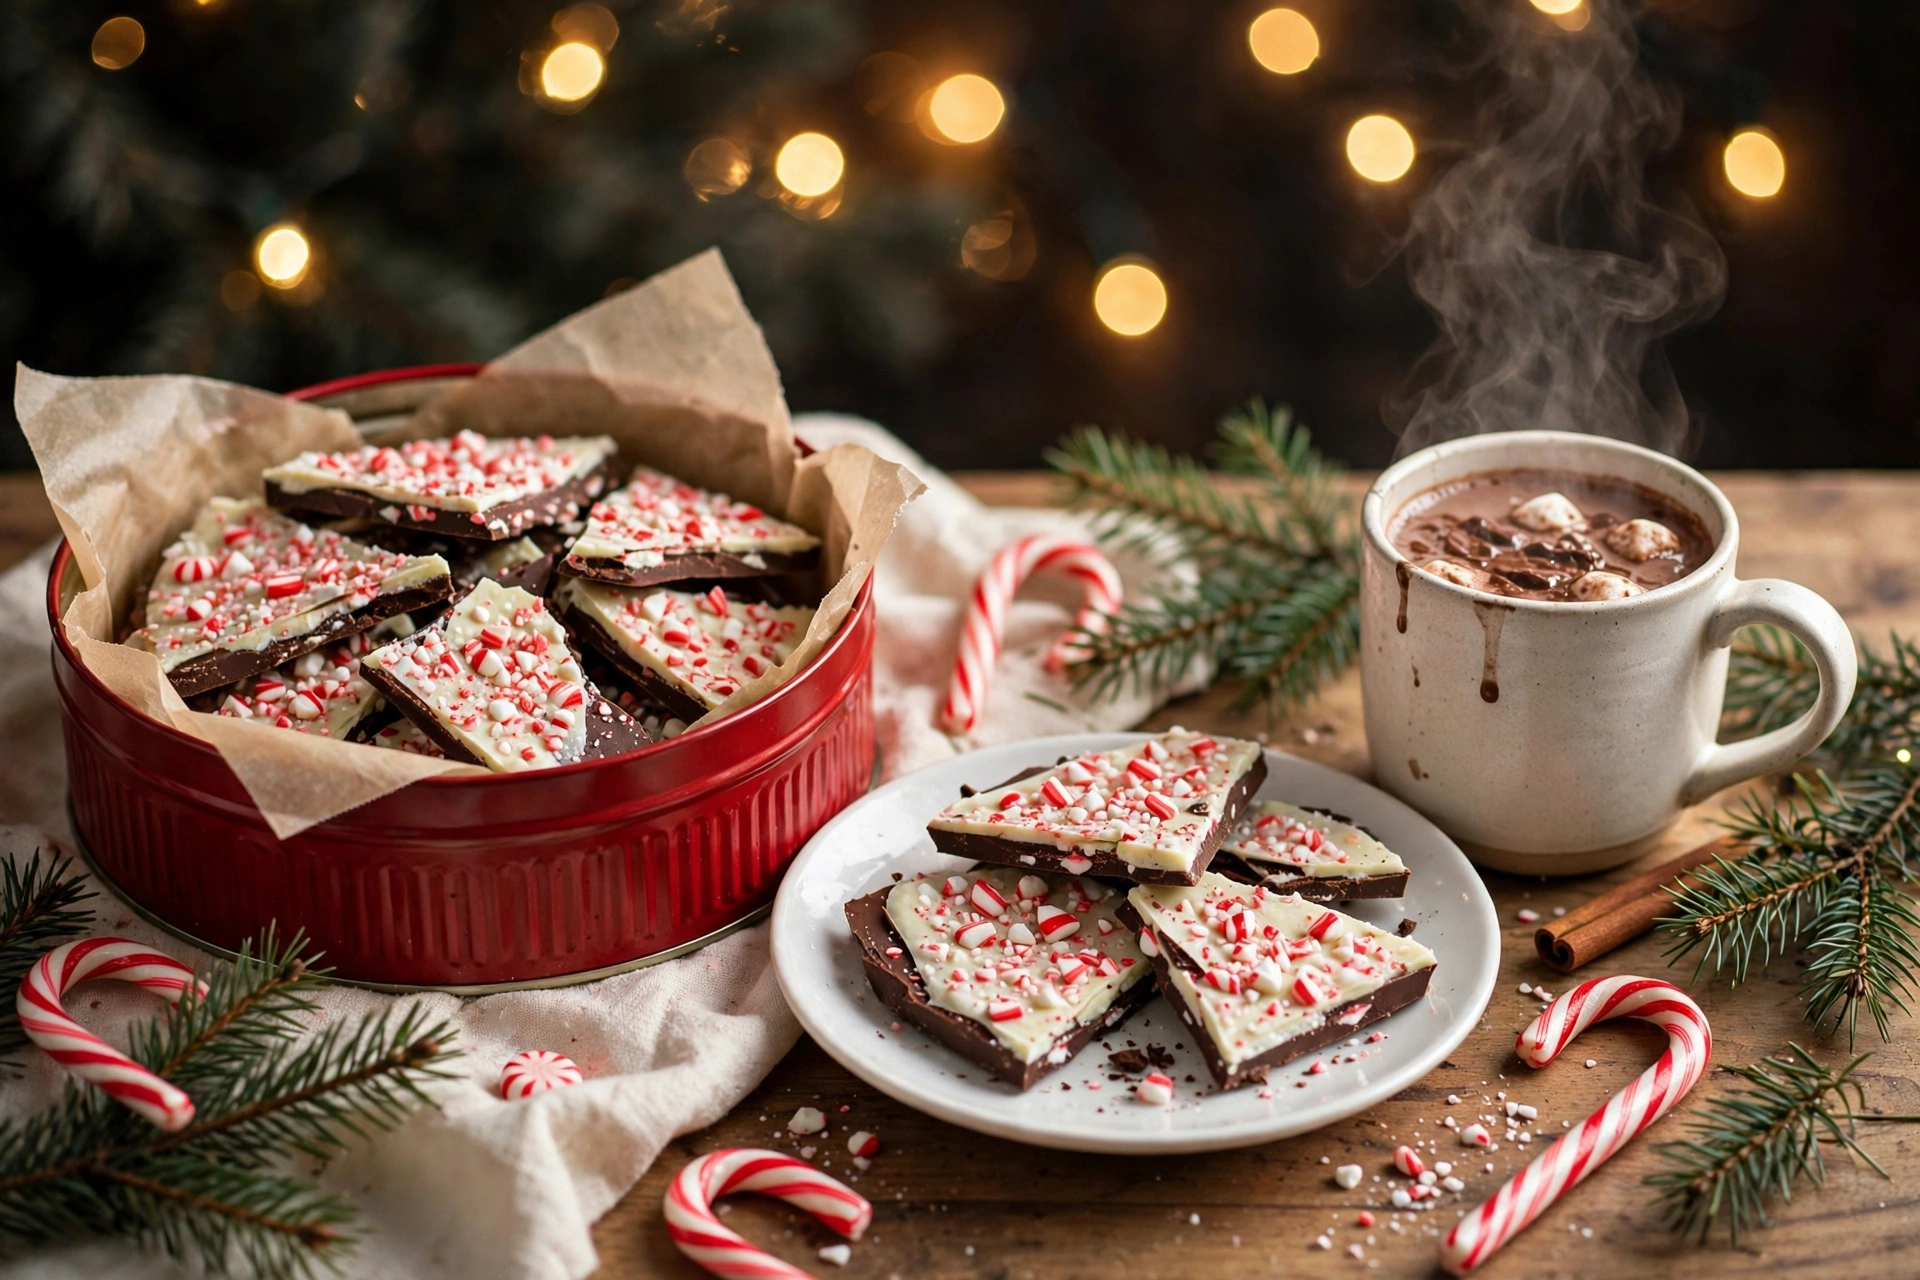
For gifting, pack pieces in small tins or cellophane bags lined with parchment, and tuck a little note with the storage time on it. The bark travels well in cool weather, but avoid shipping it anywhere warm, since chocolate softens quickly in transit. Serve it on a holiday snack board next to a pitcher of our white Christmas sangria for a party spread that looks like you planned it for weeks.
Substitutions
- Dark chocolate instead of semi-sweet: Use 12 ounces of chopped dark chocolate (60 to 70 percent cocoa) for a deeper, less sweet base. It pairs beautifully with the sweet white layer.
- Milk chocolate base: Swap the semi-sweet chips for milk chocolate chips for a sweeter, creamier bark that kids tend to love. Melt it even more gently, since milk chocolate scorches easily too.
- White candy melts: White chocolate chips can be replaced with vanilla-flavored candy melts, which melt smoothly and set very firmly. They are not real chocolate, so the flavor is sweeter and less rich, but they are forgiving for beginners.
- No peppermint extract: Skip the extract entirely and rely on the crushed candy canes for mint flavor, or stir 1/2 teaspoon of vanilla extract into the white layer instead. Do not substitute mint extract, which tastes like spearmint.
- Different toppings: Swap half the crushed candy canes for crushed Oreo cookies, chopped toasted pistachios, holiday sprinkles, or freeze-dried raspberries. Keep the total topping to about 1/2 cup so the pieces still stick.
- Dairy-free: Use dairy-free dark and white chocolate chips and skip the coconut oil if your chips already contain it. Check the candy cane label too, since most are dairy-free but a few brands are not.
Frequently Asked Questions
Why did my peppermint bark layers separate?
The layers separate when the dark chocolate layer was chilled until it was too cold and hard before the white chocolate went on. The white layer then sets on top like a lid instead of fusing with the layer below. Chill the dark layer for just 15 to 20 minutes, until it is firm but still slightly tacky to a light fingertip touch. If you left it in the fridge too long, let the pan sit on the counter for 5 minutes before spreading the white chocolate, and the layers will bond properly. The whole recipe takes 1 hour, most of it hands-off chilling, so getting this short chill right is easy.
Can I use chocolate chips instead of chopped chocolate?
Yes, chocolate chips work perfectly for both layers, and this recipe is written for them. Chips contain a small amount of stabilizer so they hold their shape, which means they melt a little thicker than chopped bar chocolate. That is why the recipe includes the optional 1/2 teaspoon of coconut oil per layer: it thins the melted chocolate just enough to spread into a smooth, even layer and adds a soft shine to the finished bark.
How long does peppermint bark last?
Peppermint bark keeps for up to 2 weeks in an airtight container at cool room temperature below about 70 degrees F, up to 1 month in the refrigerator, and up to 3 months in the freezer. Layer the pieces between sheets of parchment paper so they do not stick together, and let refrigerated or frozen bark sit at room temperature for 10 minutes before serving so it snaps cleanly.
Can I make peppermint bark without peppermint extract?
Yes. Leave the extract out and let the crushed candy canes on top provide the mint flavor, or stir 1/2 teaspoon of vanilla extract into the white chocolate layer instead. The bark will be milder and sweeter, which many kids prefer. Just do not substitute mint extract, which is spearmint and tastes like toothpaste with chocolate.
Rate this recipe
Be the first to rate it!