
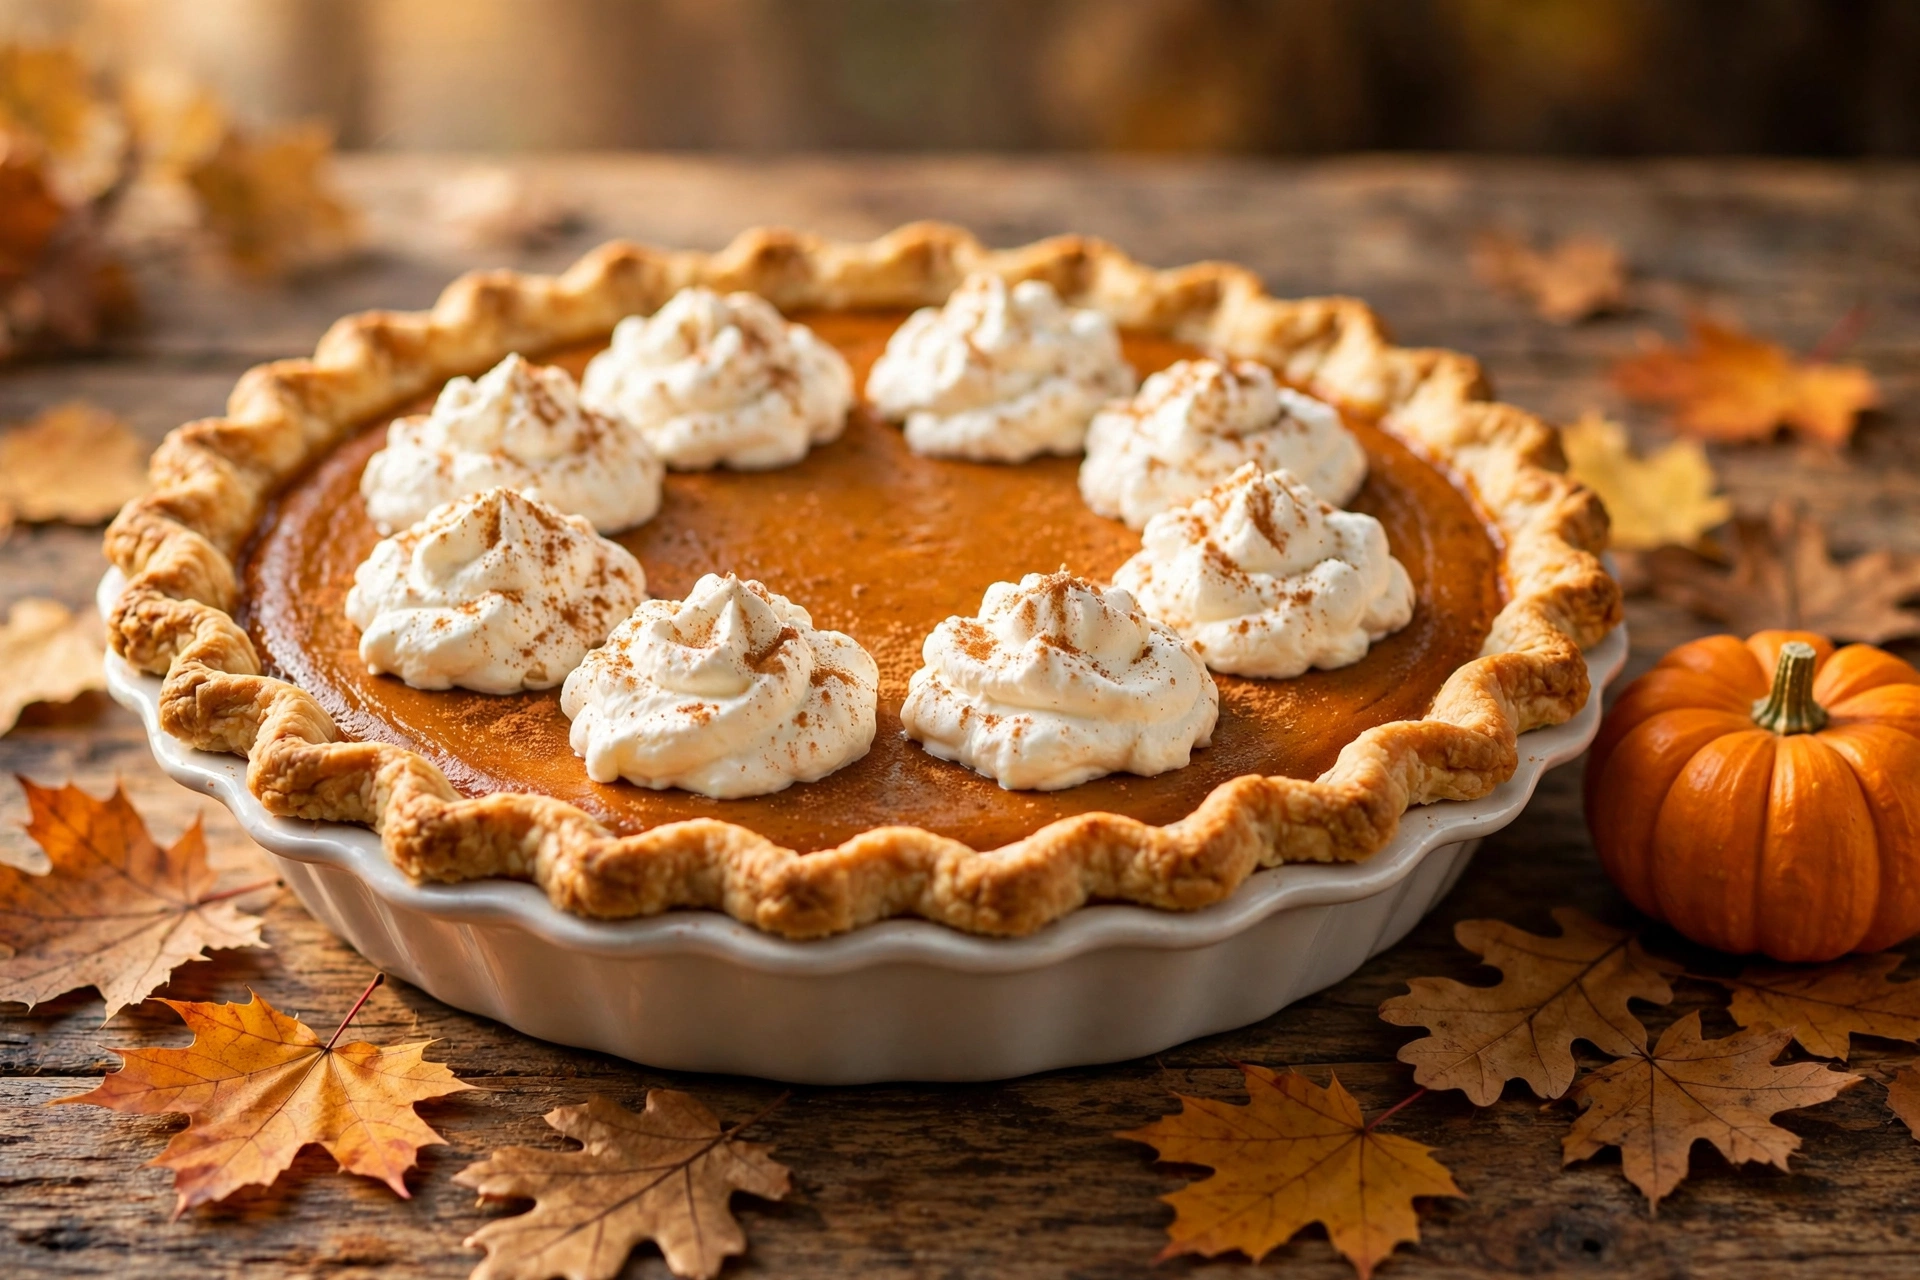
There is a moment at every Thanksgiving table when the turkey is forgotten, the mashed potatoes are a memory, and everyone leans forward just a little. That moment is the pumpkin pie. This easy pumpkin pie is the classic one your grandmother would recognize: a flaky golden crust, a silky smooth filling that tastes like cinnamon, ginger, and nutmeg had a warm little party, and a tall swirl of whipped cream on top. It takes just 70 minutes of prep and baking, and it tastes like the whole holiday wrapped up in one slice.
If you have ever been nervous about baking a pie from scratch, this is the recipe that will make you feel like a pie person. There is no blind baking, no complicated lattice, and no pastry degree required. You whisk the filling in one bowl, pour it into a crust, and let the oven do the rest. The filling sets into a creamy custard that slices cleanly and melts on your tongue, and the two-temperature bake is the quiet trick that keeps the crust crisp while the center turns velvety. It is the pumpkin pie that belongs at the center of the dessert table, right next to our easy pecan pie bars and a pot of fresh coffee.
Recipe at a Glance
- Prep time: 15 minutes
- Cook time: 55 minutes
- Total time: 70 minutes, plus 2 hours cooling
- Servings: 8 slices
- Difficulty: Easy
- Course: Desserts
- Method: Whisk, pour, and bake in one 9-inch pie dish
Why You Will Love This Easy Pumpkin Pie
First, it is genuinely easy. Fifteen minutes of measuring and whisking, one bowl for the filling, and a store-bought crust if you want it. There is no dough to chill, no rolling pin to wrestle with, and no blind baking to babysit. Second, it tastes like the real thing, because it is the real thing: pure pumpkin, warm spices, eggs, and evaporated milk, baked into a custard that is creamy rather than stodgy and spiced rather than sugary. Third, it is the most forgiving dessert on the Thanksgiving menu. It actually needs to be made ahead, since the pie has to cool for two hours before slicing, so it frees up your oven and your schedule on the big day.
It also plays beautifully with the rest of the holiday table. The warm spice and gentle sweetness balance rich, savory dishes, so a slice of this pie after turkey and gravy feels like the meal finally makes sense. Serve it with whipped cream and coffee, or with a scoop of vanilla ice cream if your family leans that way. And if pumpkin is your favorite fall flavor, our easy no-bake pumpkin cheesecake is the no-oven cousin of this pie, perfect for the days when the oven is already full.
Ingredients
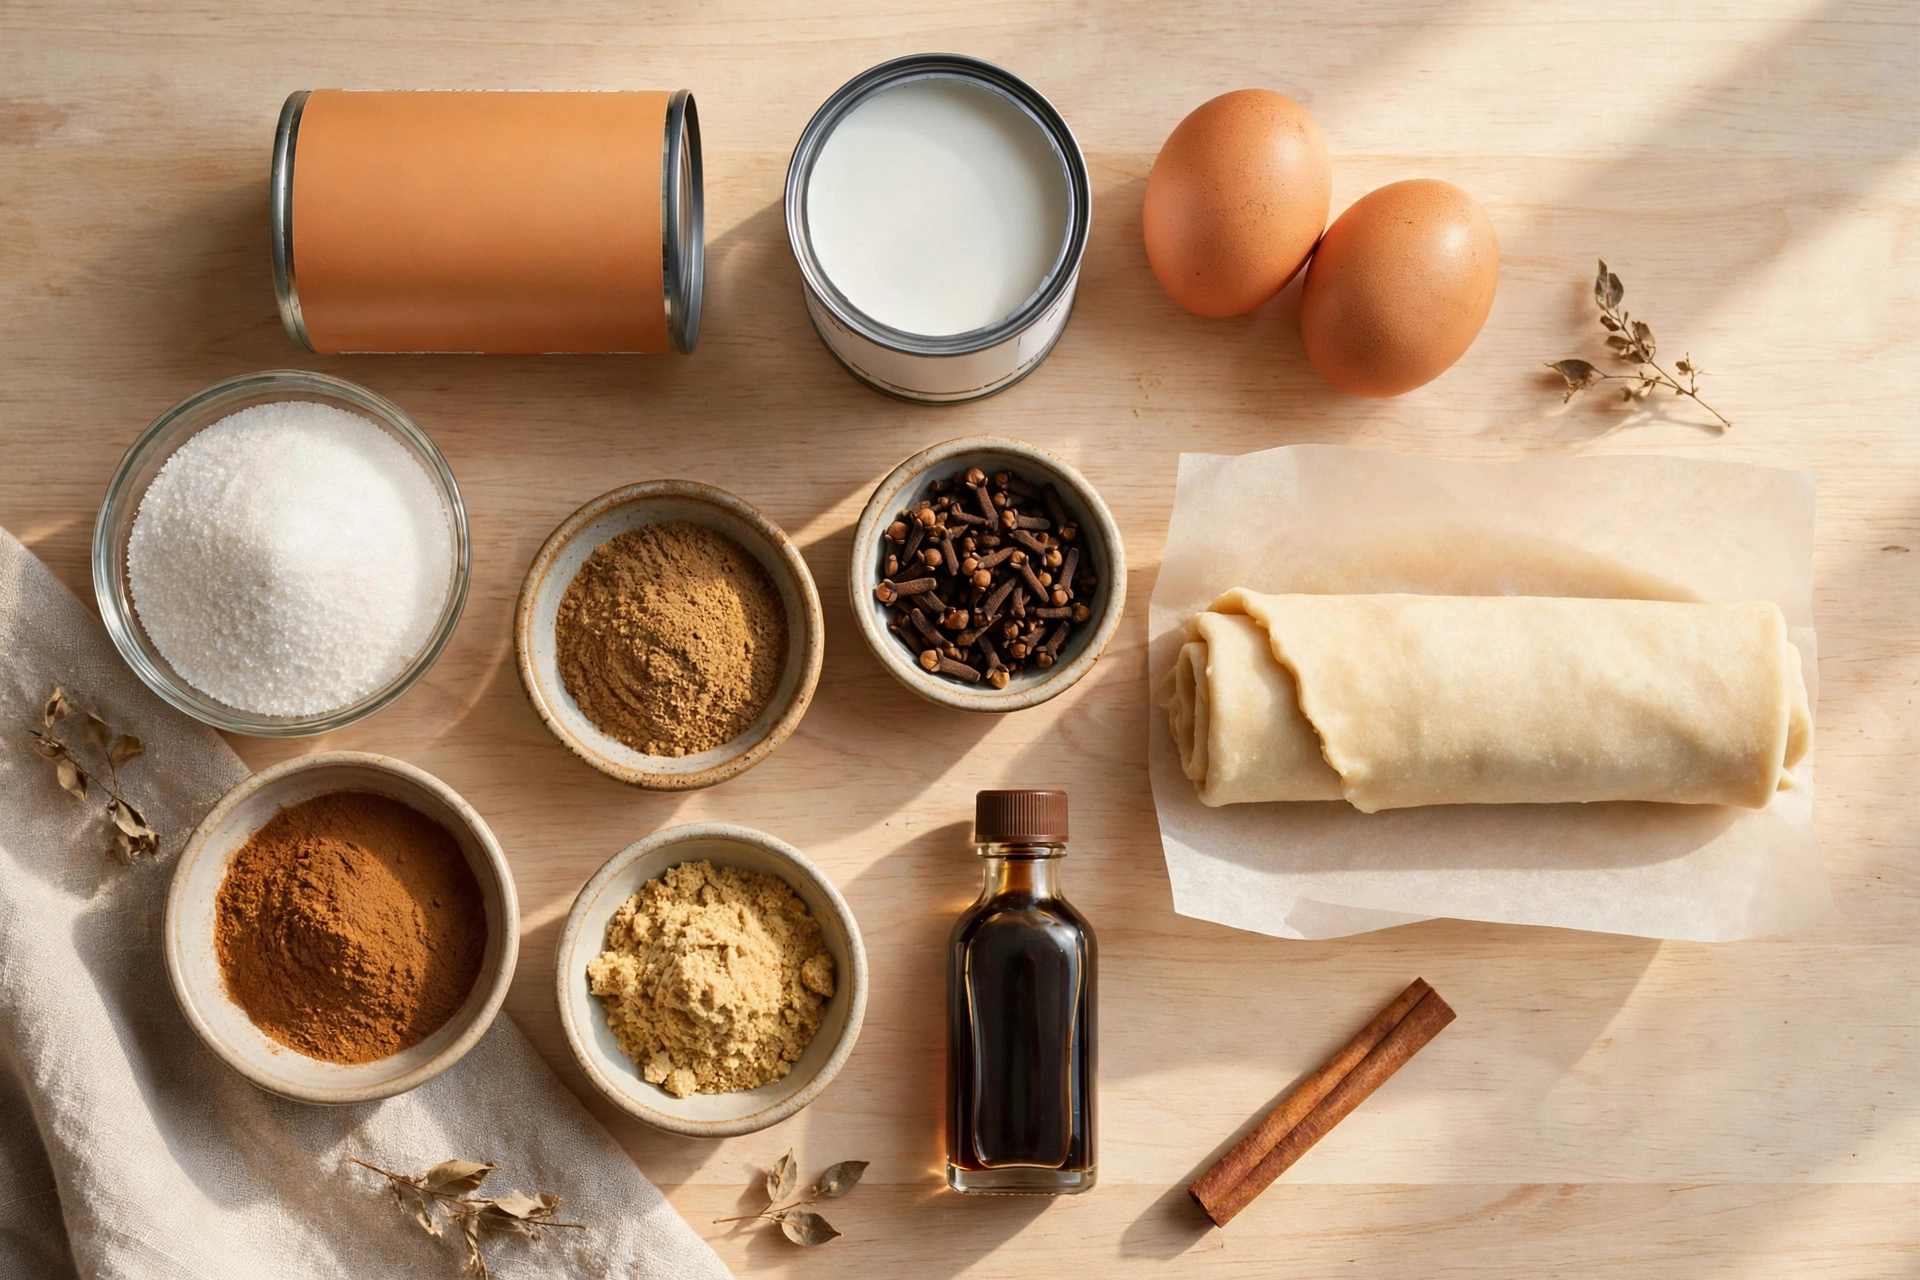
- 1 refrigerated pie crust (9-inch), or 1 homemade pie crust, fitted into a 9-inch pie dish
- 1 can (15 ounces) 100 percent pure pumpkin puree, not pumpkin pie filling
- 3/4 cup granulated sugar
- 1 teaspoon ground cinnamon
- 1/2 teaspoon ground ginger
- 1/4 teaspoon ground nutmeg
- 1/4 teaspoon ground cloves
- 1/2 teaspoon fine sea salt
- 2 large eggs, at room temperature
- 1 can (12 ounces) evaporated milk
- 1 teaspoon vanilla extract
To serve:
- Whipped cream, for topping each slice
- A pinch of ground cinnamon, for dusting
Directions
- Heat the oven and fit the crust. Preheat the oven to 425°F (220°C). Unroll the pie crust into a 9-inch pie dish, press it gently into the bottom and sides, and crimp the edges with your fingers or a fork. Set the dish on a baking sheet so any drips land on the sheet and not on your oven floor.
- Whisk the sugar and spices. In a large bowl, whisk together the sugar, cinnamon, ginger, nutmeg, cloves, and salt until evenly combined. Breaking up the spices in the sugar first keeps them from clumping in the filling, so every bite tastes evenly spiced.
- Whisk the wet ingredients. In a medium bowl, whisk the eggs until the yolks and whites are fully blended, then whisk in the pumpkin puree, evaporated milk, and vanilla until smooth and glossy. The mixture should look like thick, velvety orange cream with no streaks.
- Combine into the filling. Pour the wet mixture into the bowl of sugar and spices and whisk gently just until everything is smooth and evenly colored, about 30 seconds. Do not whip it hard; vigorous whisking beats air into the filling, and trapped air is one of the reasons custard pies puff up and then crack as they cool.
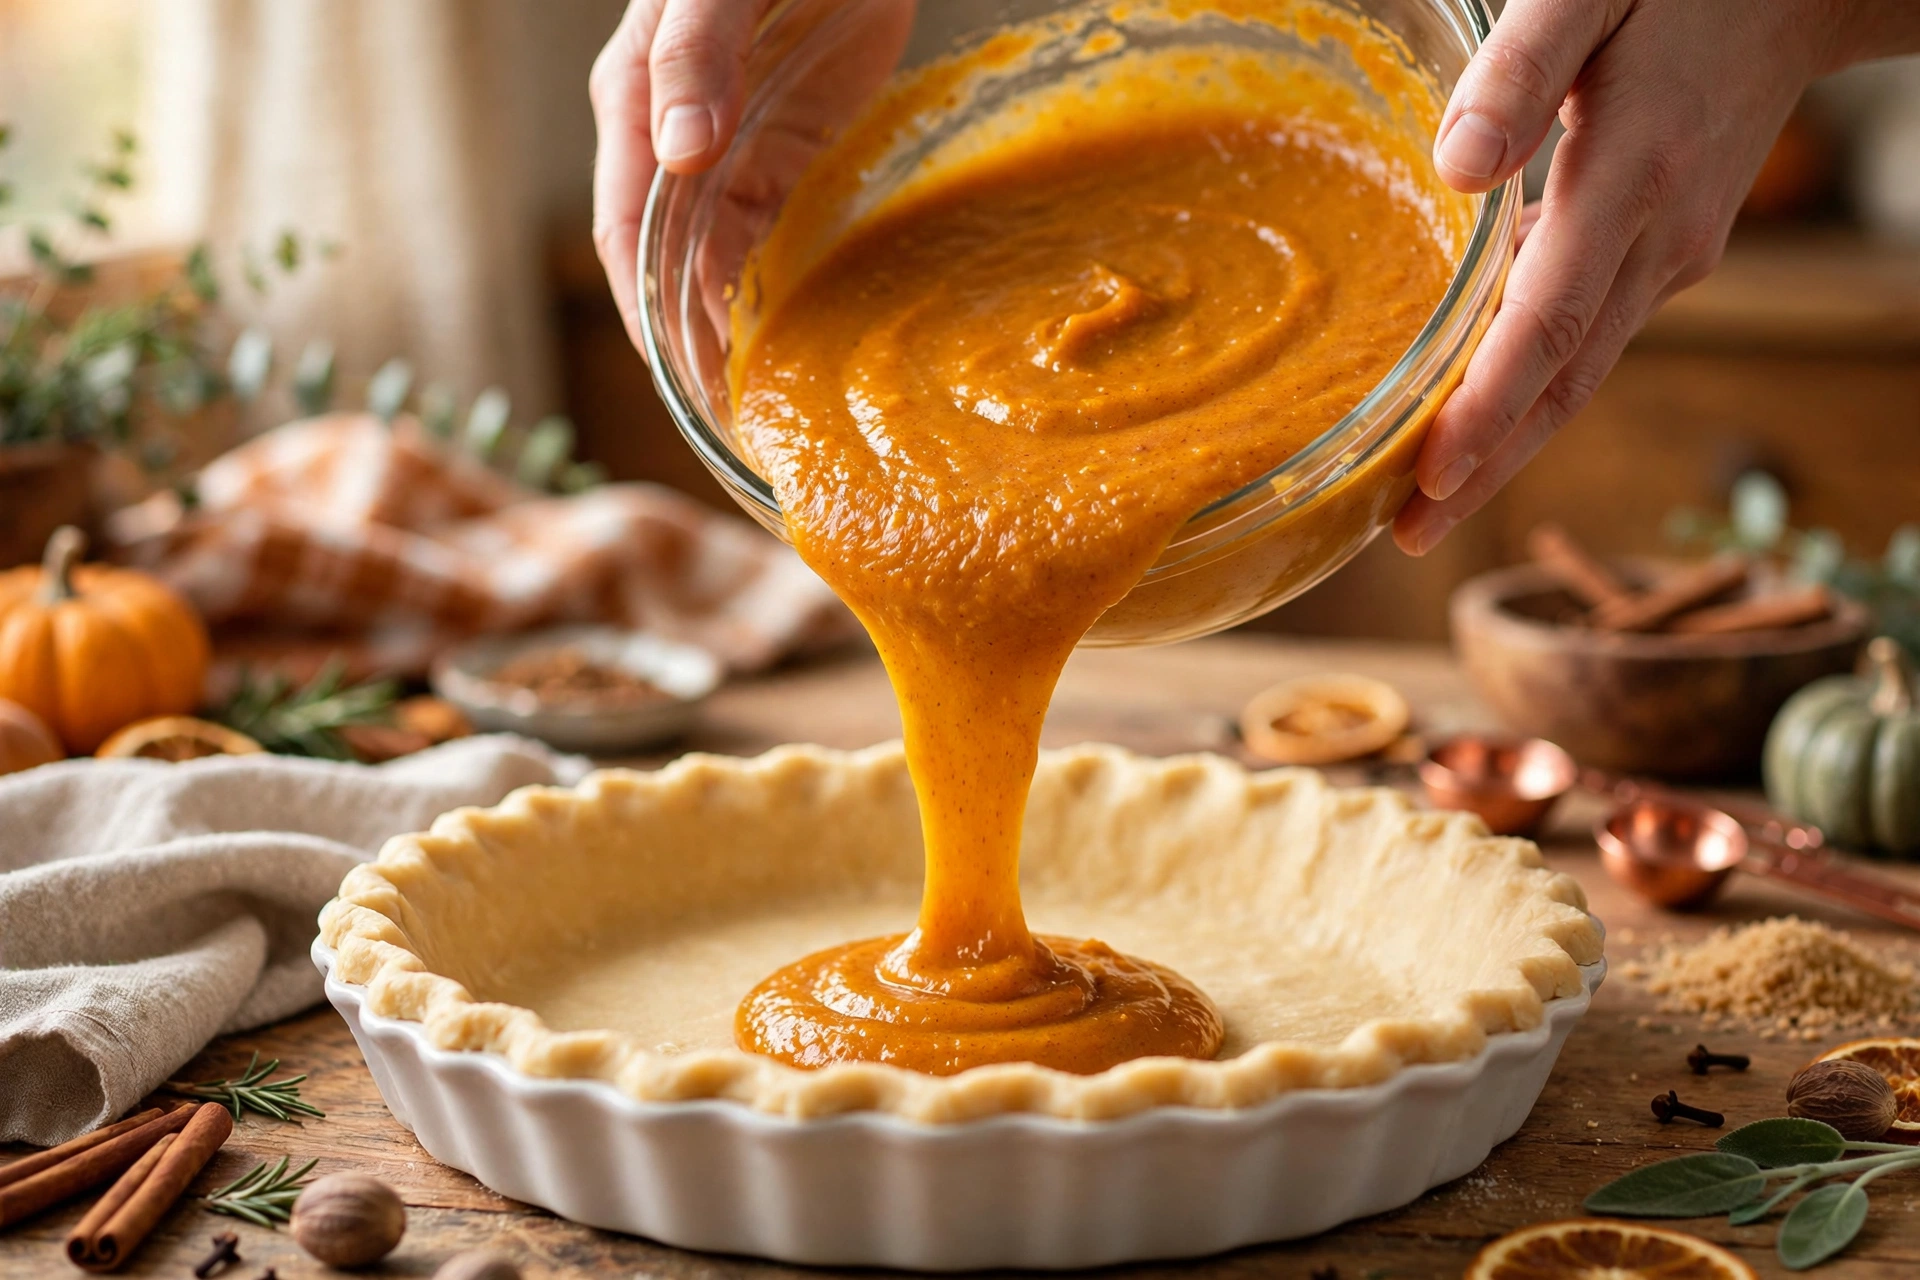
- Pour and bake hot first. Pour the filling into the prepared crust, filling it almost to the top of the crimped edge. Bake at 425°F for 15 minutes. The blast of heat sets the crust quickly so it stays crisp under the wet filling, and it gives the filling a head start on setting.
- Lower the heat and finish baking. Without opening the oven door more than a crack, reduce the oven temperature to 350°F (175°C) and bake for 40 to 45 minutes more. The pie is done when the edges are set and slightly puffed and the center still wobbles gently like set gelatin when you shake the pan. A thin knife inserted about 1 inch from the crust should come out clean, and the center should read about 175°F on an instant-read thermometer, well past the 160°F needed for the eggs to set safely.
- Cool completely before slicing. Let the pie cool on a wire rack at room temperature for at least 2 hours. The filling is still setting during this time, and cutting into a warm pie gives you runny slices and a soggy crust. Do not rush it into the fridge; a sudden chill can crack the surface.
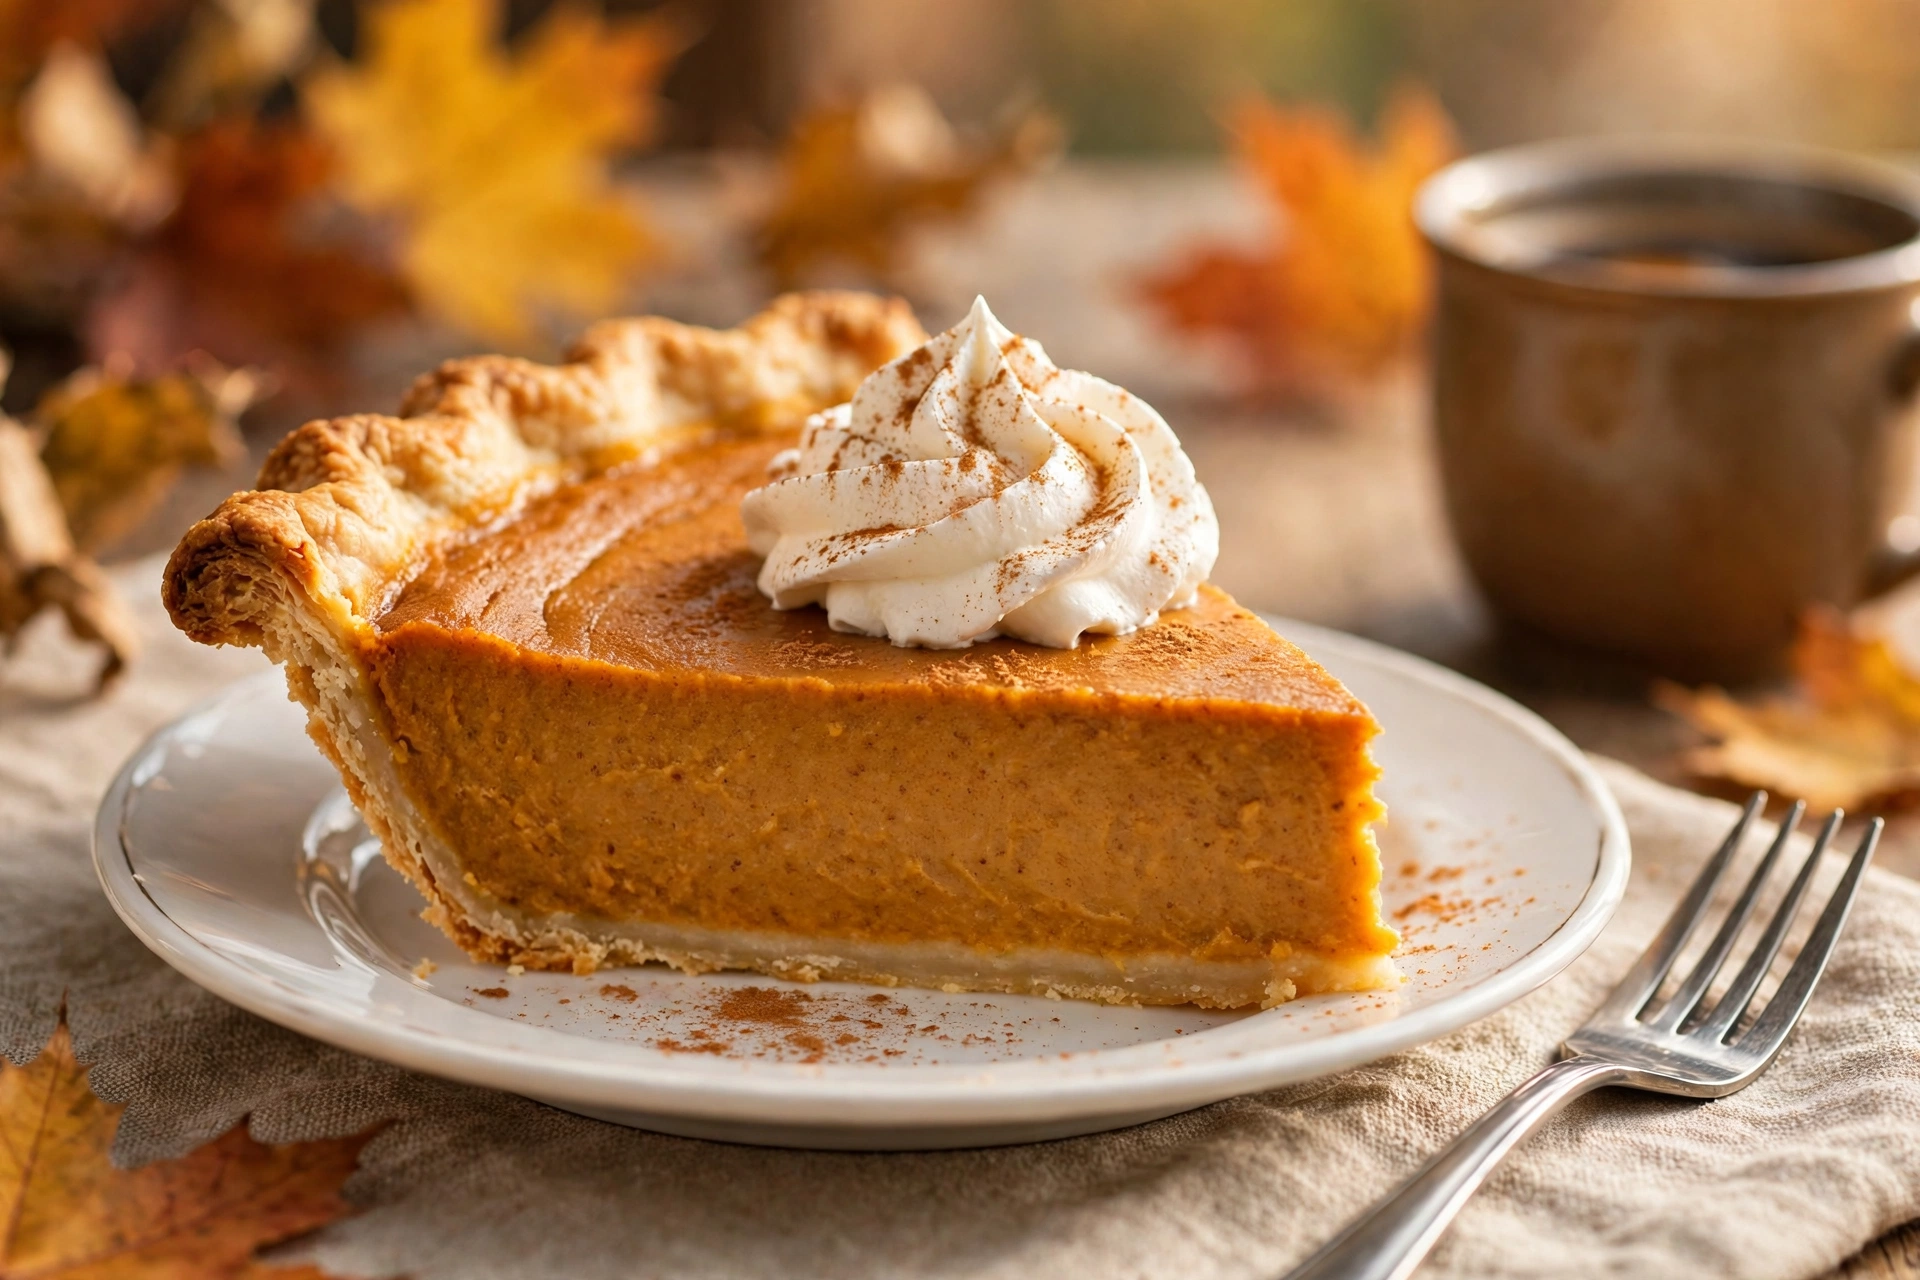
- Serve with whipped cream. Once fully cooled, slice with a sharp knife, wiping the blade clean between cuts for neat slices. Top each slice with a generous dollop of whipped cream and a light dusting of cinnamon.
Why This Works
A great pumpkin pie is custard science, and every choice in this recipe has a job. The two-temperature bake is the first one. Starting at 425°F sets the crust fast, before the wet filling can soak into it, which is how you get a crisp bottom instead of a soggy one. Dropping to 350°F for the long finish lets the custard set gently and evenly, without curdling the eggs or puffing the filling up like a souffle. A single low temperature bakes the crust pale and limp; a single high temperature overbakes the edges before the center is done.
The second piece is the evaporated milk. Evaporated milk is milk with about 60 percent of its water removed, so it brings richness and body without the extra liquid that would make the filling watery. That is why the classic pumpkin pie has used it for generations, and why swapping in regular milk or cream changes the texture: regular milk thins the custard, and heavy cream makes it overly rich and slow to set. The eggs are the third piece. Two eggs are exactly enough to set 15 ounces of pumpkin into a sliceable custard; a third egg would make the filling rubbery, and one egg would leave it too soft to slice cleanly.
The fourth piece is restraint with the whisk. Pumpkin filling should be stirred, not whipped. Air beaten into a custard expands in the oven, lifts the filling, and then collapses as the pie cools, leaving cracks across the surface. Gentle whisking keeps the filling dense and smooth, which is why the directions say thirty seconds and mean it. And the salt, which looks like an afterthought, is doing real work: half a teaspoon sharpens the spices and keeps the sweetness from tasting flat, the same way salt wakes up any dessert.
Pro Tips
Use puree, never pie filling. The cans look nearly identical on the shelf, but pumpkin pie filling is already sweetened and spiced. Check the label for the words “100 percent pure pumpkin” before the can goes in your cart, or the pie will come out far too sweet and the spices will double up.
Shield the crust edge. If the crimped edge starts browning too fast during the long bake, wrap a strip of foil loosely around the rim for the last 20 minutes. The filling needs the full baking time, but the thin crust edge does not, and foil is the easy fix.
Warm the evaporated milk slightly. Pouring fridge-cold milk into the filling can chill the eggs and make the custard set unevenly. Let the can sit on the counter while you measure everything else, or warm it for 20 seconds in the microwave, so it goes in at room temperature.
Let the knife test decide, not the clock. Ovens run hot or cold, and pie dishes vary in depth. Start checking at 40 minutes at 350°F and trust the jiggle test: set edges, a center that moves like set gelatin, and a clean knife one inch from the crust. That combination never lies.
Cool on the baking sheet. Leave the pie on its baking sheet on the wire rack while it cools. The sheet catches any drips, and moving a hot, just-set custard pie as little as possible keeps the surface smooth and crack-free.
Common Mistakes
Baking until the center looks firm. This is the number one pumpkin pie mistake. A custard that looks fully set in the oven is already overbaked, and it will crack as it cools. Pull the pie when the center still jiggles gently; it finishes setting on the counter during the two-hour cool.
Cutting the pie while it is warm. A warm pumpkin pie is a delicious soup, not a sliceable dessert. The filling needs the full two hours at room temperature to firm up. If you are short on time, bake the pie the day before instead of rushing the cooling.
Skipping the baking sheet. A pie dish full of liquid filling is awkward to carry, and one wobble spills filling onto the oven floor. Always set the dish on a rimmed baking sheet before it goes in the oven.
Using fresh pumpkin without draining it. Fresh roasted pumpkin holds far more water than canned puree. If you use it, drain it in a fine-mesh strainer or cheesecloth for at least 30 minutes first, or the filling will be loose and the bake time will stretch well past 55 minutes.
Chilling the pie too soon. Moving a hot pie straight into the fridge shocks the custard and splits the surface. Cool it fully at room temperature first, then refrigerate it uncovered until it is cold, and only then cover it loosely.
Substitutions
Crust: A homemade all-butter crust works beautifully here, and a graham cracker crust is a tasty shortcut, though it bakes up sweeter and more crumbly. If you use a deep-dish crust, add 5 to 10 minutes to the bake at 350°F, since the filling is deeper.
Sugar: Brown sugar swaps in cup for cup and adds a lovely caramel note that suits the spices. Maple syrup works too, but use 1/2 cup instead of 3/4 cup sugar and add 2 extra minutes to the bake, since the extra liquid needs more time to set.
Evaporated milk: Half-and-half is the closest swap and sets nearly the same way. Full-fat coconut milk works for a dairy-free version, though it adds a faint coconut flavor and the filling sets a touch softer; chill the pie a full 3 hours before slicing.
Spices: If you are short on individual spices, 1 3/4 teaspoons of pumpkin pie spice replaces the cinnamon, ginger, nutmeg, and cloves. Keep the salt and sugar exactly as written, since the spice blend is only a flavor swap.
Eggs: This is a custard, so the eggs are structural and cannot be skipped. For an egg-free version, look for a recipe built around cornstarch and silken tofu instead; simply leaving the eggs out of this one will not set.
What to Serve With
Pumpkin pie needs very little company, but the right partners make it sing. A cloud of lightly sweetened whipped cream is the classic, and a scoop of vanilla ice cream is the runner-up. Strong black coffee or a spiced chai cuts through the richness between bites, and a small glass of cold milk is the nostalgic choice. On a full Thanksgiving dessert table, this pie sits happily beside our 5-ingredient pumpkin loaf, sliced thin for guests who want just a taste of everything.
Storage & Make-Ahead
Cool the pie completely at room temperature for at least 2 hours, then refrigerate it uncovered until cold, about 1 hour more. Once cold, cover it loosely with plastic wrap or foil. It keeps in the fridge for up to 4 days, and the flavor actually deepens on day two as the spices settle. Never leave a cream or egg-based pie at room temperature for more than 2 hours, since the filling is perishable.
To make ahead, bake the pie up to 2 days before serving and keep it refrigerated, covered loosely. Let it sit at room temperature for about 30 minutes before serving so the filling tastes creamy instead of cold and firm, and add the whipped cream just before it goes to the table. To freeze, cool the baked pie completely, wrap it tightly in two layers of plastic wrap plus a layer of foil, and freeze for up to 1 month. Thaw overnight in the fridge, then bring to room temperature for 30 minutes before serving. The crust softens slightly after freezing, so this pie is at its very best fresh or refrigerated, not frozen.
Frequently Asked Questions
How do I know when my pumpkin pie is done?
The edges should be set and puffed slightly while the center still wobbles like set gelatin when you gently shake the pan. A thin knife inserted about 1 inch from the crust should come out clean, and the center should read about 175°F on an instant-read thermometer, well past the 160°F needed for the eggs to set safely. The pie finishes setting as it cools, so do not wait for the center to look firm in the oven.
Can I use pumpkin pie filling instead of pumpkin puree?
No, and this is the most important swap to get right. Pumpkin pie filling is already sweetened and spiced, so using it with this recipe would make the pie far too sweet and throw off the spice balance. Use 100 percent pure pumpkin puree, and check the can label before you buy it, because the two cans look almost identical on the shelf.
Why did my pumpkin pie crack?
Cracks almost always come from overbaking or cooling too fast. Bake just until the center still has a slight jiggle, then let the pie cool slowly at room temperature for at least 2 hours instead of rushing it into the fridge. A sudden temperature drop makes the custard contract and split. If a crack does appear, a generous swirl of whipped cream covers it beautifully.
Can I make pumpkin pie ahead of time?
Yes, pumpkin pie is a wonderful make-ahead Thanksgiving dessert. The pie itself takes 70 minutes of prep and baking, plus 2 hours of cooling, so baking it the day before is the relaxed way to do it. Bake it up to 2 days ahead, cool it completely, then cover it loosely and keep it in the fridge. Let it sit at room temperature for about 30 minutes before serving so the filling tastes creamy instead of cold and firm. Add the whipped cream just before serving.
Rate this recipe
Be the first to rate it!