
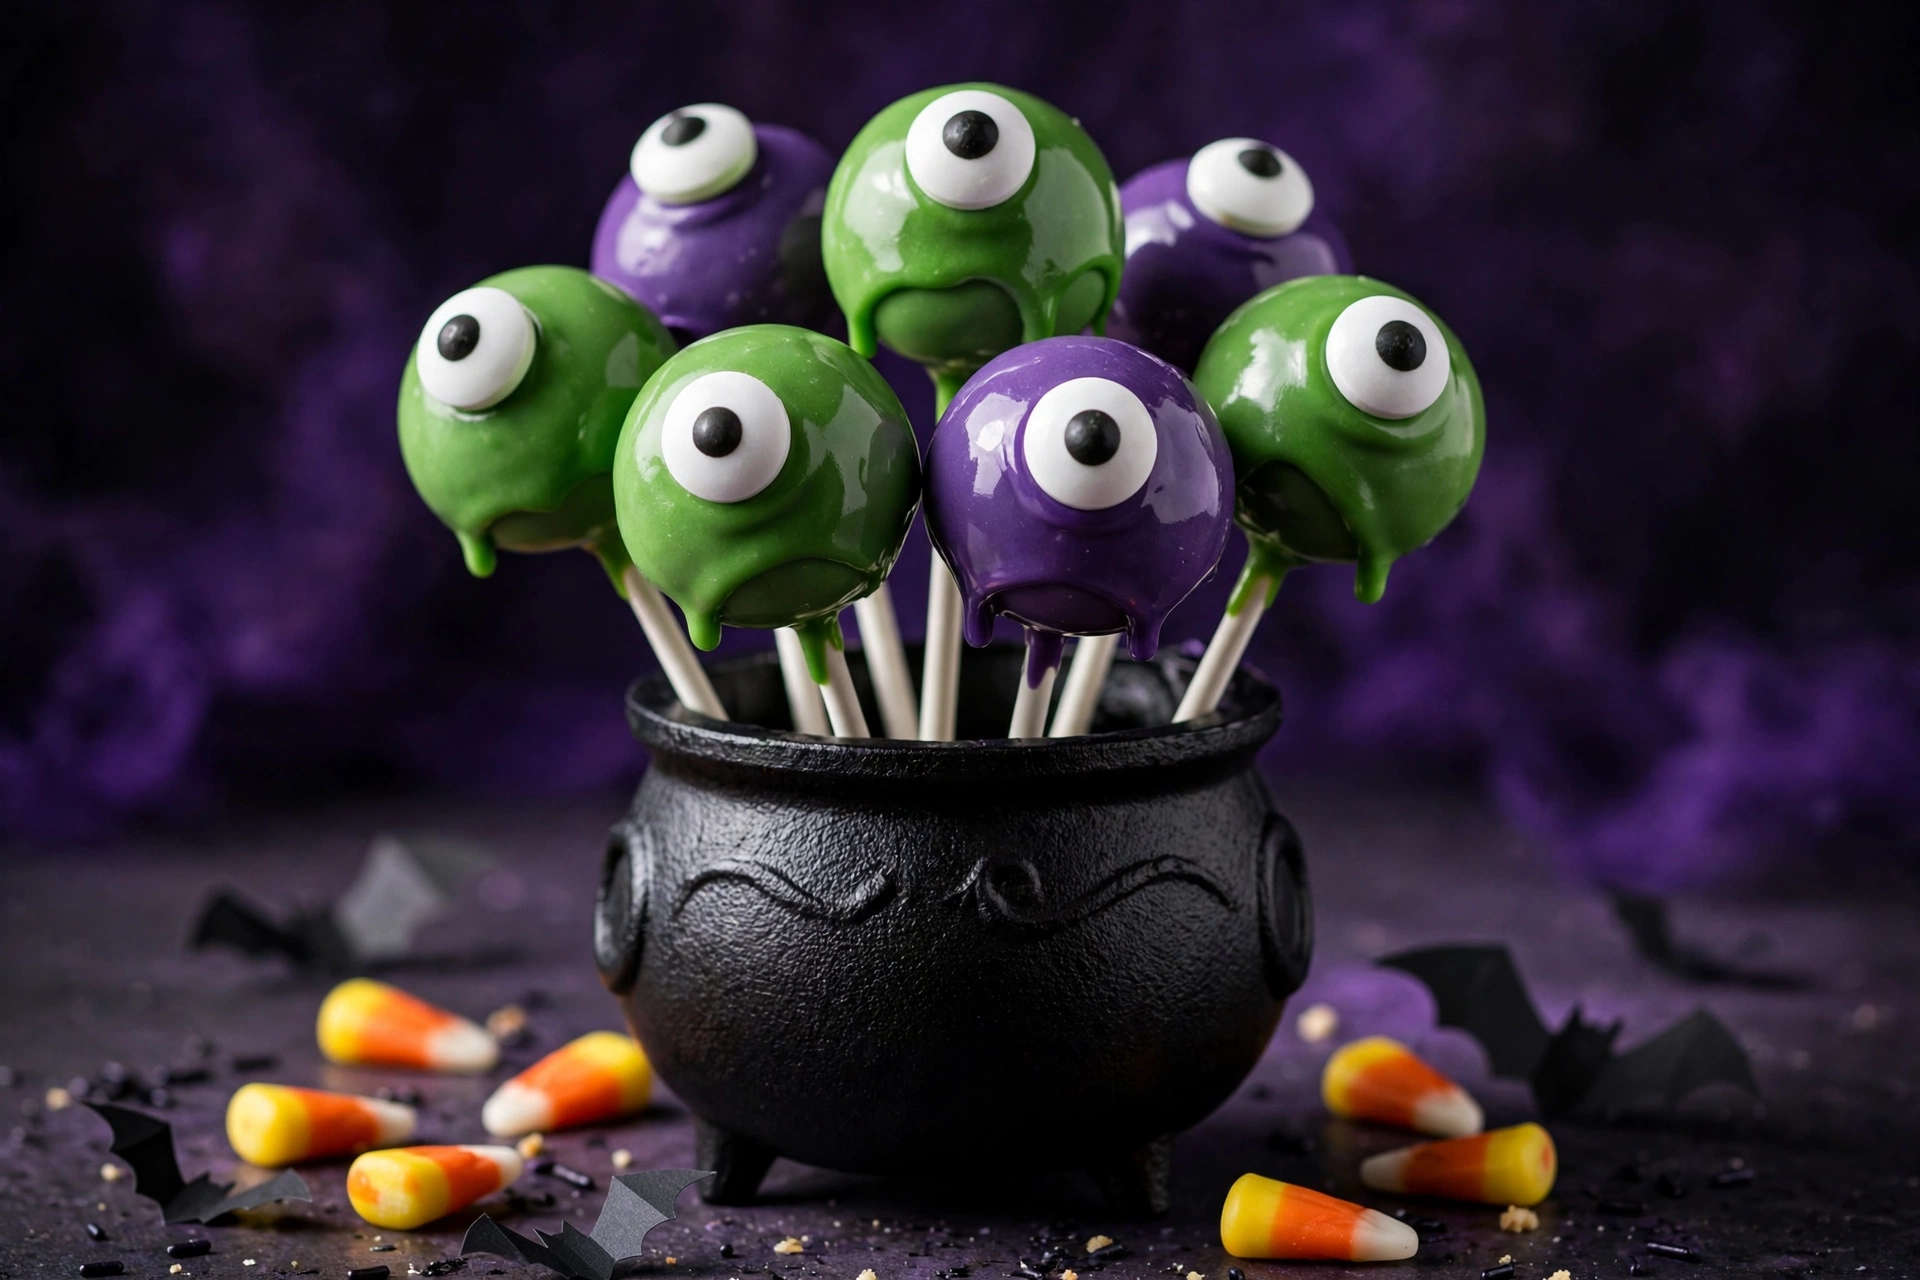
Some Halloween treats just sit on the table. These stare back. Spooky Monster Eye Cake Pops take soft, fudgy chocolate cake, roll it into perfect little spheres, and wrap each one in a glossy green or purple candy shell crowned with a big googly candy eyeball. They look like they wobbled straight out of a cartoon monster mash, and kids absolutely lose their minds over them.
Here is the best part: there is zero baking involved. Store-bought pound cake does all the heavy lifting, so you are working with just 30 minutes of hands-on time before the fridge takes over. If you have ever been charmed by the cake pop craze but felt too intimidated to try, this is your moment. No piping skills, no decorating talent, just rolling, dipping, and one dramatically placed eyeball per pop.
They are made for Halloween night itself. Stick a batch in a black cauldron or a jack-o-lantern bucket, set them on the party table next to our Easy Witch Finger Cookies and Bloody Broken Glass Jello, and watch them vanish faster than the trick-or-treat candy bowl.
Recipe at a Glance
Prep time: 30 minutes
Chill time: 1 hour
Total time: 1 hour 30 minutes
Yield: 24 cake pops
Servings: 12 (2 cake pops each)
Method: No-bake
Ingredients
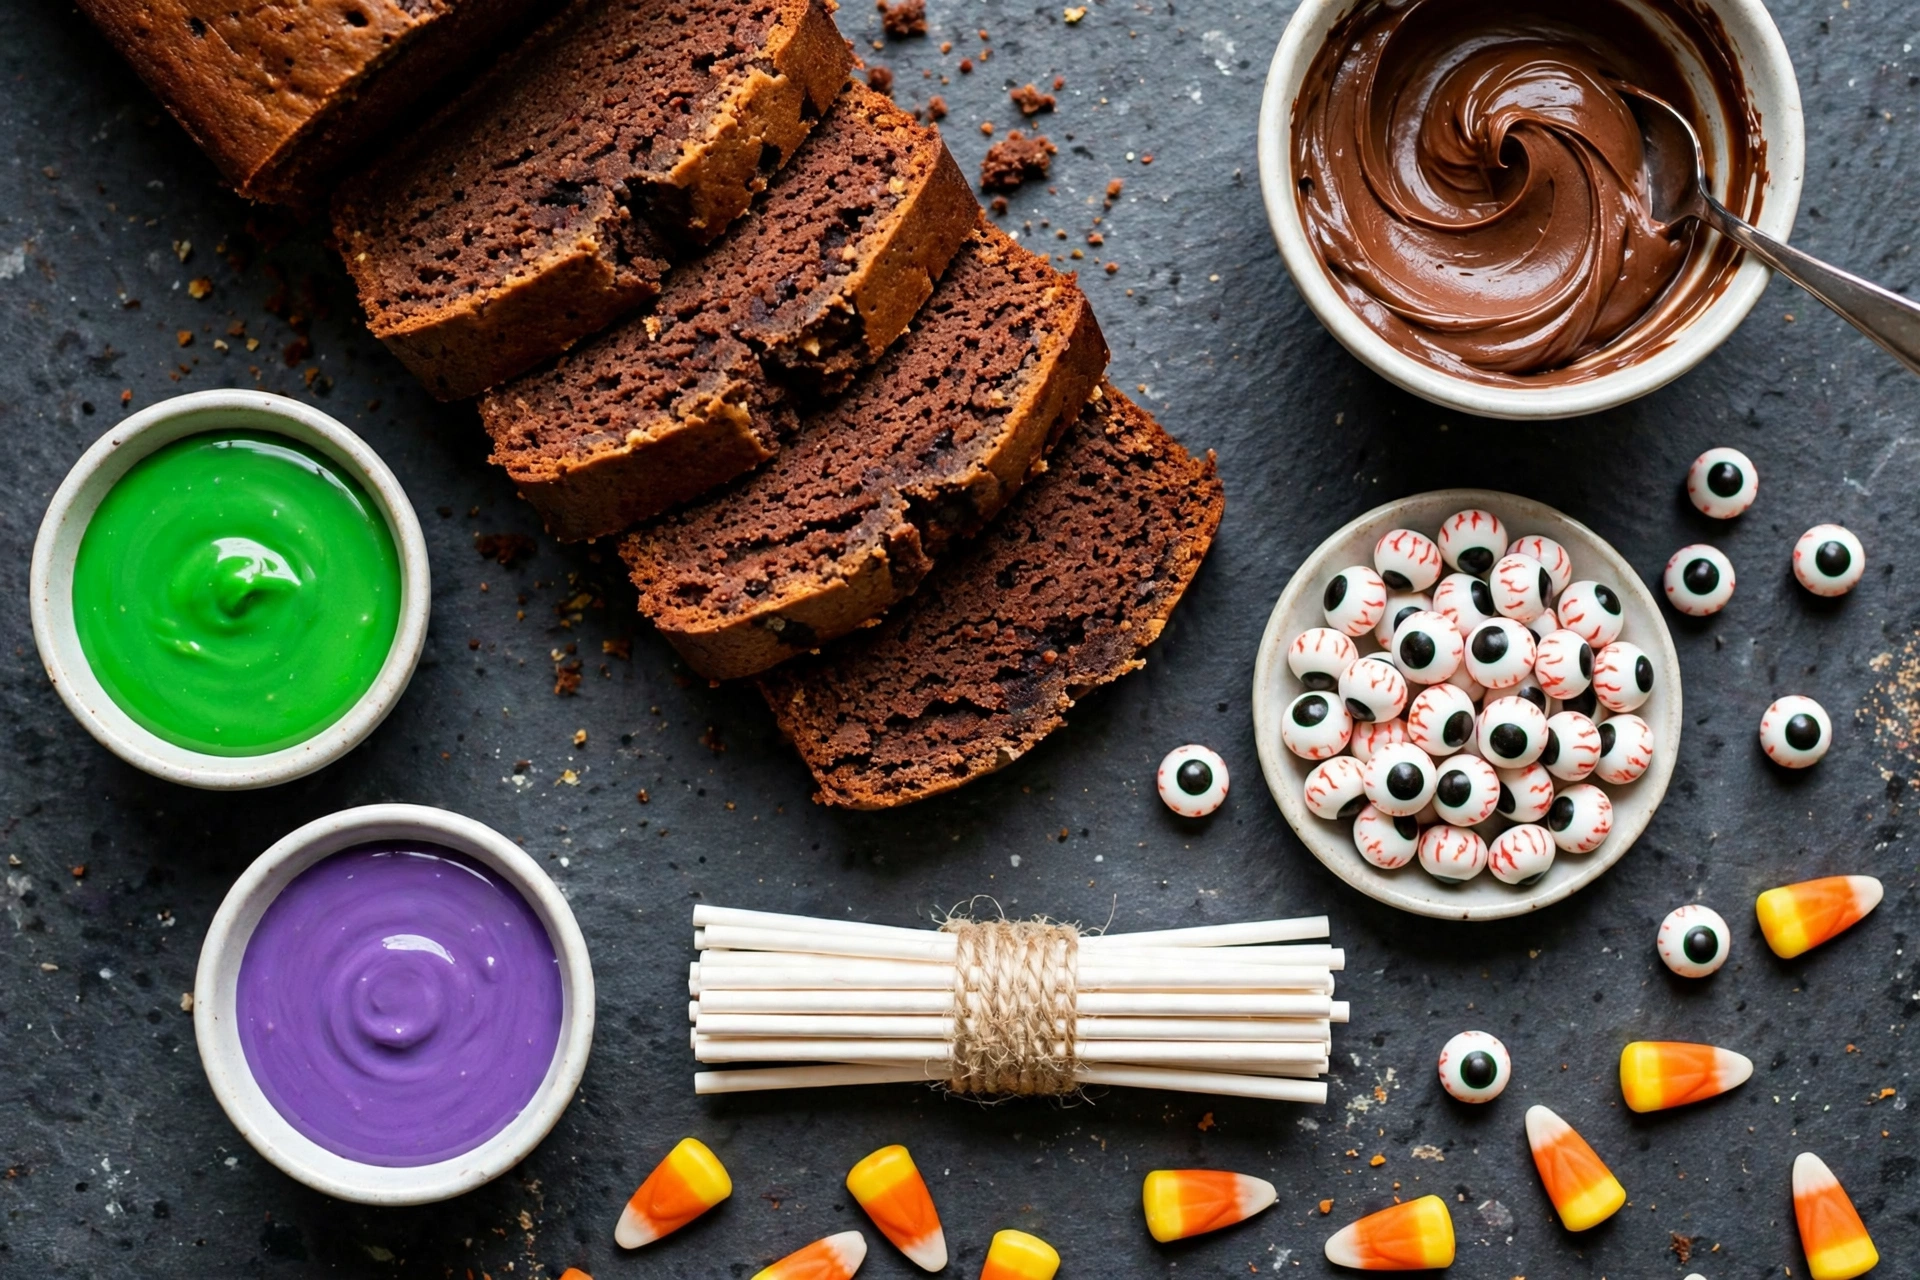
- 1 store-bought chocolate pound cake (16 oz), crumbled into fine crumbs
- 1/3 cup chocolate frosting, plus 1 tablespoon more if needed
- 12 oz green candy melts
- 12 oz purple candy melts
- 24 large edible candy eyeballs
- 24 lollipop sticks
- 1 teaspoon coconut oil (optional, for a smoother coating)
- Parchment paper, for lining
Directions
- Line two baking sheets with parchment paper. Crumble the pound cake into a large bowl and rub it between your fingers until you have fine, even crumbs with no big chunks hiding inside.
- Add the chocolate frosting and mix with a sturdy spoon, then finish with your hands, until the mixture holds together when you pinch it. If it still crumbles, add frosting 1 tablespoon at a time. If it feels sticky, the frosting was a little generous, so chill the mixture for 15 minutes before rolling.
- Scoop about 2 tablespoons of mixture per ball and roll into 24 smooth 1-inch balls. Set them on the prepared baking sheets.
- Chill the bare balls for 30 minutes. This is the whole secret: a cold, firm ball will not slide down the stick or melt into the warm coating later.
- Melt half of the green candy melts in a microwave-safe bowl in 30-second bursts at 50% power, stirring between bursts, until just smooth and lukewarm. Stir in a little coconut oil if the coating looks thick.
- Dip the tip of a lollipop stick about 1/2 inch into the melted candy, then push it halfway into a chilled cake ball. This melted-candy anchor is the glue that holds everything together. Repeat for all 24 balls, melting the remaining candy melts in batches as you go, about 12 pops per color.
- Chill the assembled pops for 15 minutes more so the glue sets rock-hard.
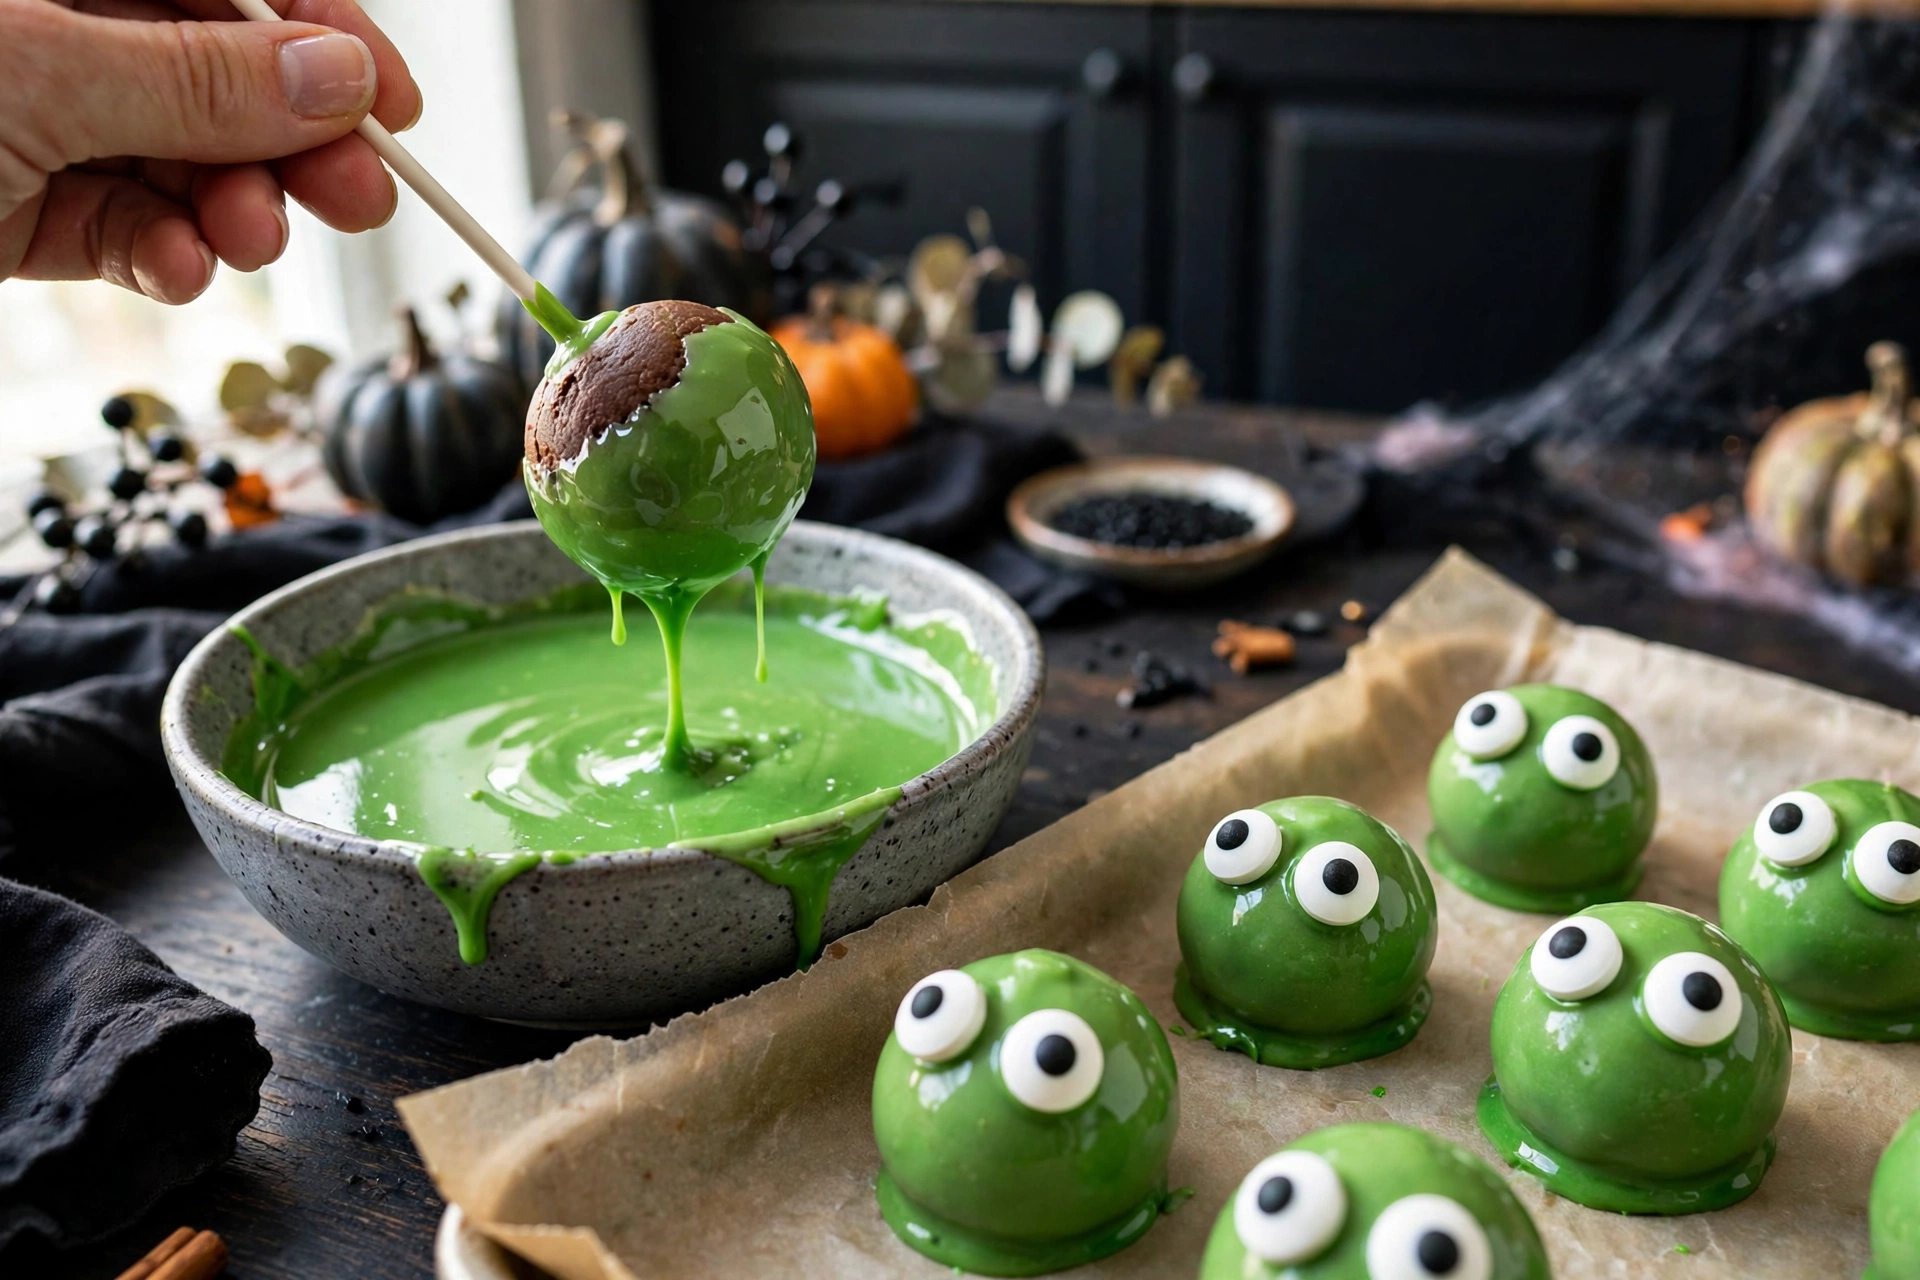
- Working one pop at a time, dip it straight down into the melted coating, swirl once to cover, then lift it out and gently tap your wrist so the excess drips off in a thin, even shell. Never stir the pop around in the bowl.
- While the coating is still wet, press one large candy eyeball onto the top front of the pop. Set it back on the parchment and let it firm up for 10 minutes, then repeat with the purple candy melts for the second half of the batch.
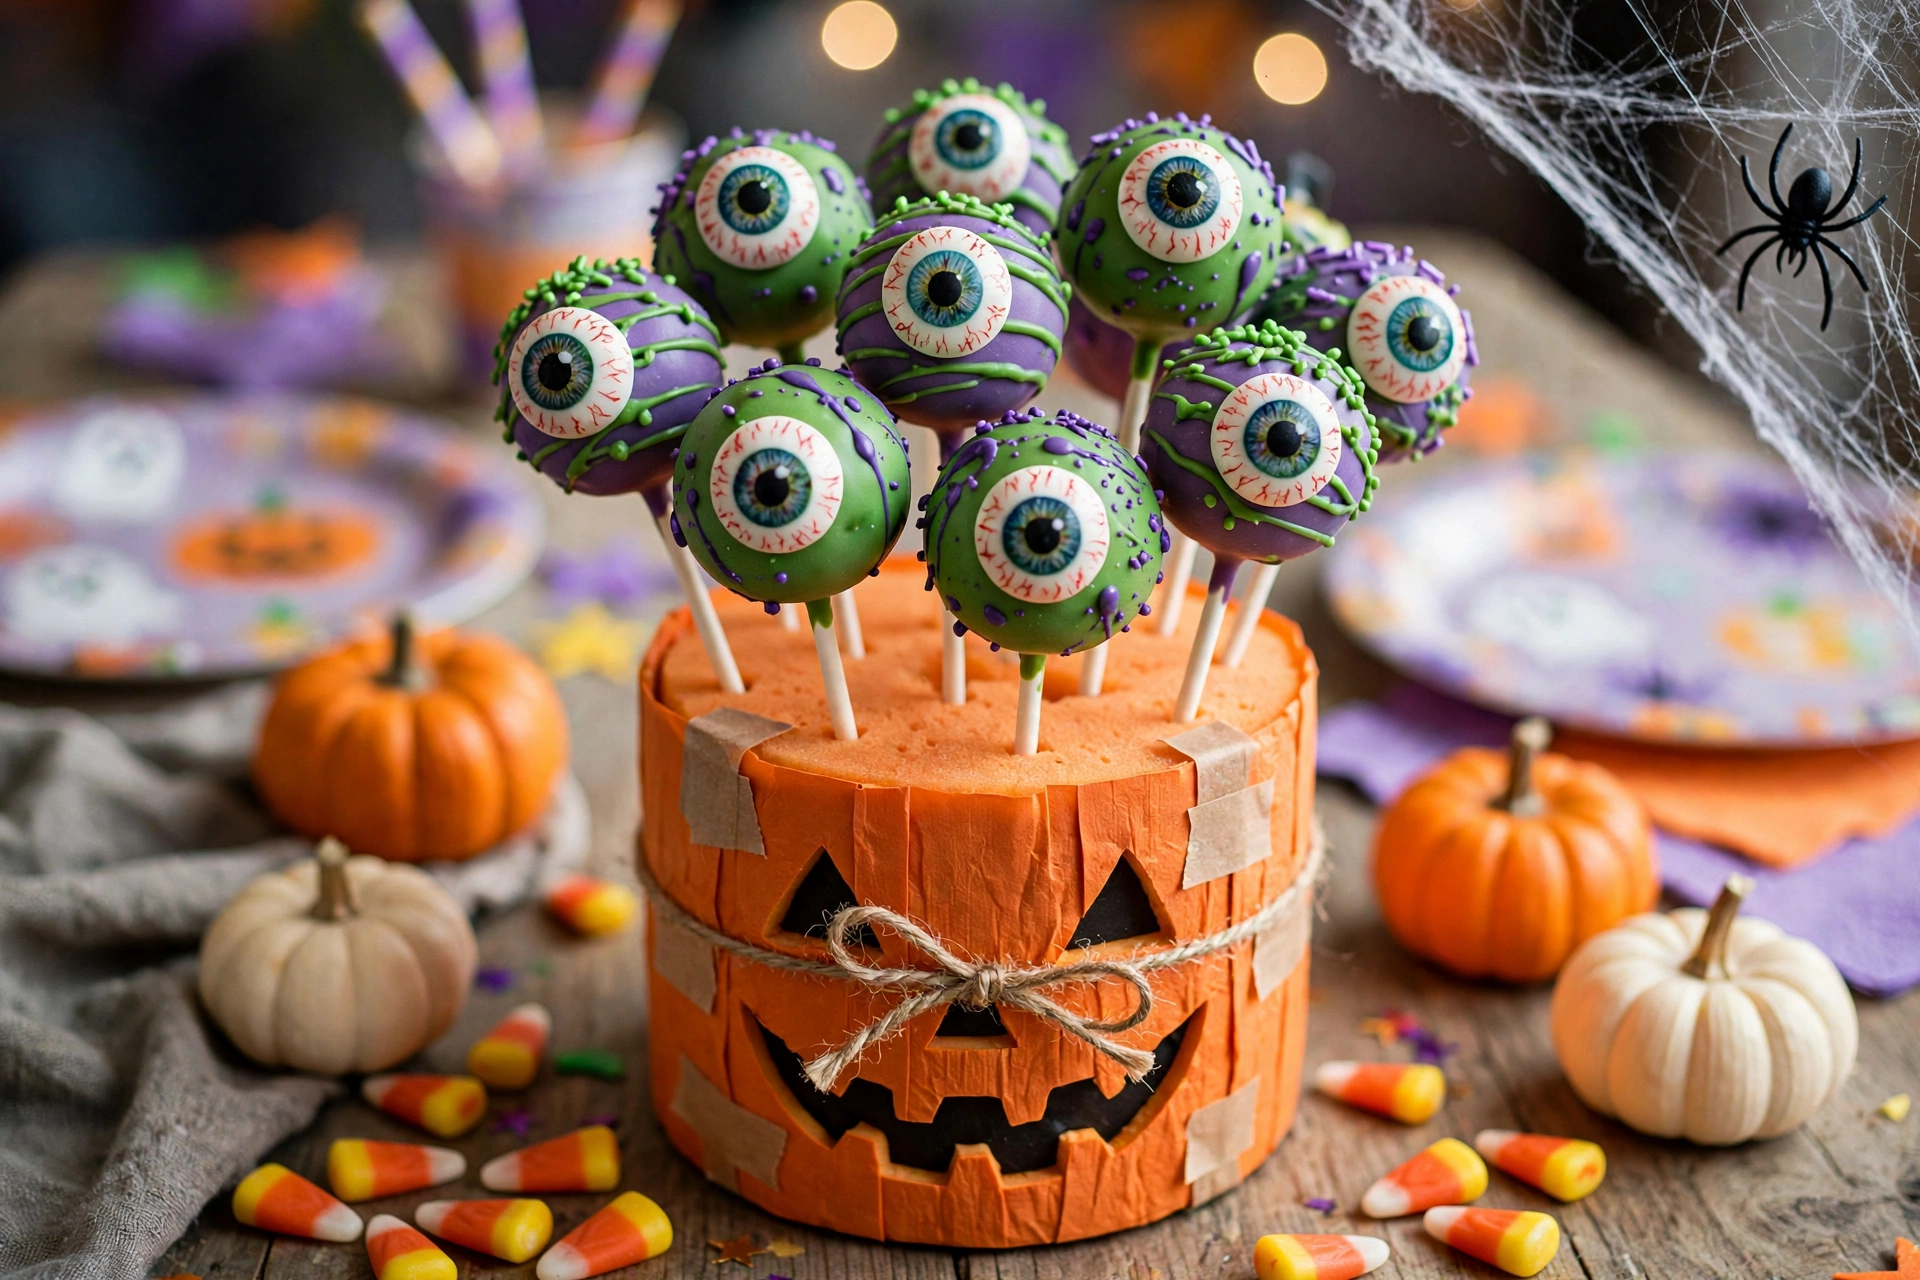
- Serve the monster eyes upright in a black cauldron, a jack-o-lantern bucket, or a foam block for the full spooky effect.
Why This Method Works
Great cake pops are not about talent; they are about temperature. A chilled cake ball meeting a lukewarm coating is the golden rule: the cold surface makes the shell set almost on contact, so you get a crisp, even layer instead of a thick, lumpy one that slides right off. A confectionery coating like candy melts is built for exactly this, melting smooth without the fuss of tempering real chocolate.
The stick-glue step matters just as much. Pushing a bare stick into a cake ball gives you a wobbly joint; seating it in a dab of melted candy creates a solid anchor that hardens in the fridge. And that gentle wrist-tap after dipping? It shakes off the excess so the shell stays thin enough to crack with a satisfying snap instead of pooling into a sugary foot at the base.
Pro Tips
Press the candy eyeballs on while the coating is still glossy and wet; once it sets, nothing sticks. Work in batches of six so the shell never firms up before the eyeballs go on. If a pop looks bare, drizzle the opposite color over the top for a two-tone monster. A foam block or a colander turned upside down makes a perfect stand while the coating sets, and mixing green and purple pops in one display gives the whole batch that wild monster variety. For another no-bake Halloween bite that party guests grab just as fast, try our Monster Mouth Apple Bites.
Common Mistakes
Skipping the chill is the number one way to end up with pops sliding off their sticks into the bowl. Too much frosting is a close second; it makes the balls greasy and soft instead of firm and rollable, so add it gradually. Overheated candy melts turn thick and clumpy, so keep the microwave bursts short and stop the moment the wafers are mostly melted, letting the residual heat finish the job. And never insert the stick without the melted-candy glue; it is a small step that saves the entire batch.
Substitutions
Any dense cake works as the base: yellow or vanilla pound cake for a lighter bite, or about 4 cups of baked chocolate cake crumbs from a 9×13-inch cake. Swap the chocolate frosting for vanilla or cream cheese frosting to change the flavor mood. If you cannot find candy melts, white chocolate chips melted with a drop of coconut oil and gel food coloring will do, though the shell sets a little softer. Small googly candy eyes give a cuter look if the big bloodshot eyeballs feel too spooky for little kids.
Storage & Make-Ahead
Finished cake pops keep for 2 days in an airtight container at room temperature, or up to 1 week in the refrigerator. Let refrigerated pops sit at room temperature for about 20 minutes before serving so the cake center softens. Undipped, un-sticked cake balls freeze beautifully for up to 1 month; thaw them in the fridge overnight, then insert the sticks and dip as usual. For parties, remember the 2-hour rule: do not leave them sitting out at room temperature longer than 2 hours.
Frequently Asked Questions
Can I make monster eye cake pops ahead of time?
Yes, and they are an ideal make-ahead party treat. Fully finished cake pops keep for up to 1 week in an airtight container in the refrigerator. Let them sit at room temperature for about 20 minutes before serving so the cake center softens and tastes its best.
Why do my cake pops keep sliding off the sticks?
The two usual culprits are warm cake balls and a skipped glue step. Chill the rolled balls for the full 30 minutes so they are firm, and always dip the stick tip in melted candy before inserting it. Once the glue sets in the fridge, the pops will not budge during dipping.
Can I use homemade cake instead of store-bought pound cake?
Absolutely. You need about 4 cups of baked chocolate cake crumbs, roughly what a 9×13-inch cake gives you. Let the cake cool completely before crumbling, and start with a little less frosting since homemade cake is usually softer than dense pound cake.
How long do monster eye cake pops last?
Finished pops last 2 days in an airtight container at room temperature or up to 1 week in the refrigerator. Undipped cake balls freeze beautifully for up to 1 month; thaw them in the fridge overnight before you insert the sticks and dip.
Rate this recipe
Be the first to rate it!