
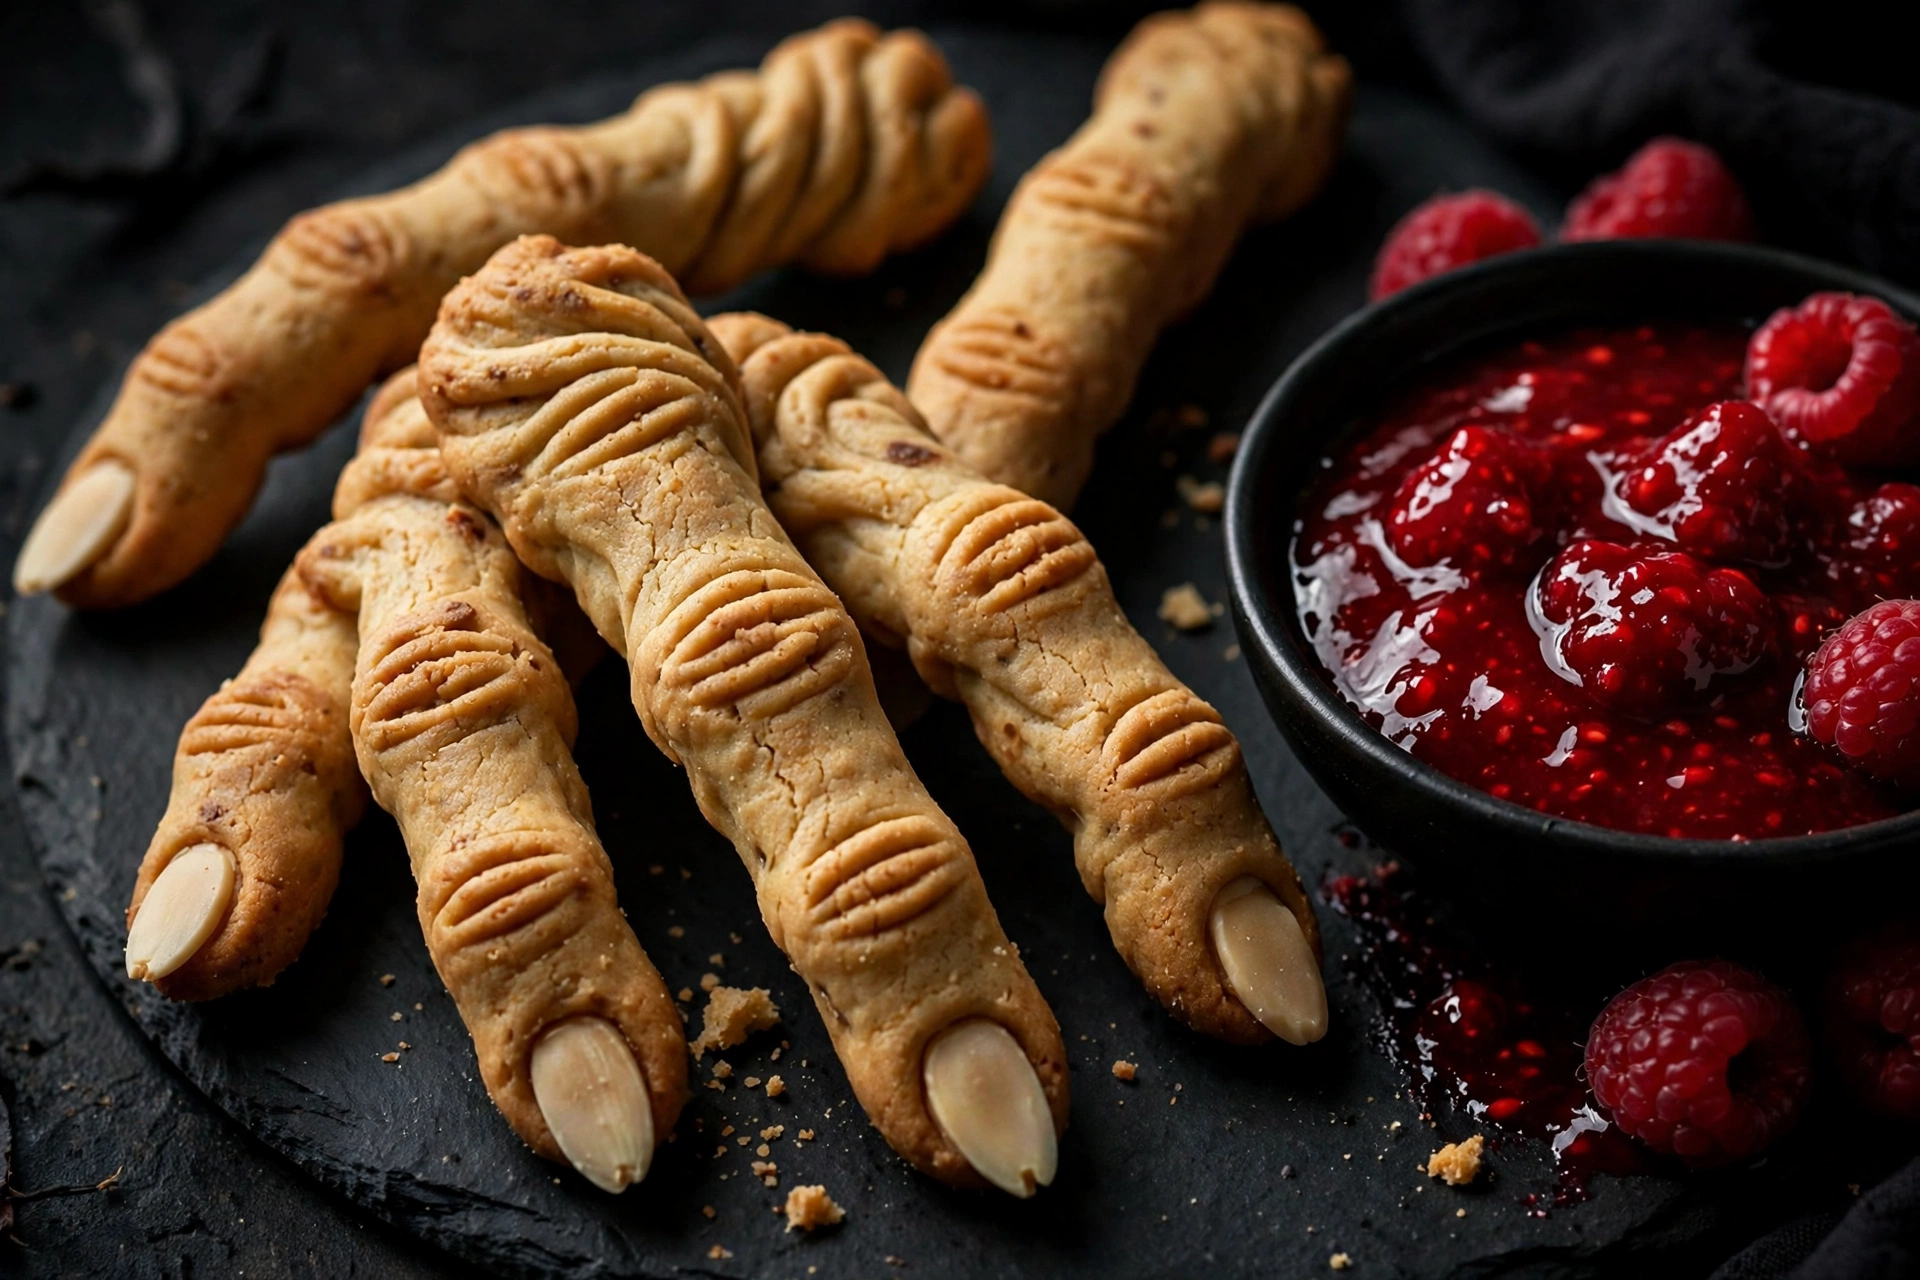
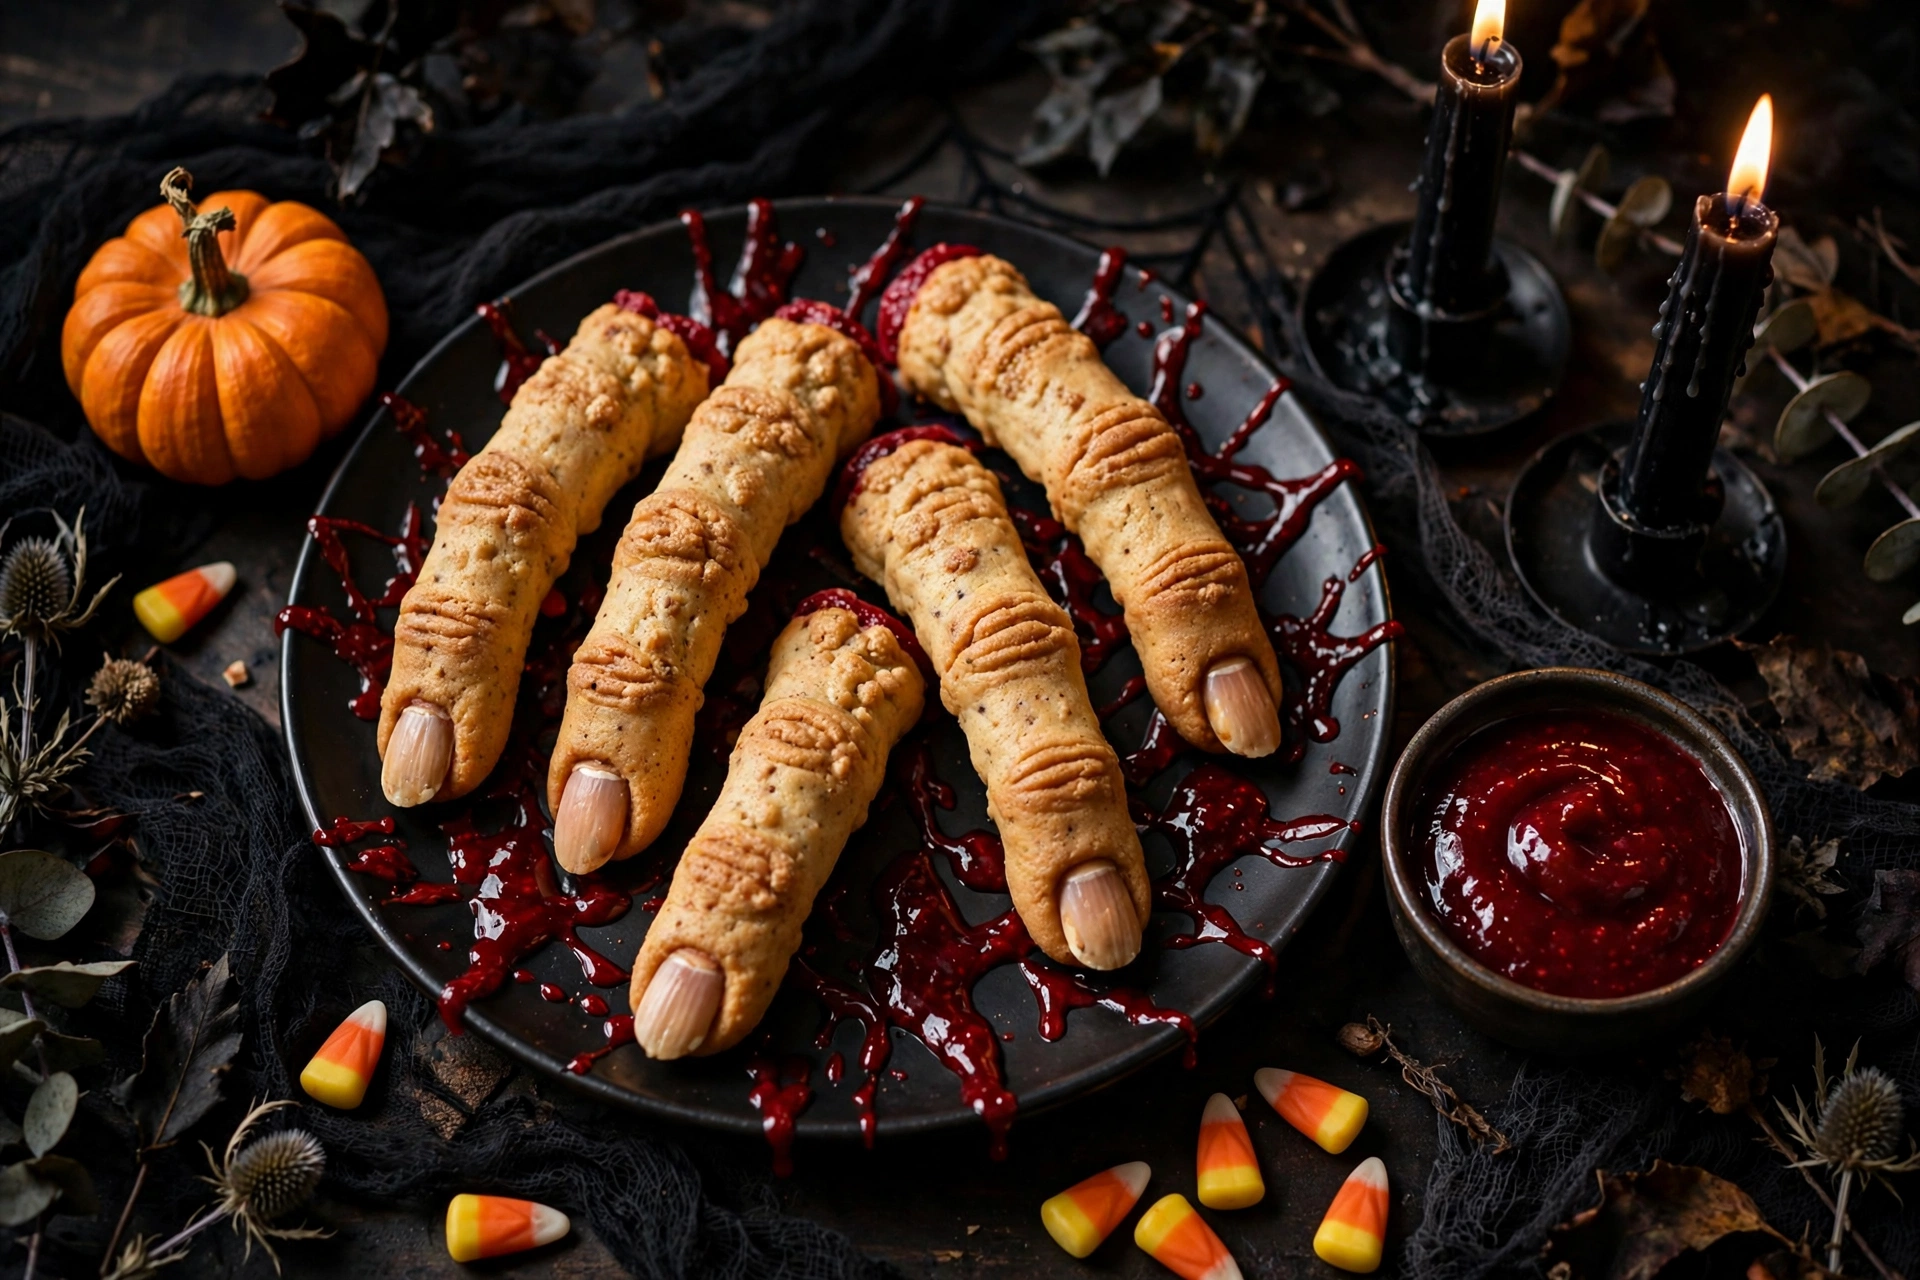
Some Halloween treats are cute, but these witch finger cookies are gloriously creepy — and that is exactly why they disappear from the party table first. Picture this: gnarled, knuckle-ridged cookie fingers with sharp little almond nails, piled on a dark platter beside a glossy pool of blood-red raspberry dip. Every guest picks one up, shudders dramatically, and then takes a bite and groans — because underneath the spooky costume these are pure buttery shortbread-style sugar cookies, tender in the middle with lightly crisp edges and a whisper of vanilla. The best part? No decorating skills required. If you can roll a dough log and pinch a knuckle, you can make these. From first stir to first bite, they take just 30 minutes, which makes them the easiest last-minute Halloween dessert in your arsenal. Serve them alongside our Halloween Witch Hat Cookies and you have got an instant spooky dessert table.
Recipe at a Glance
- Prep time: 15 minutes (includes a 10-minute chill of the shaped fingers)
- Bake time: 12 to 14 minutes at 350°F
- Total time: 30 minutes
- Yield: 24 cookies
- Serving size: 2 cookies
Ingredients
For the witch finger cookies
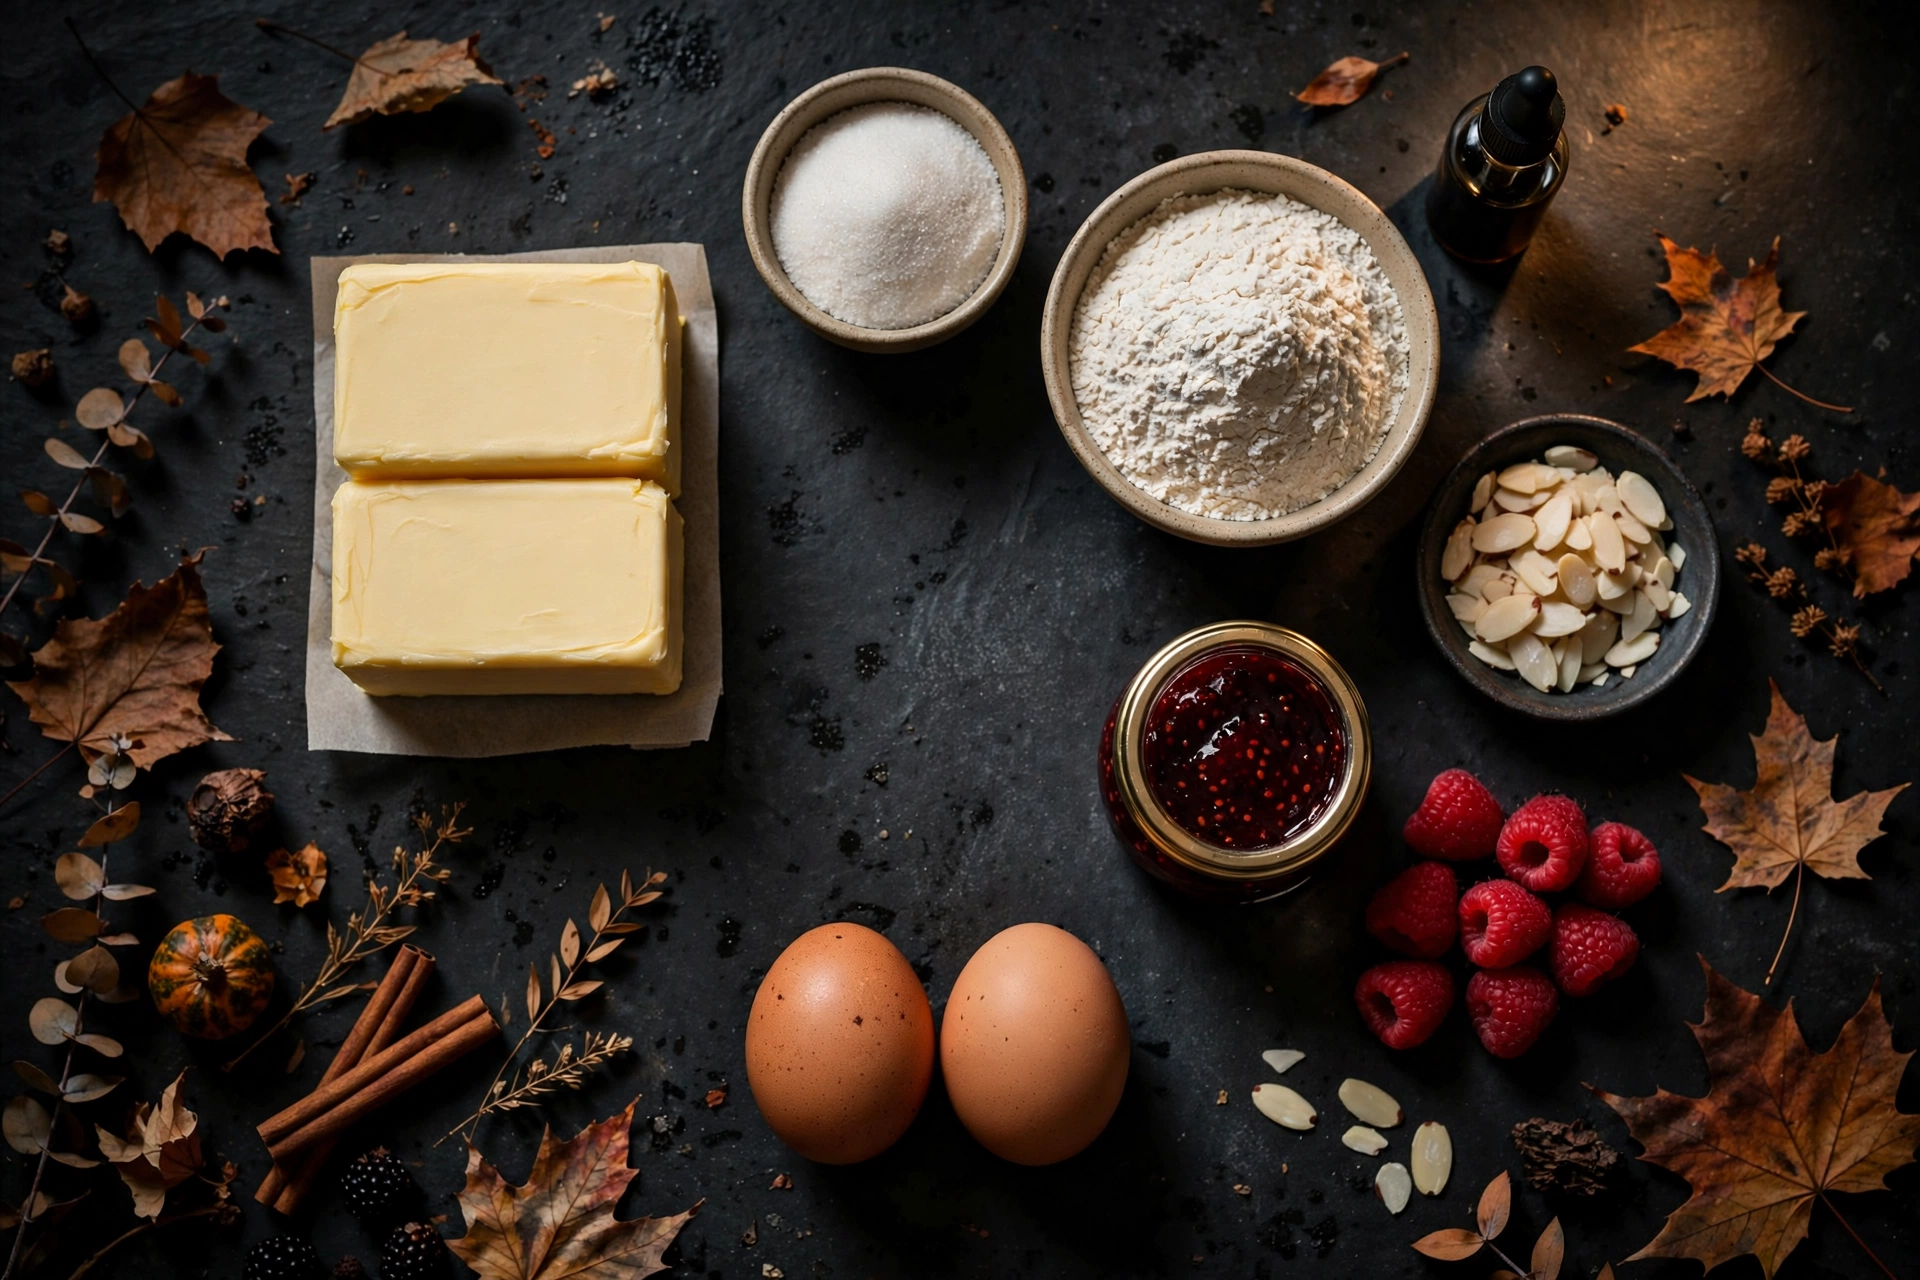
- 1 cup (2 sticks / 226 g) unsalted butter, softened to room temperature
- 1 cup granulated sugar
- 1 large egg, room temperature
- 2 teaspoons pure vanilla extract
- 2 3/4 cups all-purpose flour
- 1 teaspoon baking powder
- 1/4 teaspoon fine salt
- 24 blanched sliced almonds, for the fingernails
For the raspberry “blood” dip
- 1 cup fresh raspberries
- 2 tablespoons granulated sugar
- 1 teaspoon fresh lemon juice
- Shortcut option: 3/4 cup seedless raspberry jam, warmed for 30 seconds in the microwave
Directions
- Preheat the oven to 350°F (175°C). Line two baking sheets with parchment paper.
- Beat the softened butter and granulated sugar in a large bowl with an electric mixer on medium speed for 2 to 3 minutes, until light, pale, and fluffy. Beat in the egg and vanilla extract until smooth.
- Whisk the flour, baking powder, and salt together in a separate bowl. Add the dry ingredients to the butter mixture on low speed and mix just until a soft dough comes together. Do not overmix — stop as soon as no flour streaks remain.
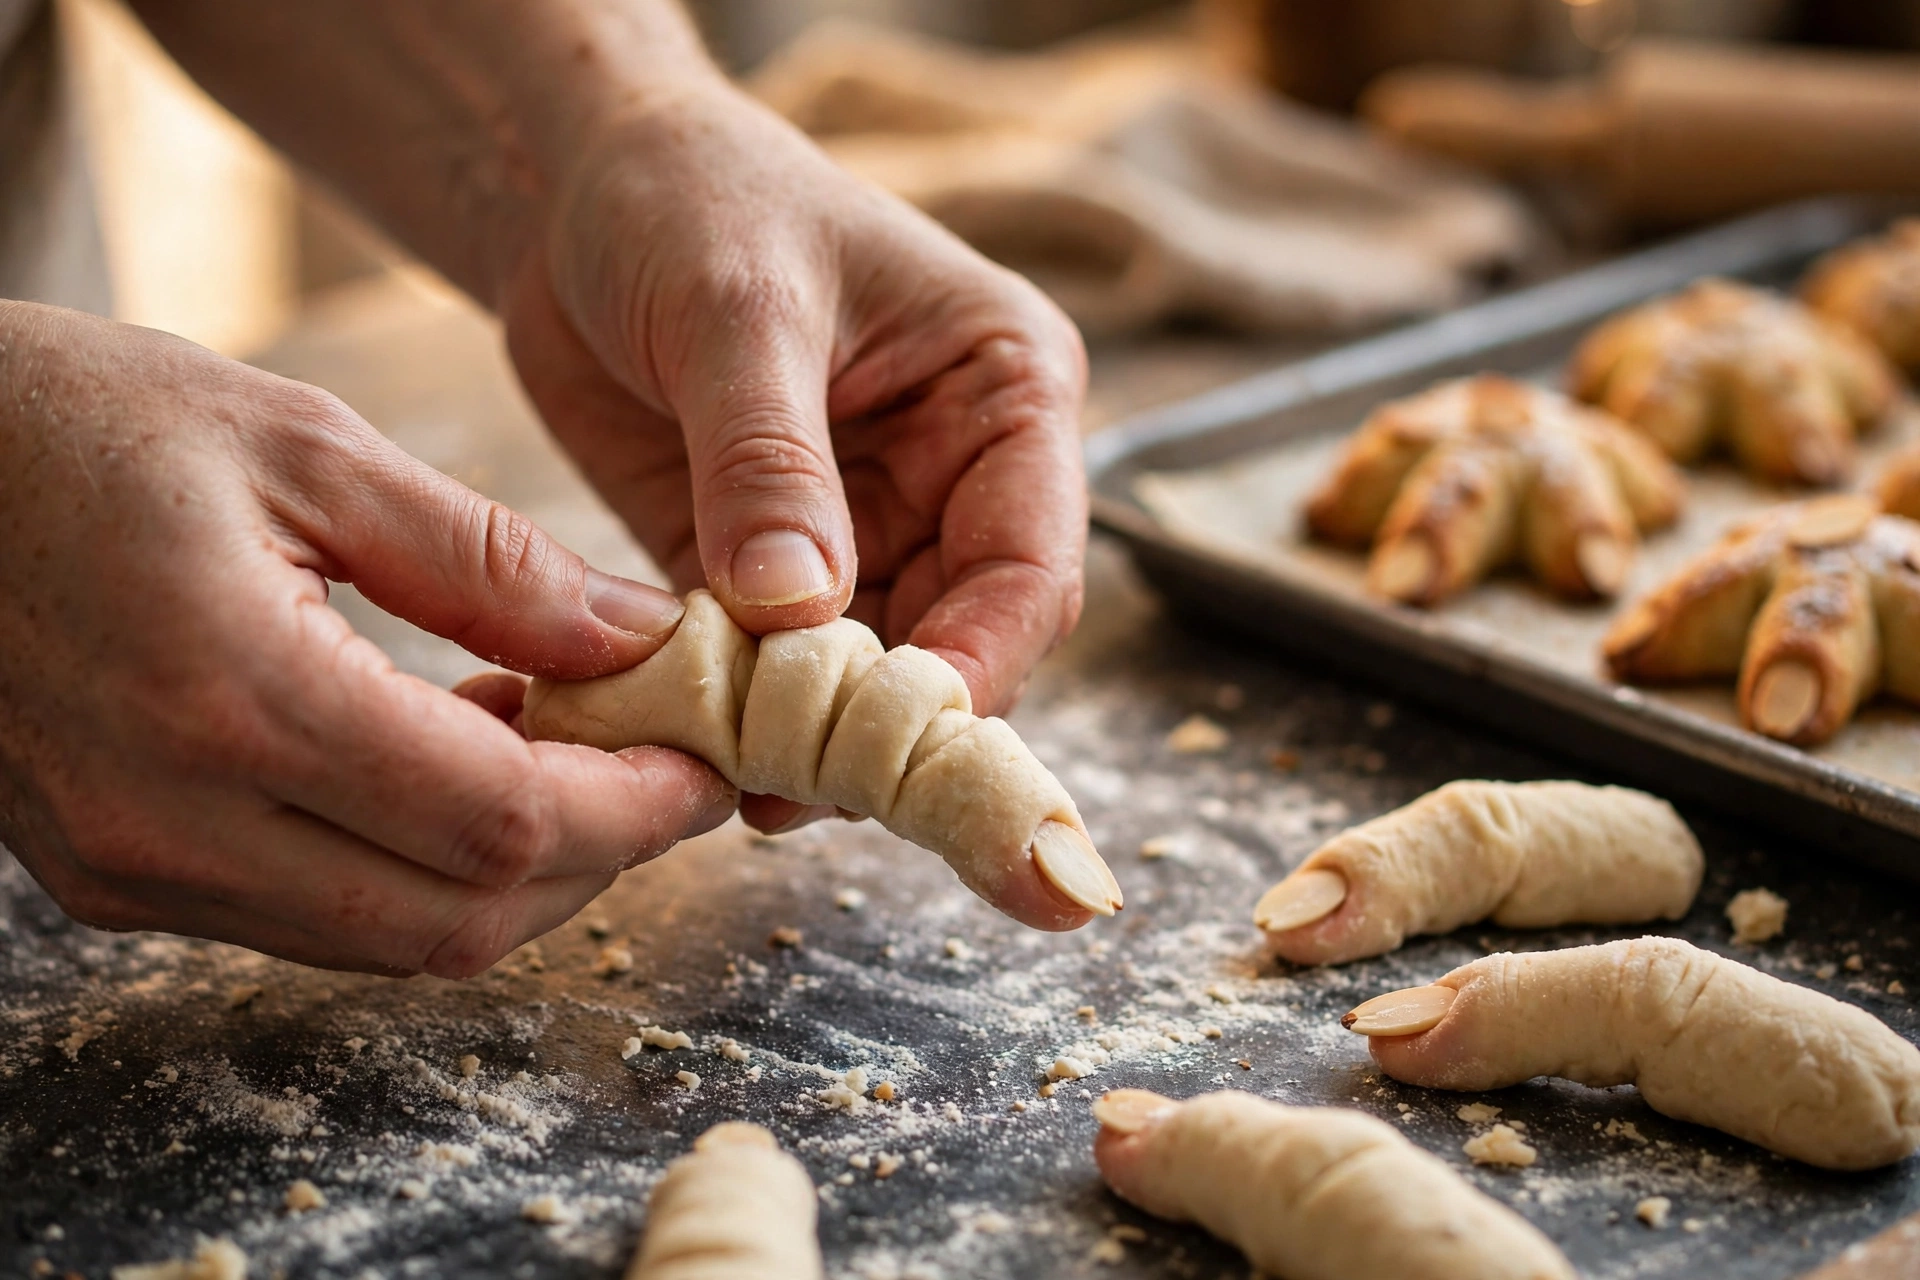
- Scoop level tablespoons of dough (about 1 inch of dough per finger) and roll each into a 3 to 4-inch log on a lightly floured surface. Make the middle slightly thinner than the ends, then taper one end gently — that will be the fingertip.
- Pinch two knuckle ridges into each log: one near the middle and one close to the fingertip. Use your thumb and forefinger and press firmly — you want deep grooves. Press one sliced almond firmly into the tapered fingertip as the nail, angling it slightly upward like a real fingernail.
- Arrange the shaped fingers on the prepared baking sheets, about 1 1/2 inches apart, and refrigerate for 10 minutes while the oven finishes heating. This cold rest firms up the butter so the fingers keep their gnarled shape instead of spreading into blobs.
- Bake for 12 to 14 minutes, until the edges are set and just barely golden. Do not wait for browning — these cookies should stay pale so they look ghostly.
- Cool the cookies on the baking sheet for 5 minutes (they are fragile while hot), then transfer to a wire rack to cool completely. If any almond nails loosened in the oven, press them back into place while the cookies are still warm.
- While the cookies cool, make the raspberry dip: combine the raspberries, sugar, and lemon juice in a small saucepan over medium heat. Simmer for 3 to 4 minutes, mashing the berries, until syrupy. Press through a fine-mesh sieve to remove the seeds for a silky, blood-red sauce. Serve warm or at room temperature for dunking.
Why This Method Works
Every spooky detail of this recipe has a food-science reason behind it. First, the 10-minute chill: this is a shortbread-style sugar cookie dough, which is high in butter — and butter is the shape-shifter here. Cold butter firms up in the fridge, so when the fingers hit the hot oven the dough sets before the butter can melt and spread. Skip the chill and you get pudgy little thumbs instead of gnarly witch fingers. Second, the knuckle pinches need to be deeper than feels natural, because the baking powder gives the dough a gentle puff in the oven that fills in shallow grooves; a firm, confident pinch survives as a ridge. Third, press the almond nail in before baking, not after — as the dough bakes and sets around it, the almond gets gripped like a clamp. Post-bake nails fall off at the first touch. And the dip is not just theater: raspberries plus lemon juice make a sauce that is naturally glossy, vividly red, and just tart enough to cut the buttery richness of the cookies, which is why kids keep dunking long after the scare wears off. That bright raspberry flavor is the same reason jam versions of classic sugar cookies pair so well with fruit preserves.
Pro Tips
- Softened butter means pliable, not melty. It should give when you press it with a fingertip but still hold its shape. Butter that is too warm is the number one cause of finger-spread.
- Keep your dough logs uneven on purpose. Real fingers are crooked and knobby — slight bends and varying thickness make them look authentically witchy.
- Choose whole, unbroken sliced almonds for the nails. Jagged halves look chewed; a clean almond slice reads instantly as a fingernail.
- If a nail pops off mid-bake, do not panic — press it back in while the cookie is warm and soft, and the crumb will re-grip it.
- For the gnarliest fingers, lightly score a few extra wrinkles with the tip of a butter knife before chilling. Those shallow marks deepen beautifully in the oven.
Common Mistakes
- Skipping the 10-minute chill: warm dough spreads, and your witch fingers turn into sad little slugs. The fridge step is non-negotiable.
- Overbaking: these cookies go from ghostly-pale to golden-brown fast. Pull them at 12 to 14 minutes when the edges are just set — they firm up as they cool.
- Shaping the logs too thick: fat logs bake unevenly and stay raw in the center. Aim for a true finger width — about 3/4 inch thick.
- Pressing the almond on after baking: a cooled cookie crumb will not hold it. The nail must go in before the oven.
- Crowding the pan: fingers need 1 1/2 inches of breathing room or they fuse together at the edges.
Storage & Make-Ahead
Baked witch finger cookies keep in an airtight container at room temperature for up to 5 days — tuck a sheet of parchment between layers so the almond nails stay put. You can freeze the baked cookies for up to 2 months; thaw them at room temperature before serving (no need to reheat). To make ahead for a party, bake the cookies a day early and store the raspberry dip in a covered jar in the fridge for up to 3 days — rewarm it gently before serving. One food-safety reminder for party platters: like any baked treat, do not leave the cookies or the dip sitting out for more than 2 hours at room temperature; refrigerate leftovers promptly. If you enjoyed the almond-nail trick here, you will love the same idea in our Witch Finger Pretzel Rods — and for a full spooky spread, our Spooky Monster Cookies pair perfectly with these.
Frequently Asked Questions
Why did my witch finger cookies spread and lose their shape?
The usual culprit is butter that was too warm, or skipping the 10-minute fridge chill before baking. Cold dough holds the knuckle ridges and tapered shape; warm dough relaxes into blobs. Make sure your butter is softened but not melty, shape firmly, and always chill the tray before it goes into the oven.
How do I keep the almond nails from falling off?
Press each sliced almond firmly into the dough before baking, while the dough is soft — the heat sets the crumb around the almond like a clamp. If your almonds are loose, dab the back of each nail with a tiny bit of beaten egg white as glue before pressing it in. Any nails that shift in the oven can be pressed back into place while the cookies are still warm.
Can I make witch finger cookies ahead of time?
Yes — they are a great make-ahead Halloween treat. Store baked cookies in an airtight container at room temperature for up to 5 days, or freeze them for up to 2 months and thaw at room temperature before serving. The raspberry dip keeps in a covered jar in the fridge for up to 3 days; rewarm it gently before the party.
What can I use instead of raspberries for the blood dip?
Seedless raspberry jam, warmed for 30 seconds in the microwave, is the easiest swap — no cooking at all. Strawberry jam or blackberry jam also make a great blood-red dipping sauce. Just avoid jams with whole fruit pieces; a smooth, seedless sauce looks far more realistic.
Rate this recipe
Be the first to rate it!
1 thought on “Easy Witch Finger Cookies (30-Minute Halloween Cookie Recipe)”